
Making Interior Walls Using Wattle & Daub
It will come as no surprise that the interior of our straw bale house has taken much longer to complete than the superstructure. Many, many friendly advisors told us this would be the case, and once we embarked upon the wattle and daub train I realised they were astoundingly accurate in their premonition! Progress also slowed markedly when the sofa made an appearance…
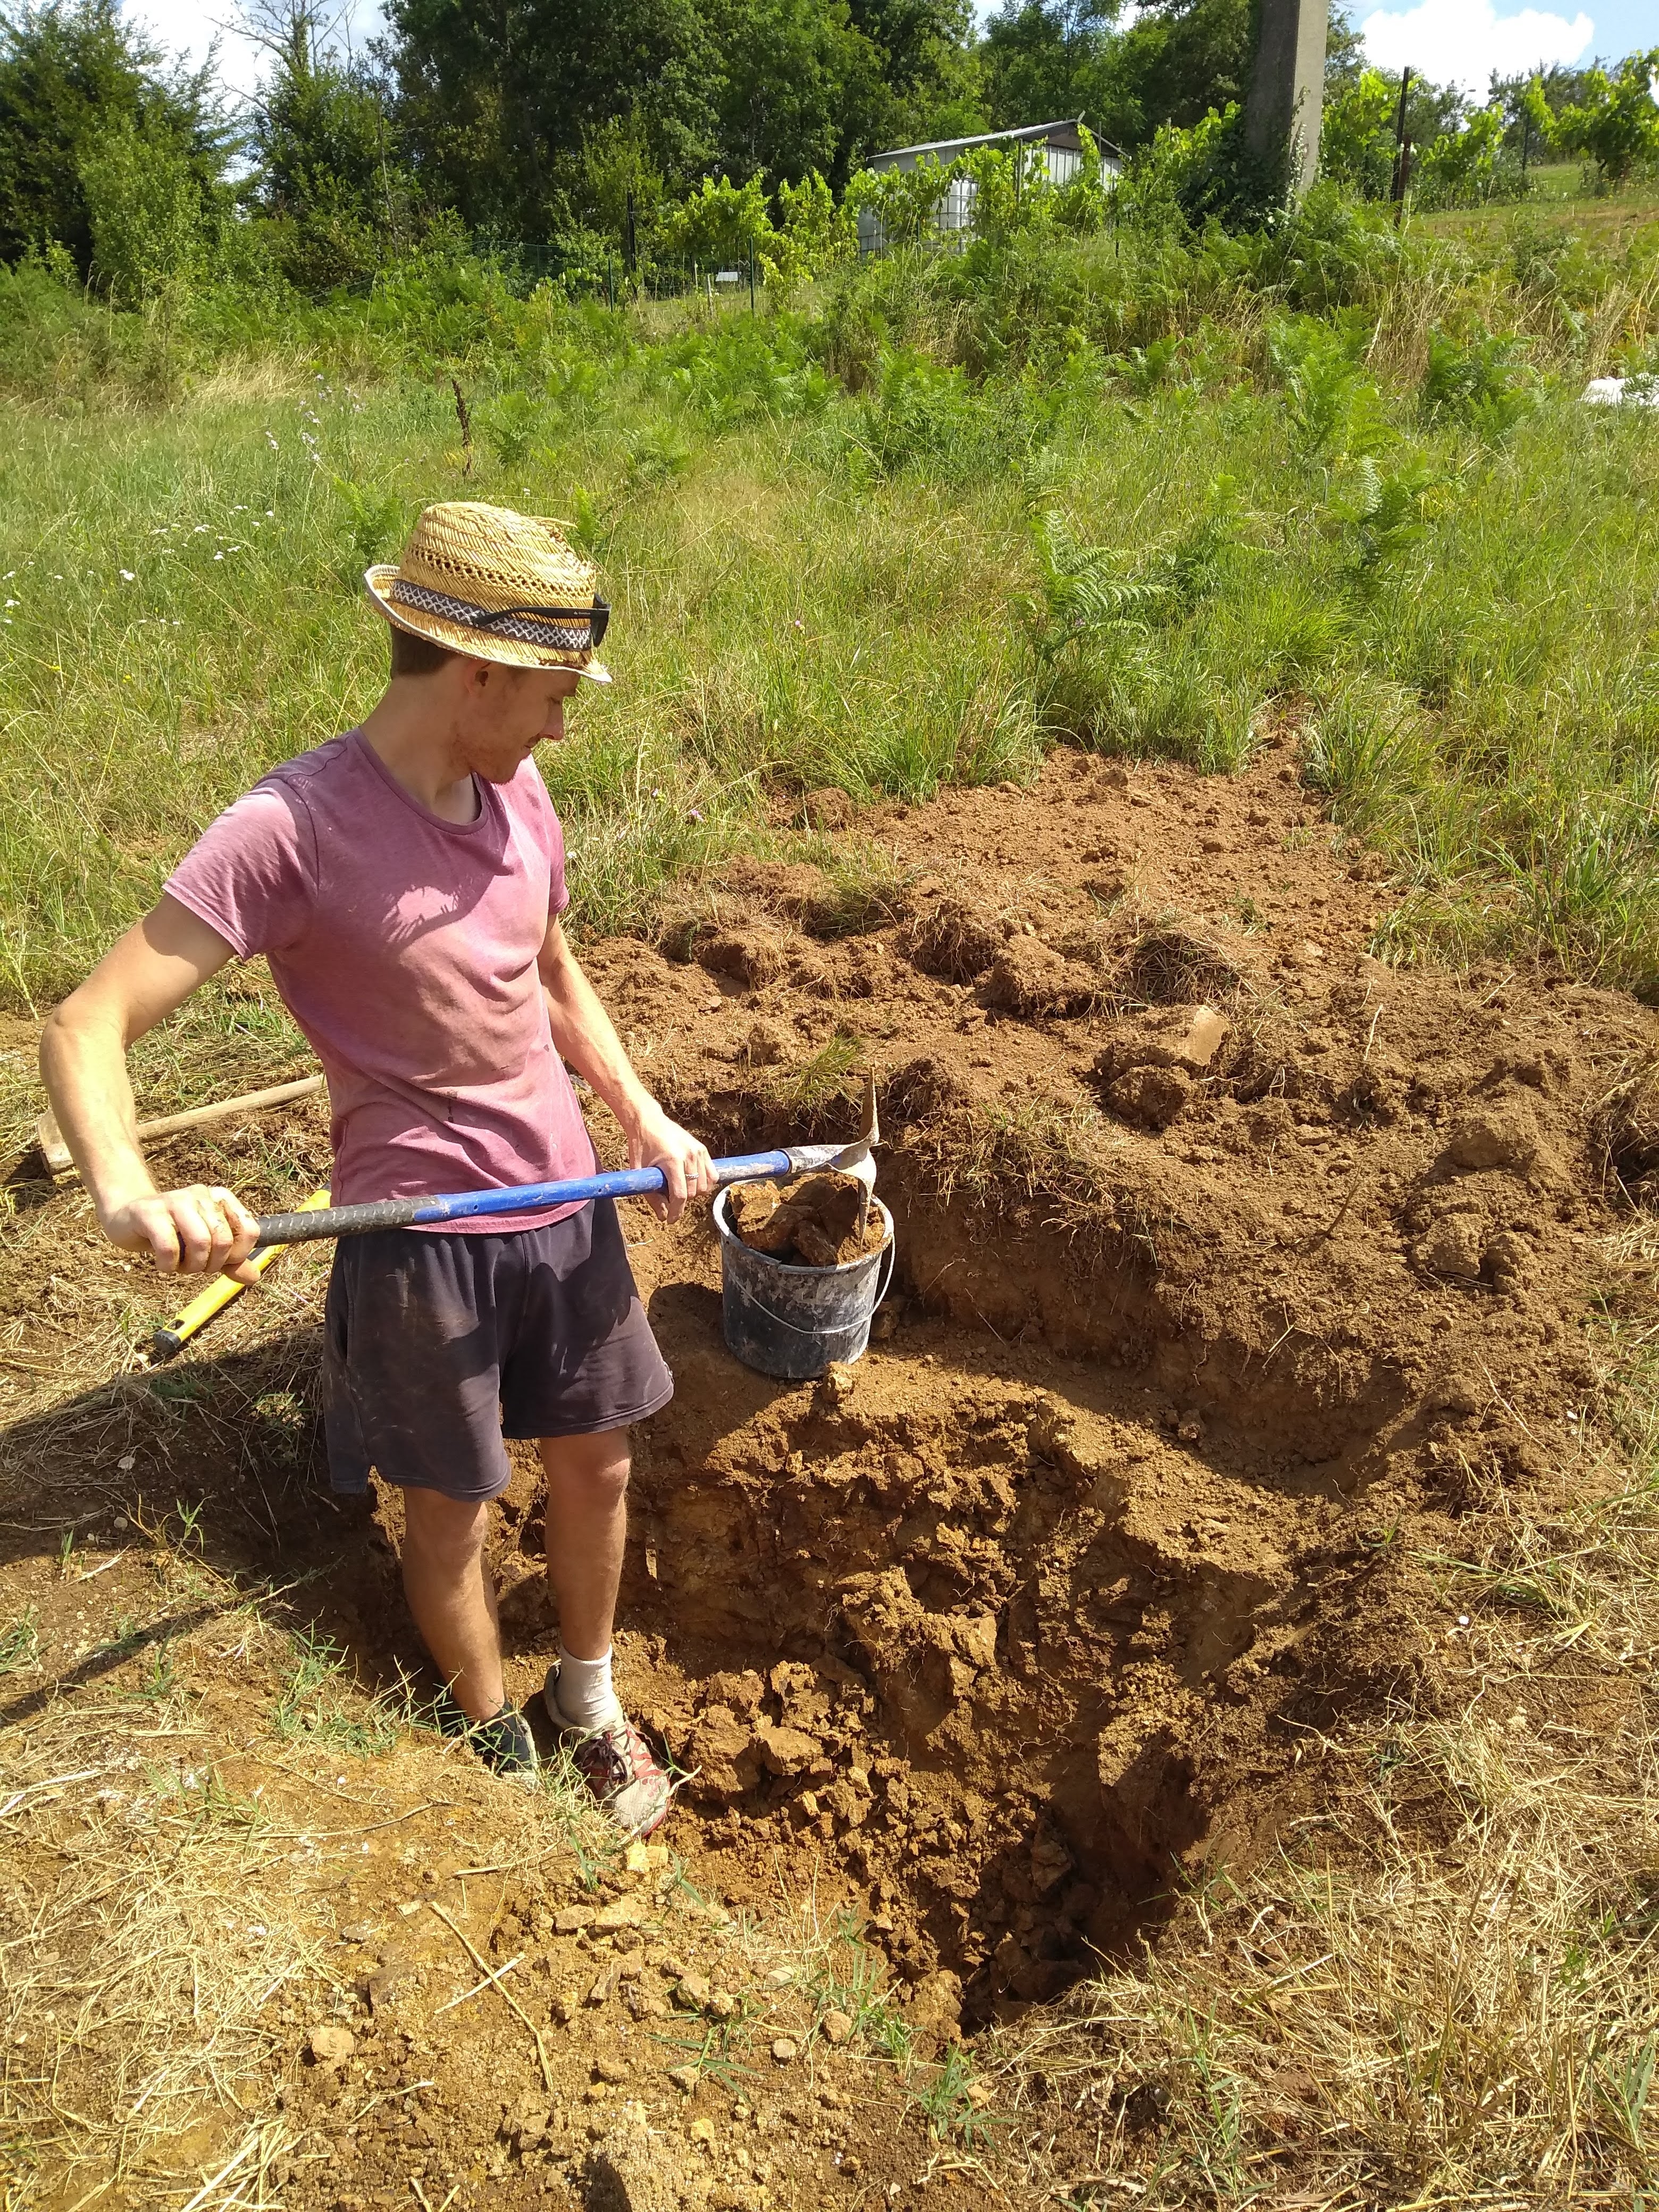
We chose to use wattle and daub to ensure the interior, dividing walls were in keeping with the exterior walls in terms of wobbilness. Yes, technical I know. The four straw loading-bearing walls have a remarkable softness of shape to them especially once finished off with three layers of lime wash. I was keen to emulate that with the dividing walls and wattle and daub seemed to hold the answer. After reading through a small book on wattle and daub the technique seemed simple enough and achievable. The soil on our land is high in clay content, and in some areas, there is even what might be called a ‘pocket’. Although I think this term is mostly reserved for gold mining?! We didn’t strike gold, but pure yummy clay is perhaps arguably more useful.
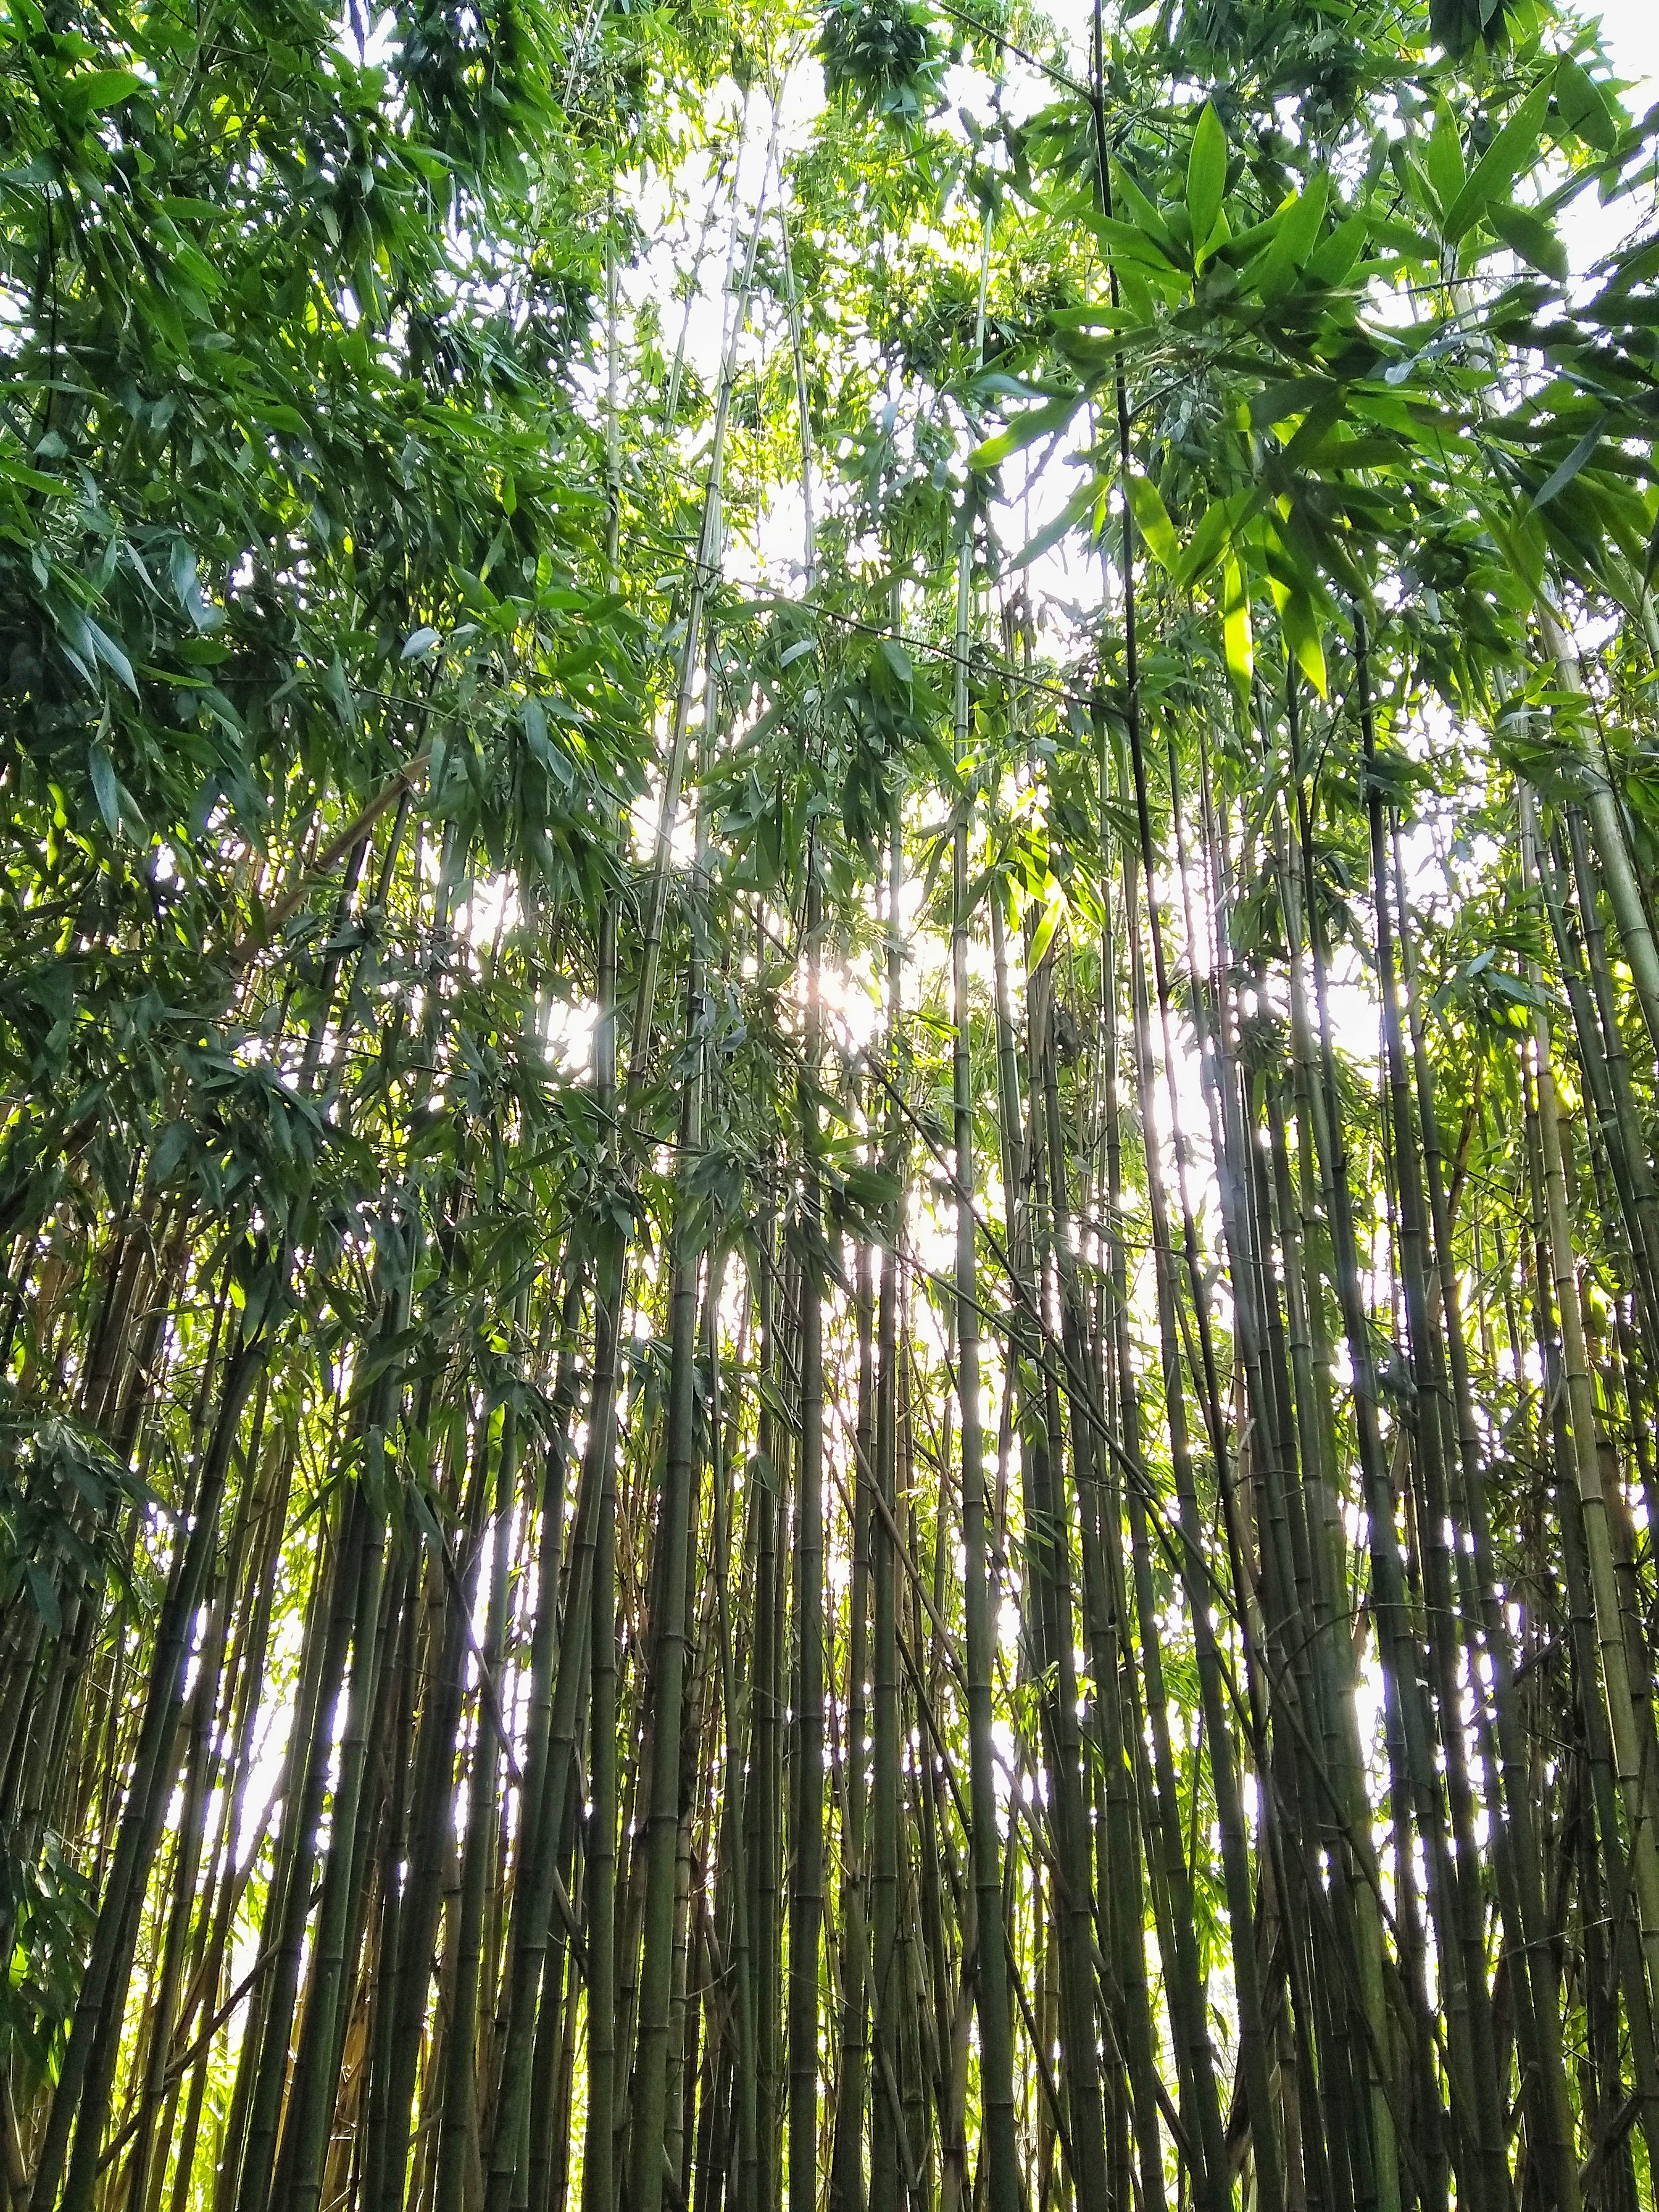
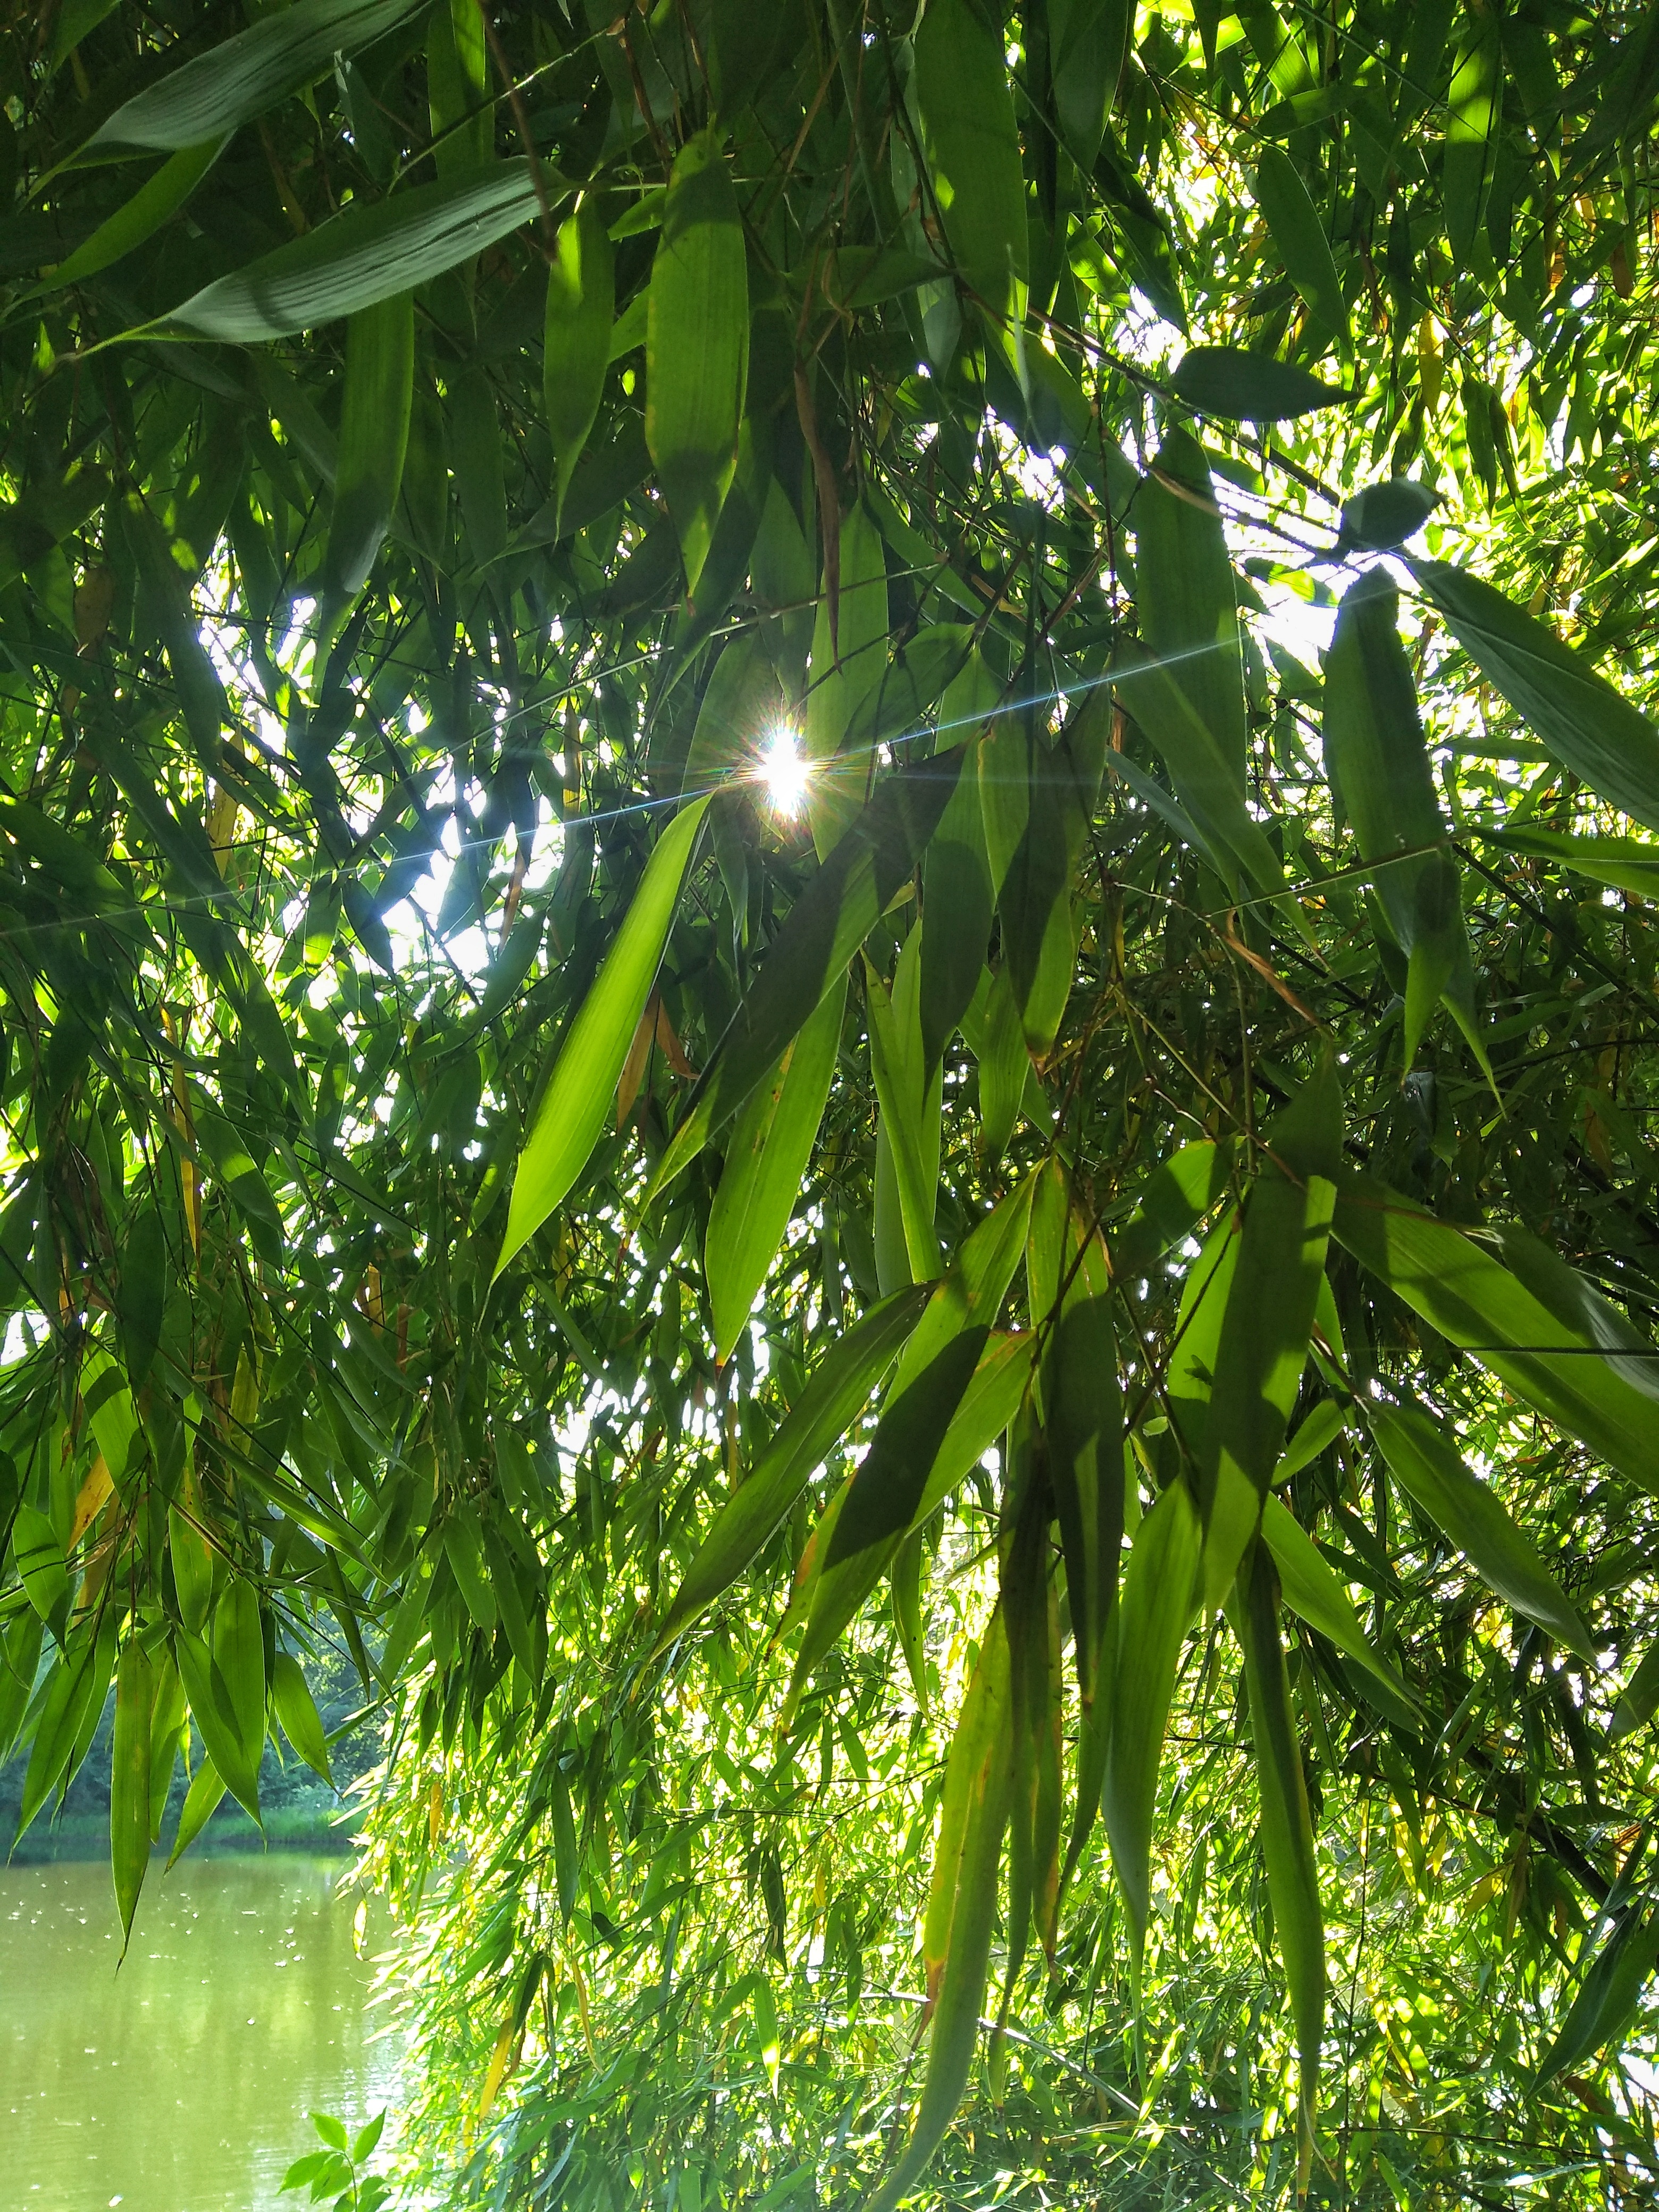
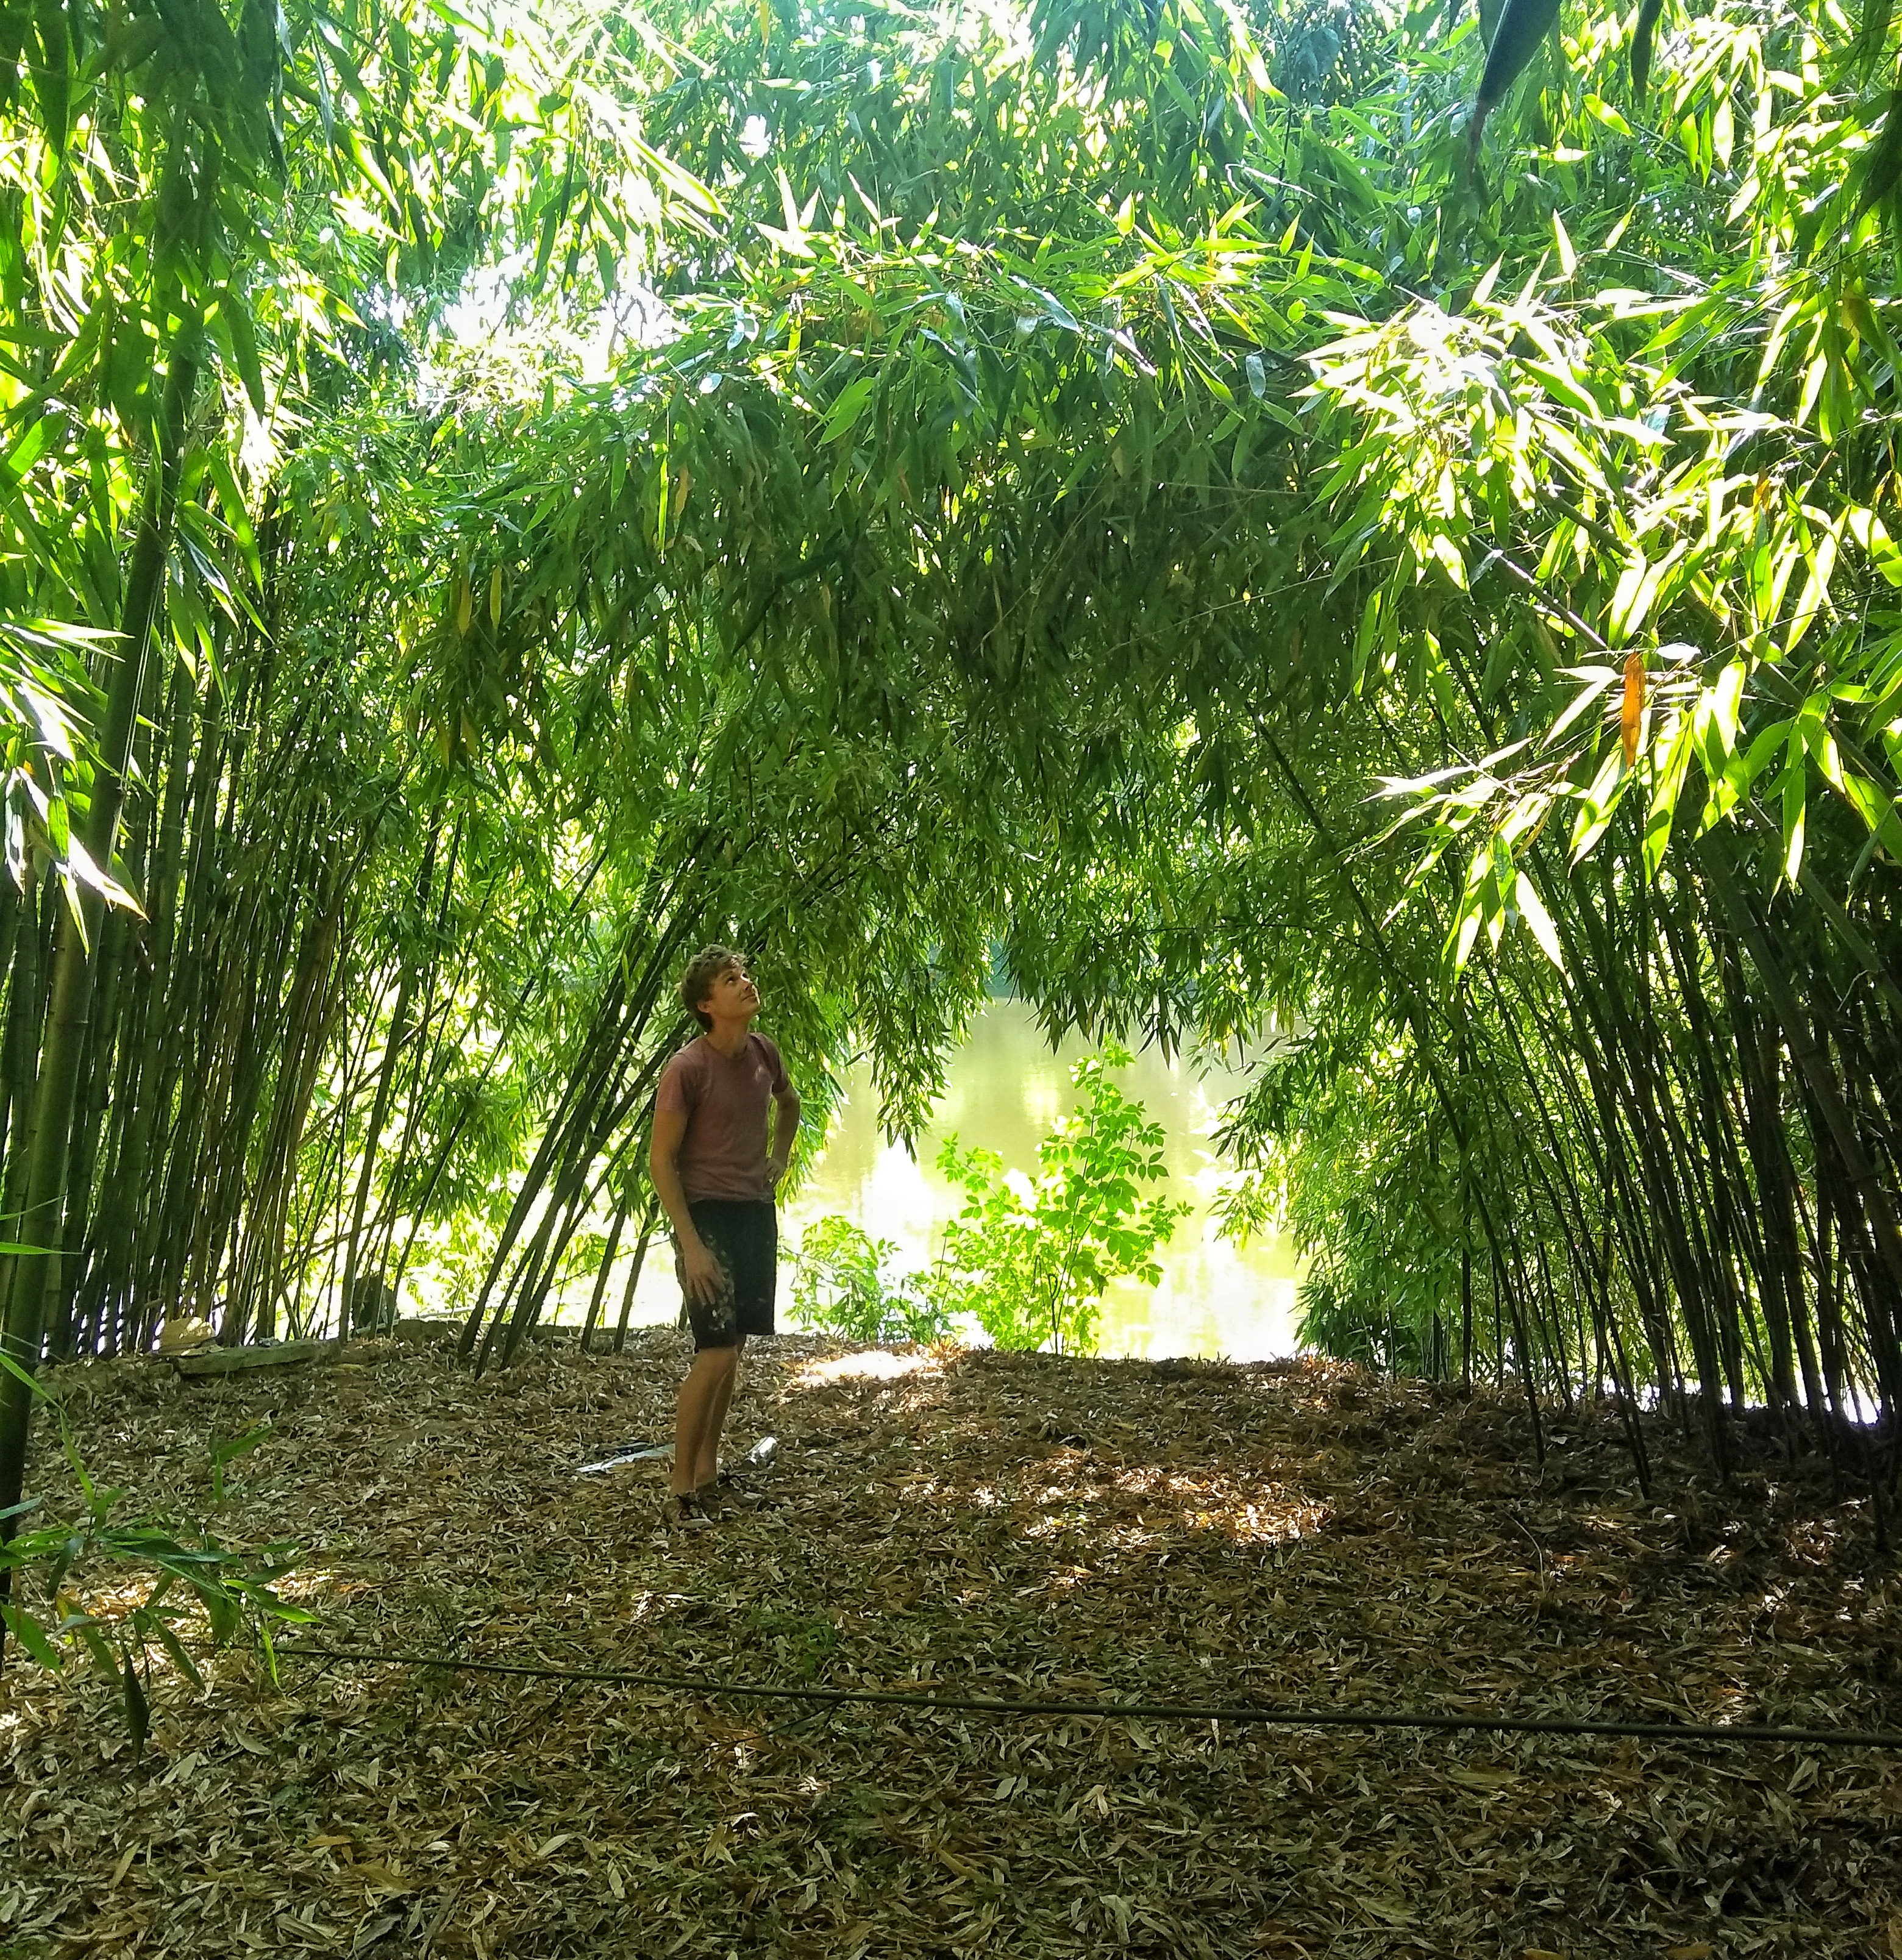
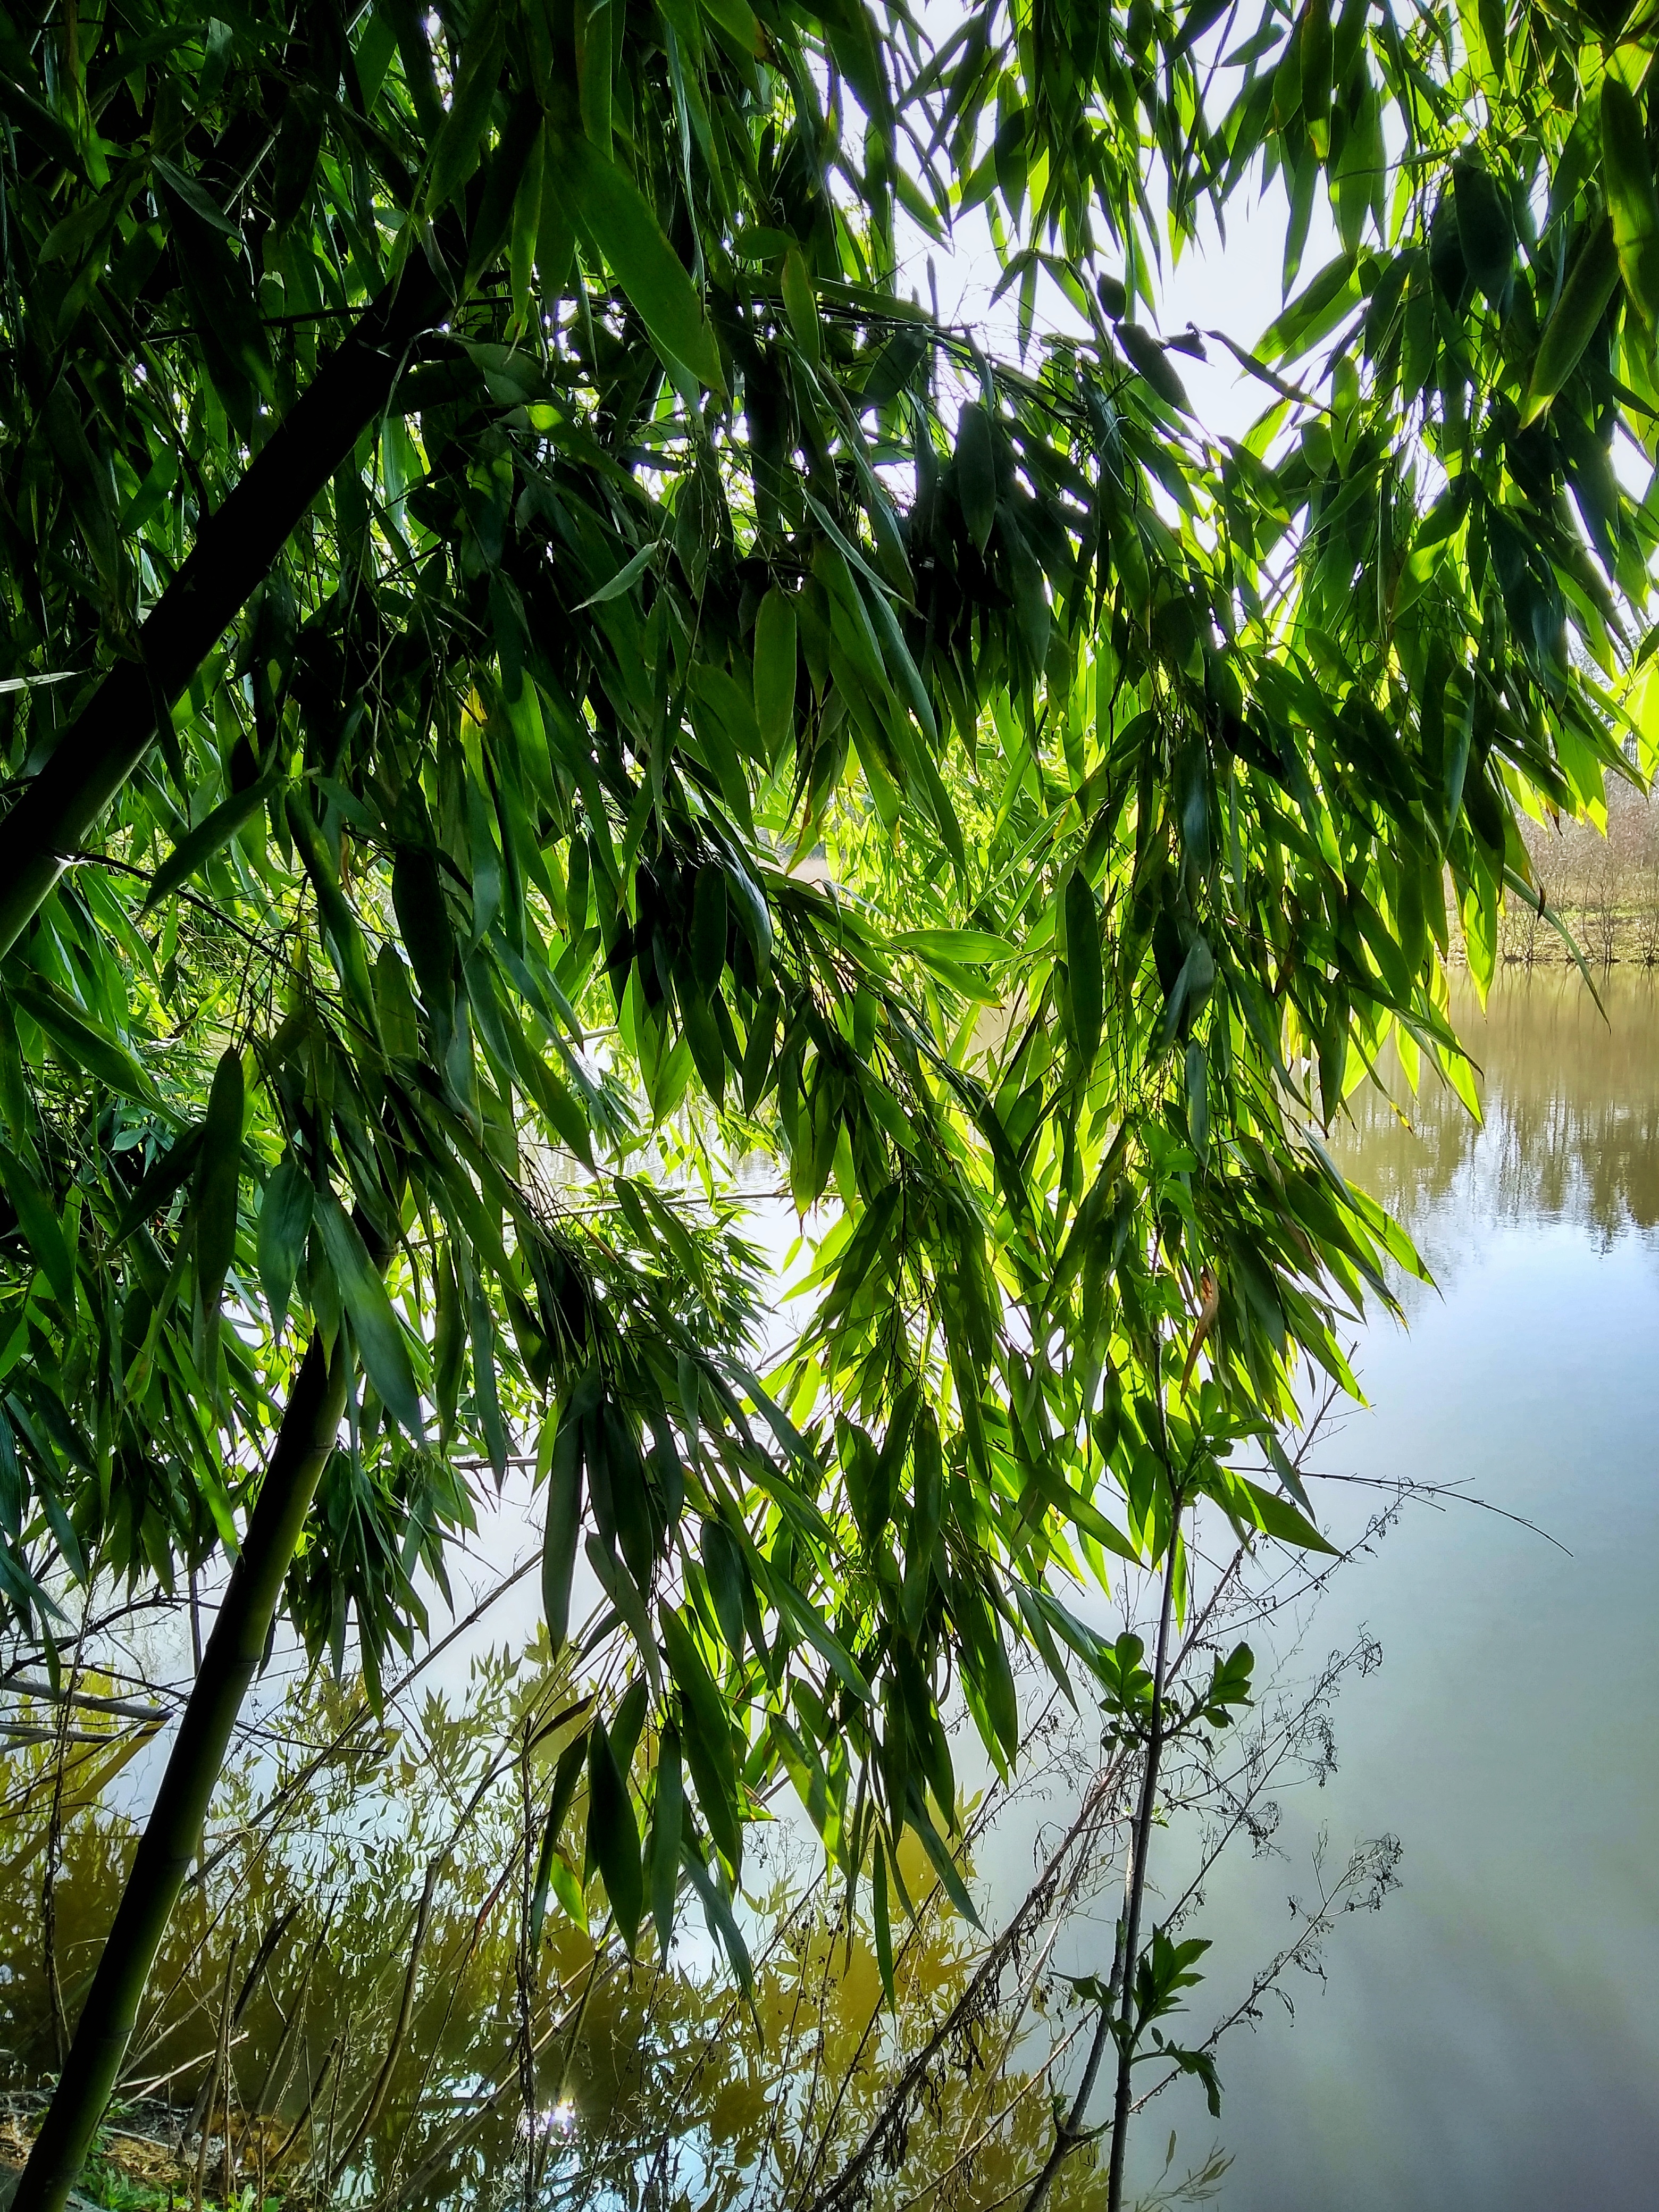
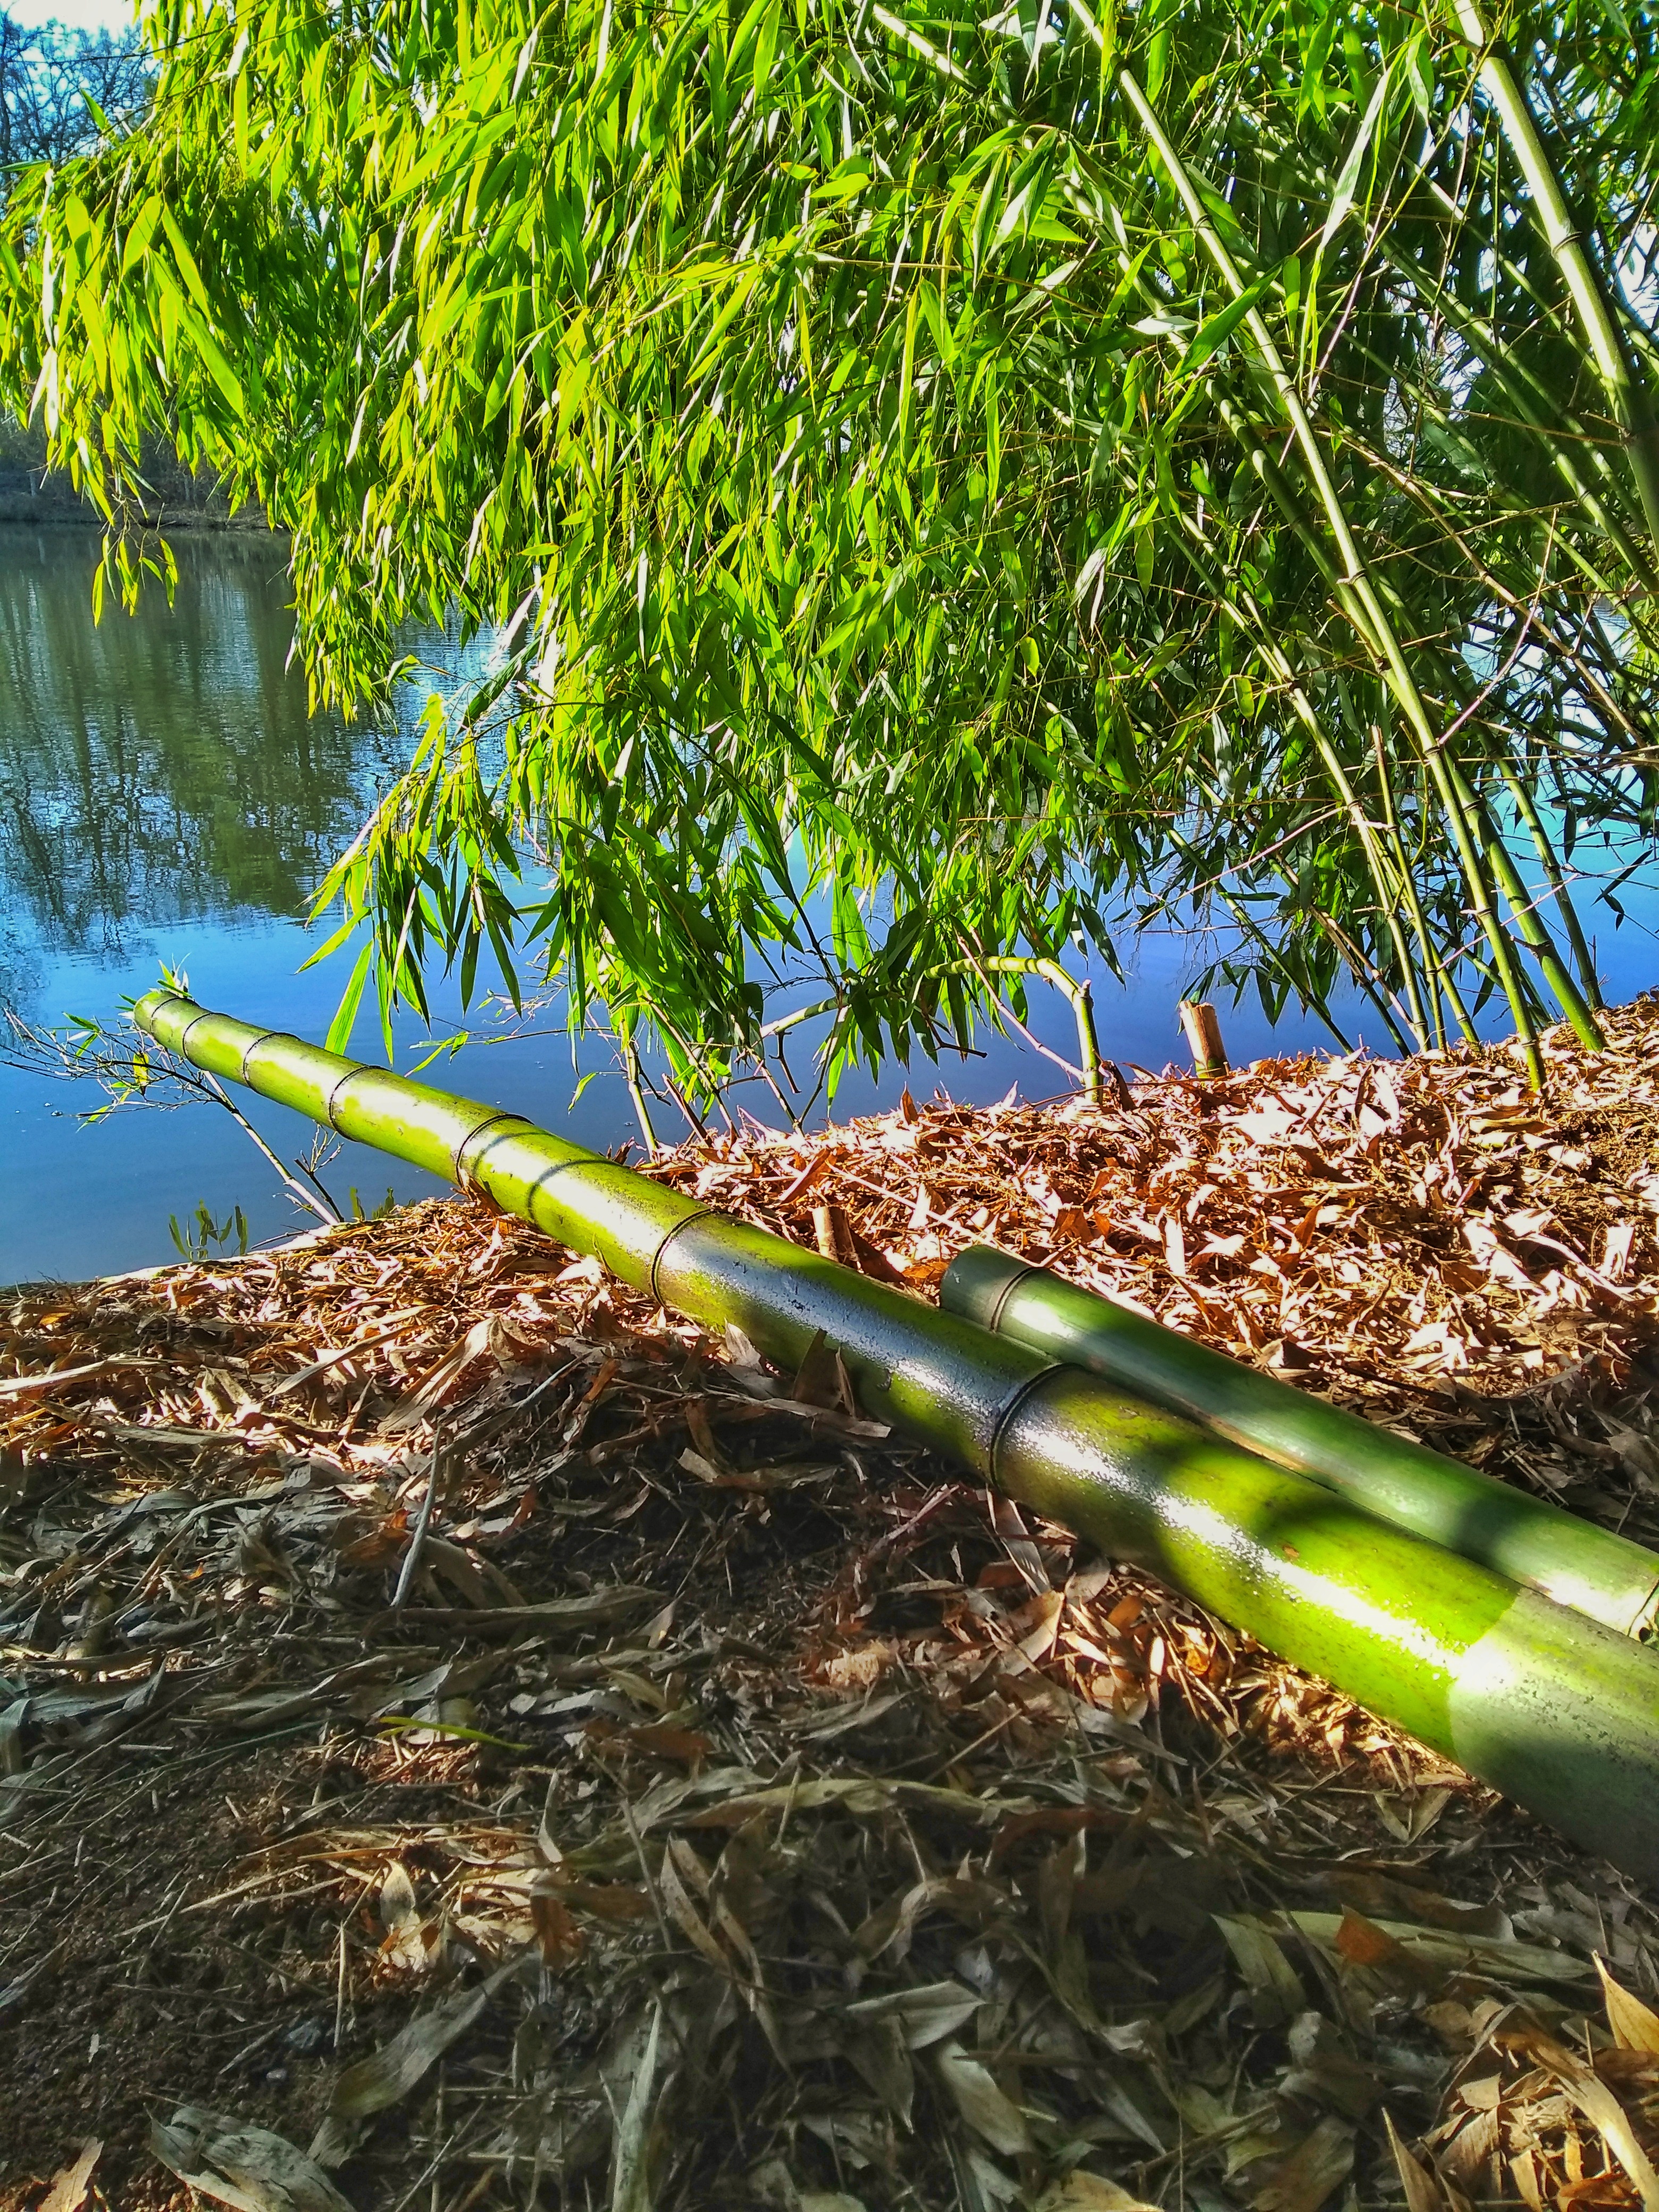
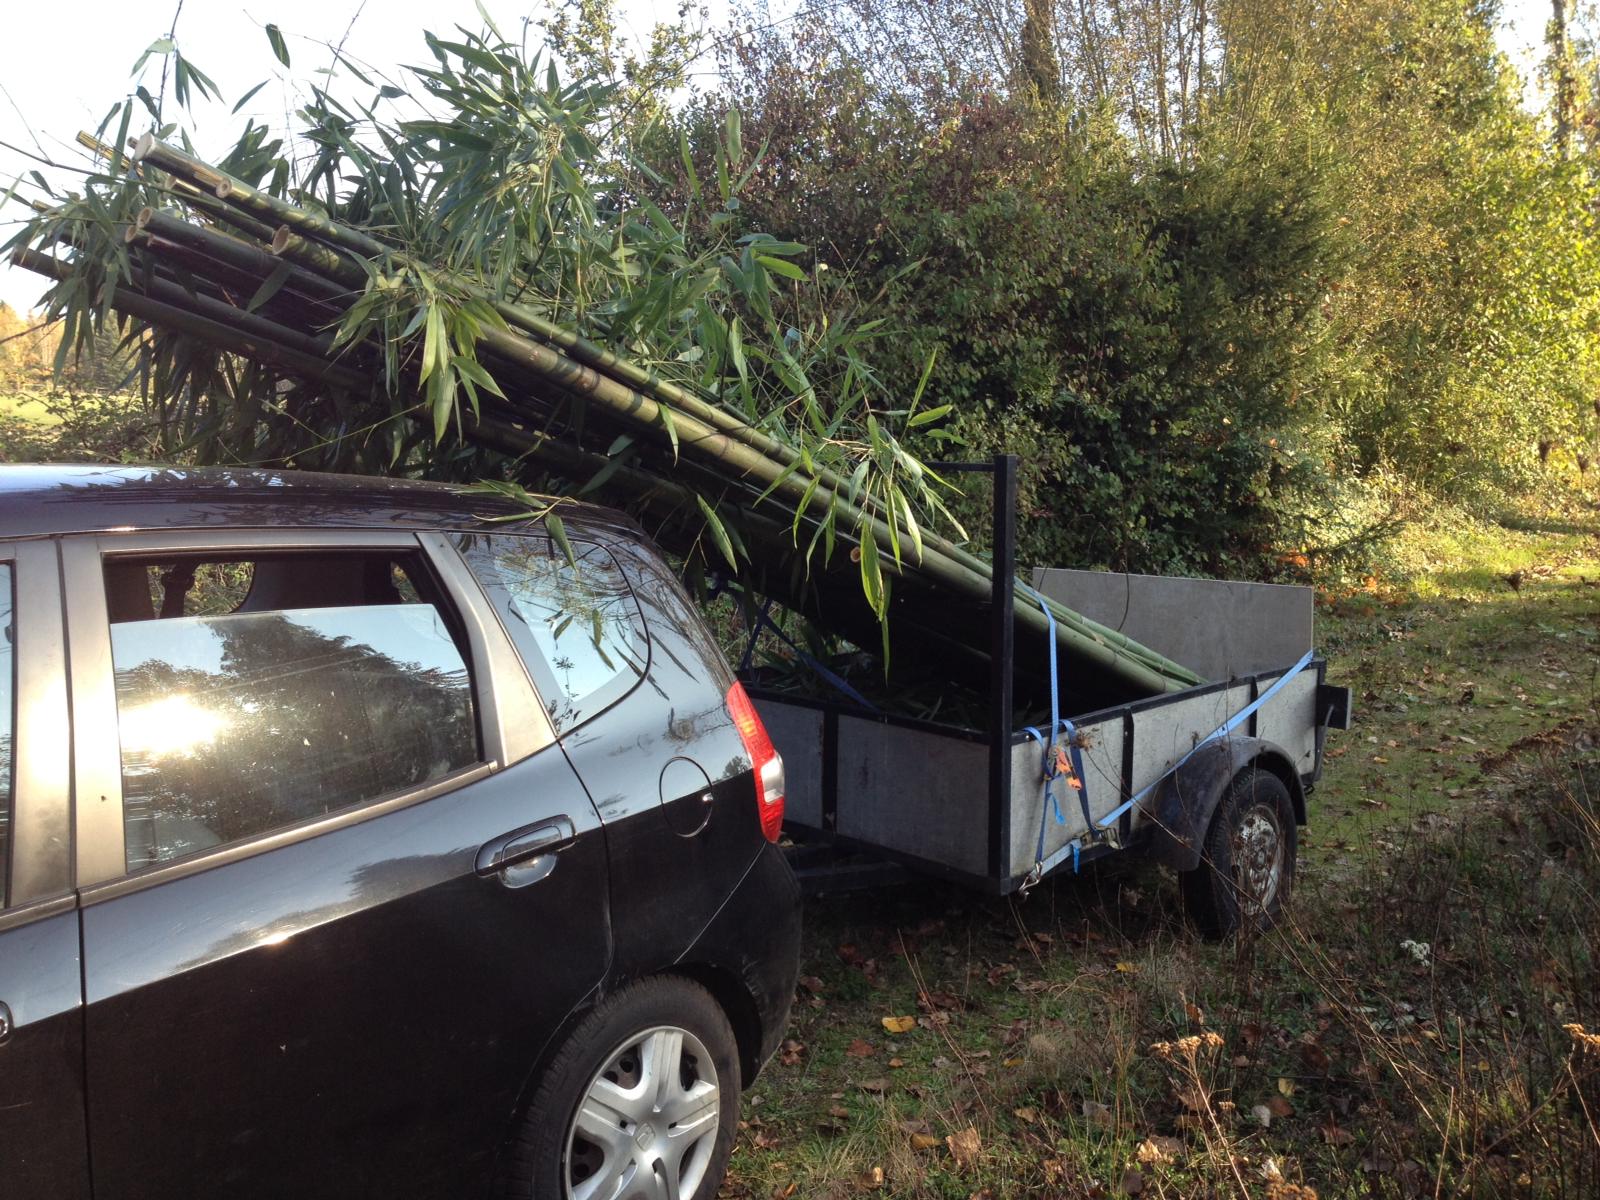
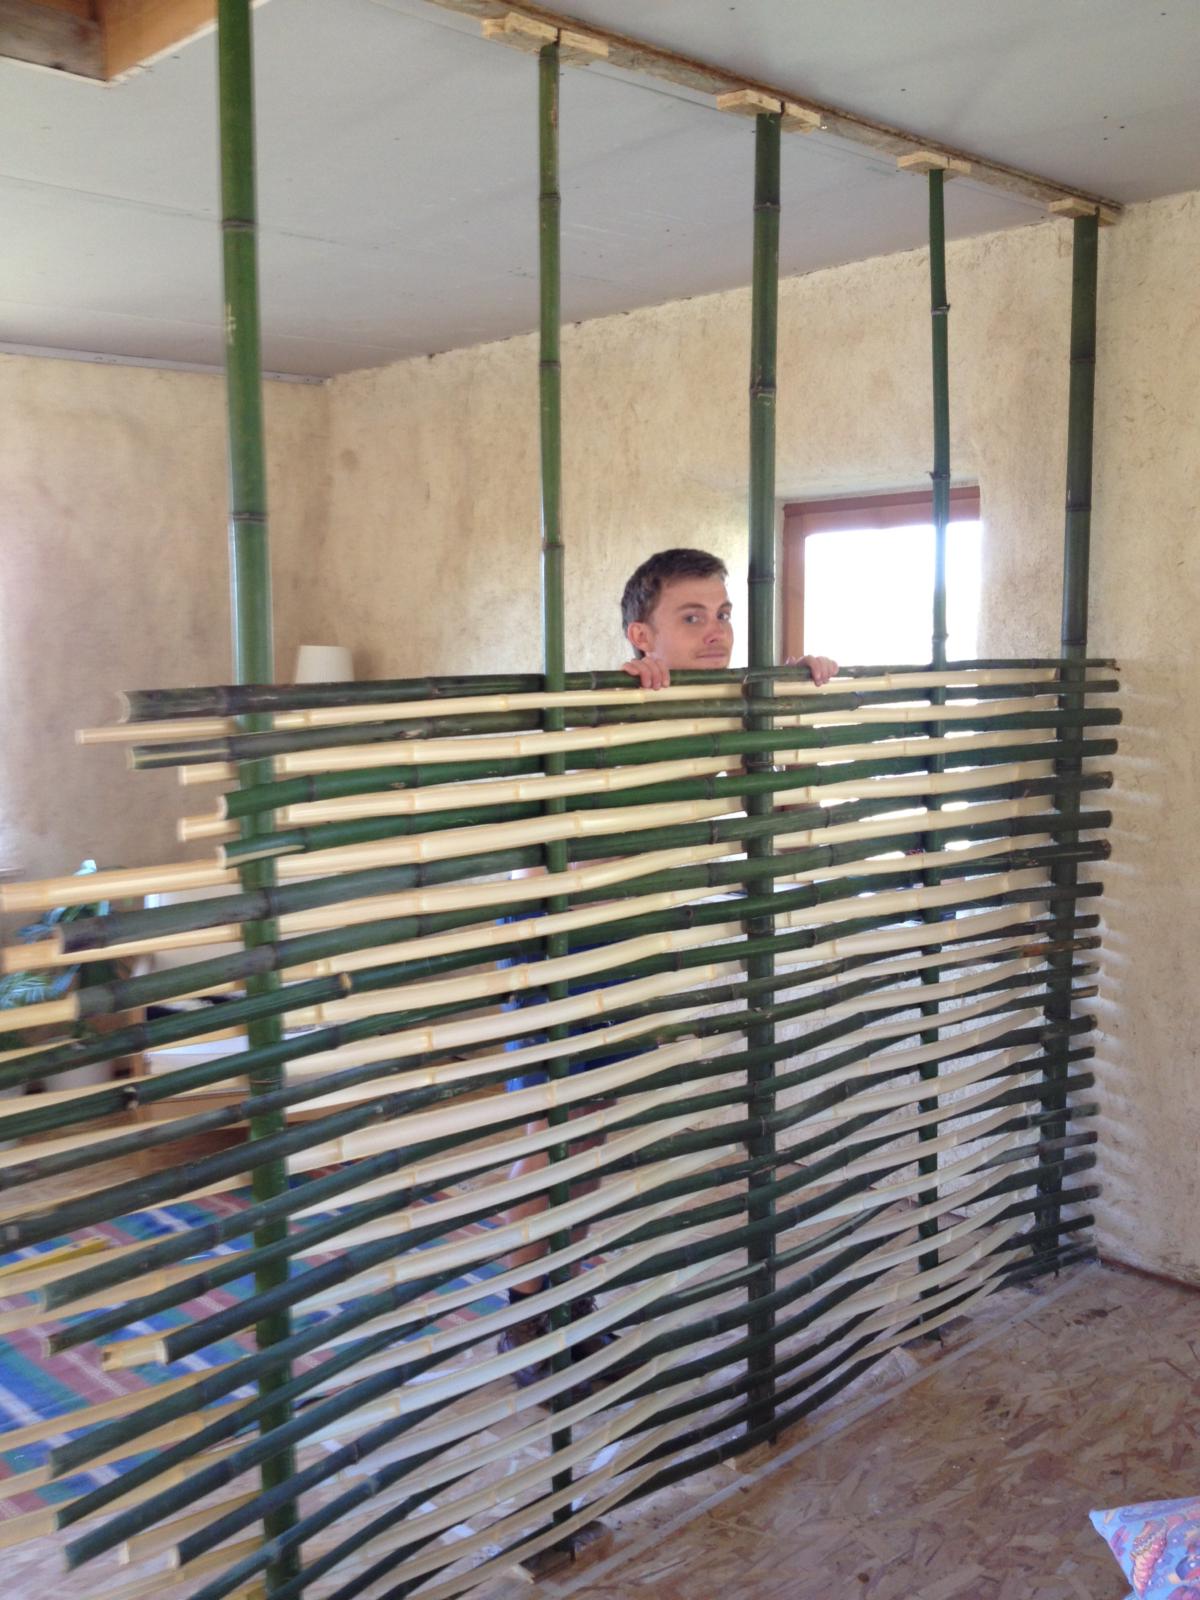
Traditionally, wattle and daub in the UK is created using a framework of woven hazel or willow – the ‘wattle’. Finding large quantities of these trees that can be cut for our purpose was surprisingly hard here in France. So we turned to the Far Eastern and tropical material, bamboo. Which happens to be one of my all time favourite plants, its durability, sustainability (growth time) and prolific nature make it an ideal choice. Where to find a bamboo forest in the south of France I hear you cry? Well, just down the road. Two generous friends of ours have a beautiful, well established bamboo forest nestled gorgeously around a lake on their grounds. They were kind enough to allow us use of their bamboo for our wattle structure and panels, and we made many trips to the bamboo forest. I love going there, it’s like teleporting to Japan.

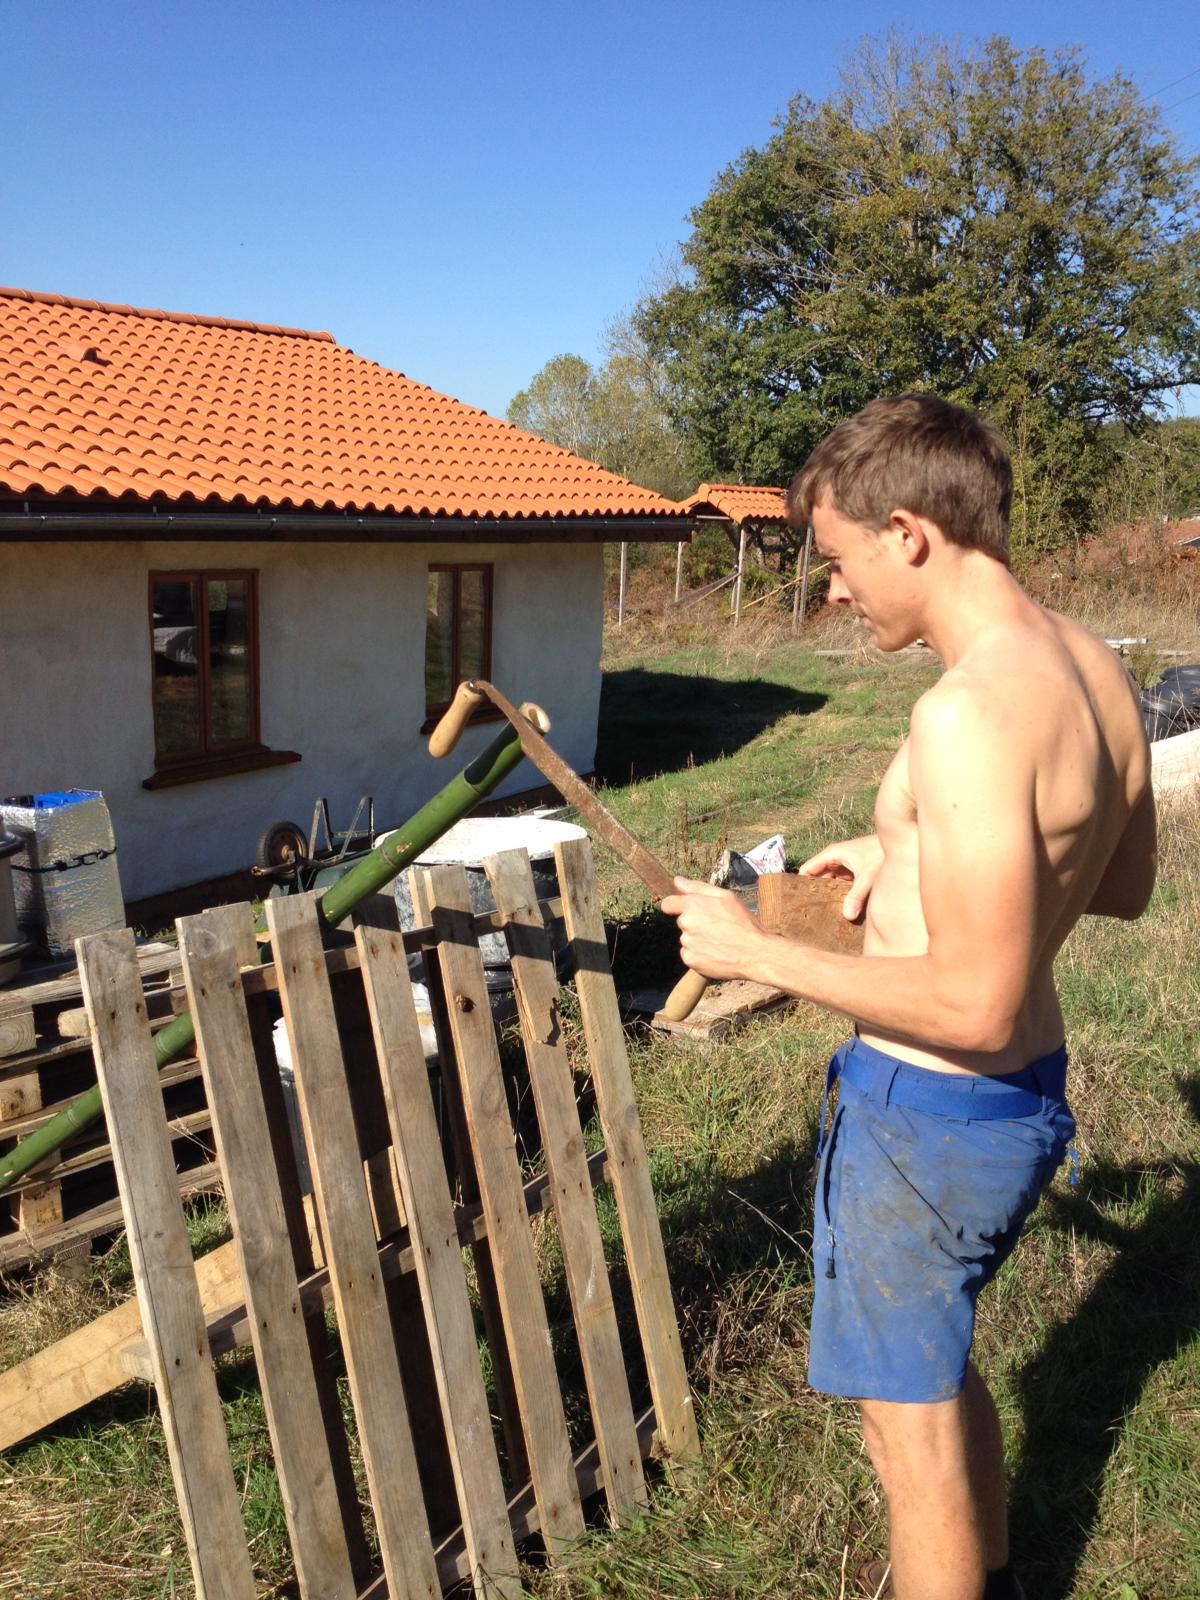
In order to use the bamboo it is necessary to split it into useable sections. To do this we employed the use of good old YouTube and a Japanese master carpenter, who humbly showed us the way. The finished result was strips of bamboo suitable for both the structure of the walls and the infill.
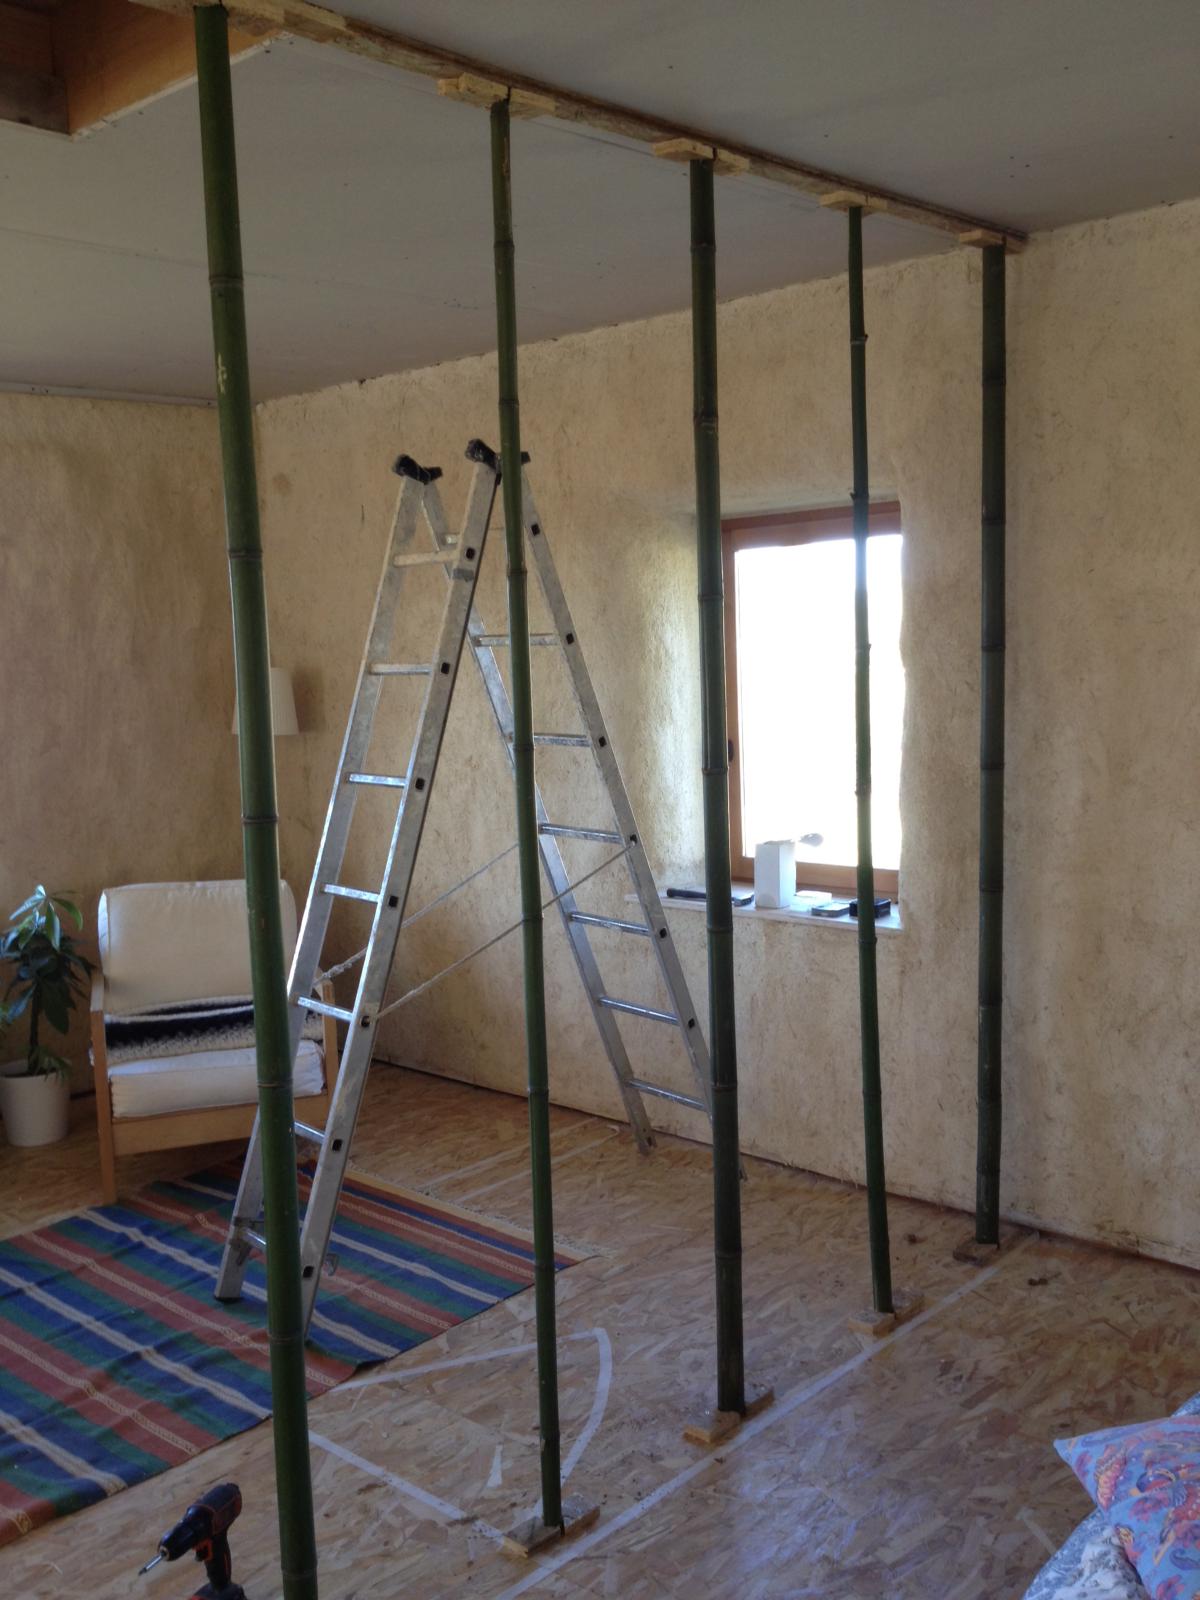
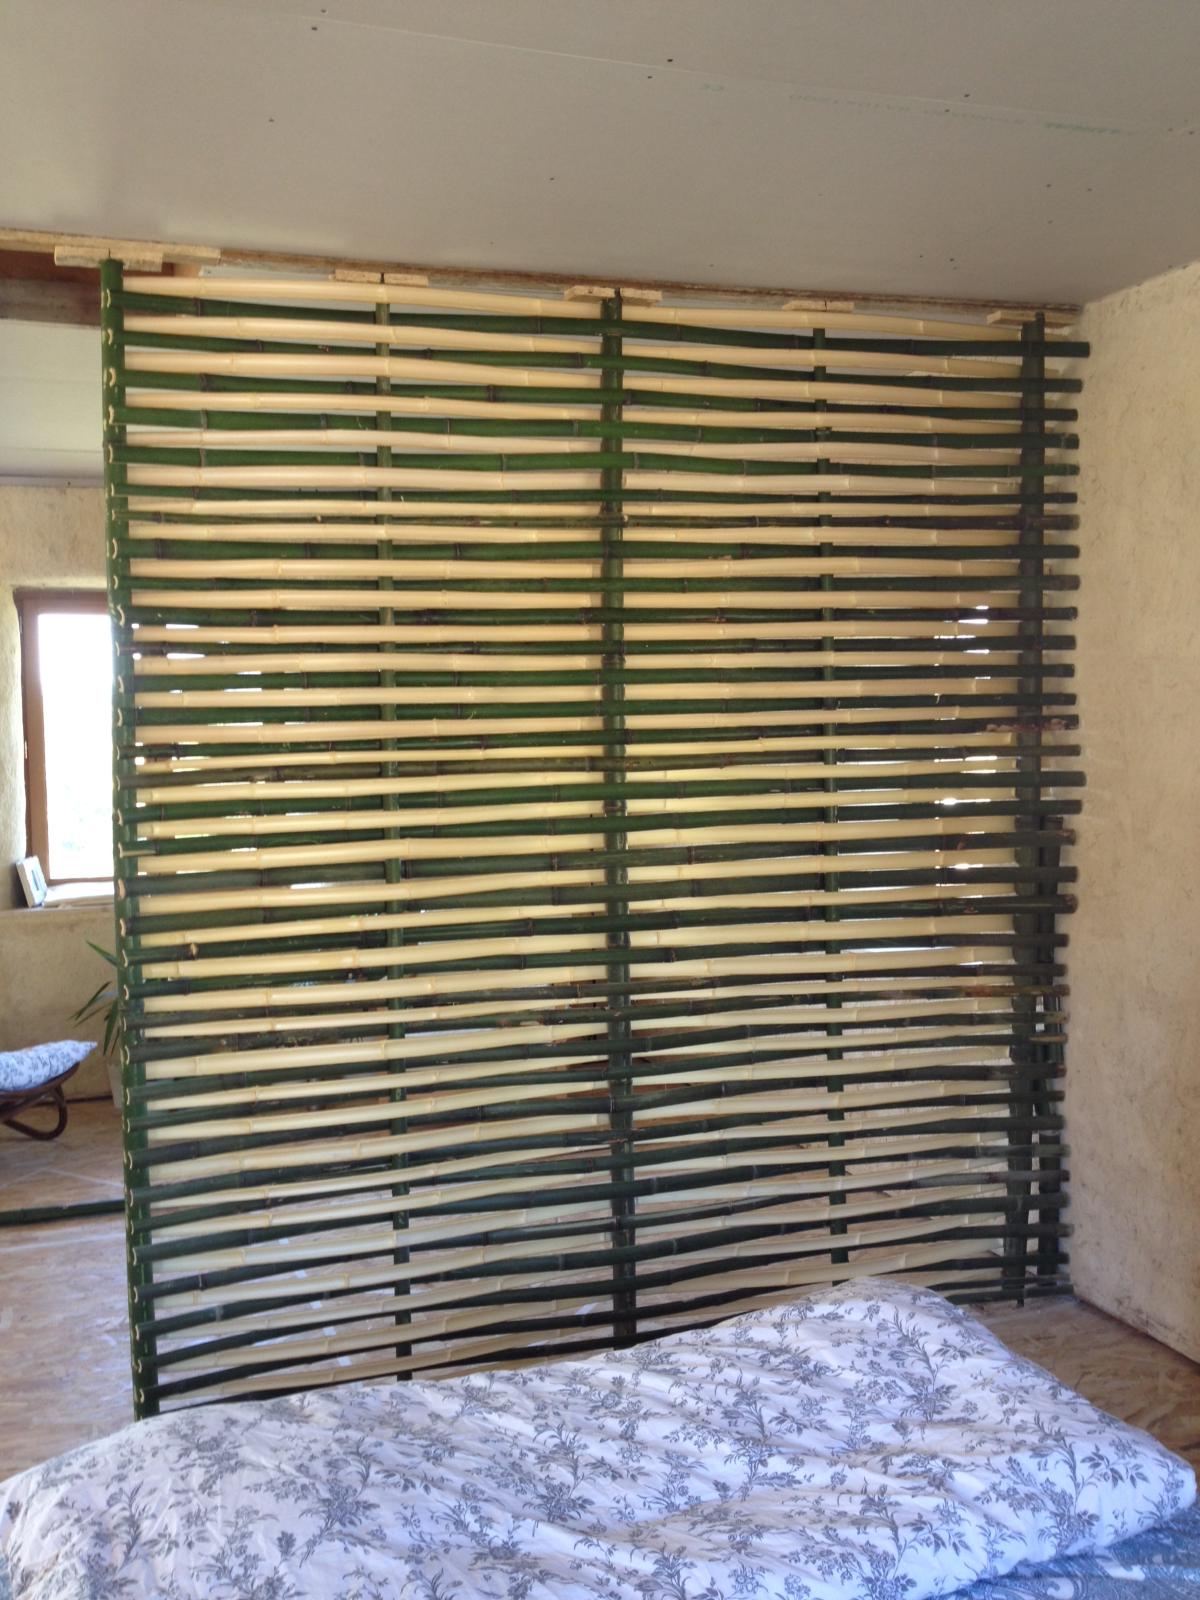
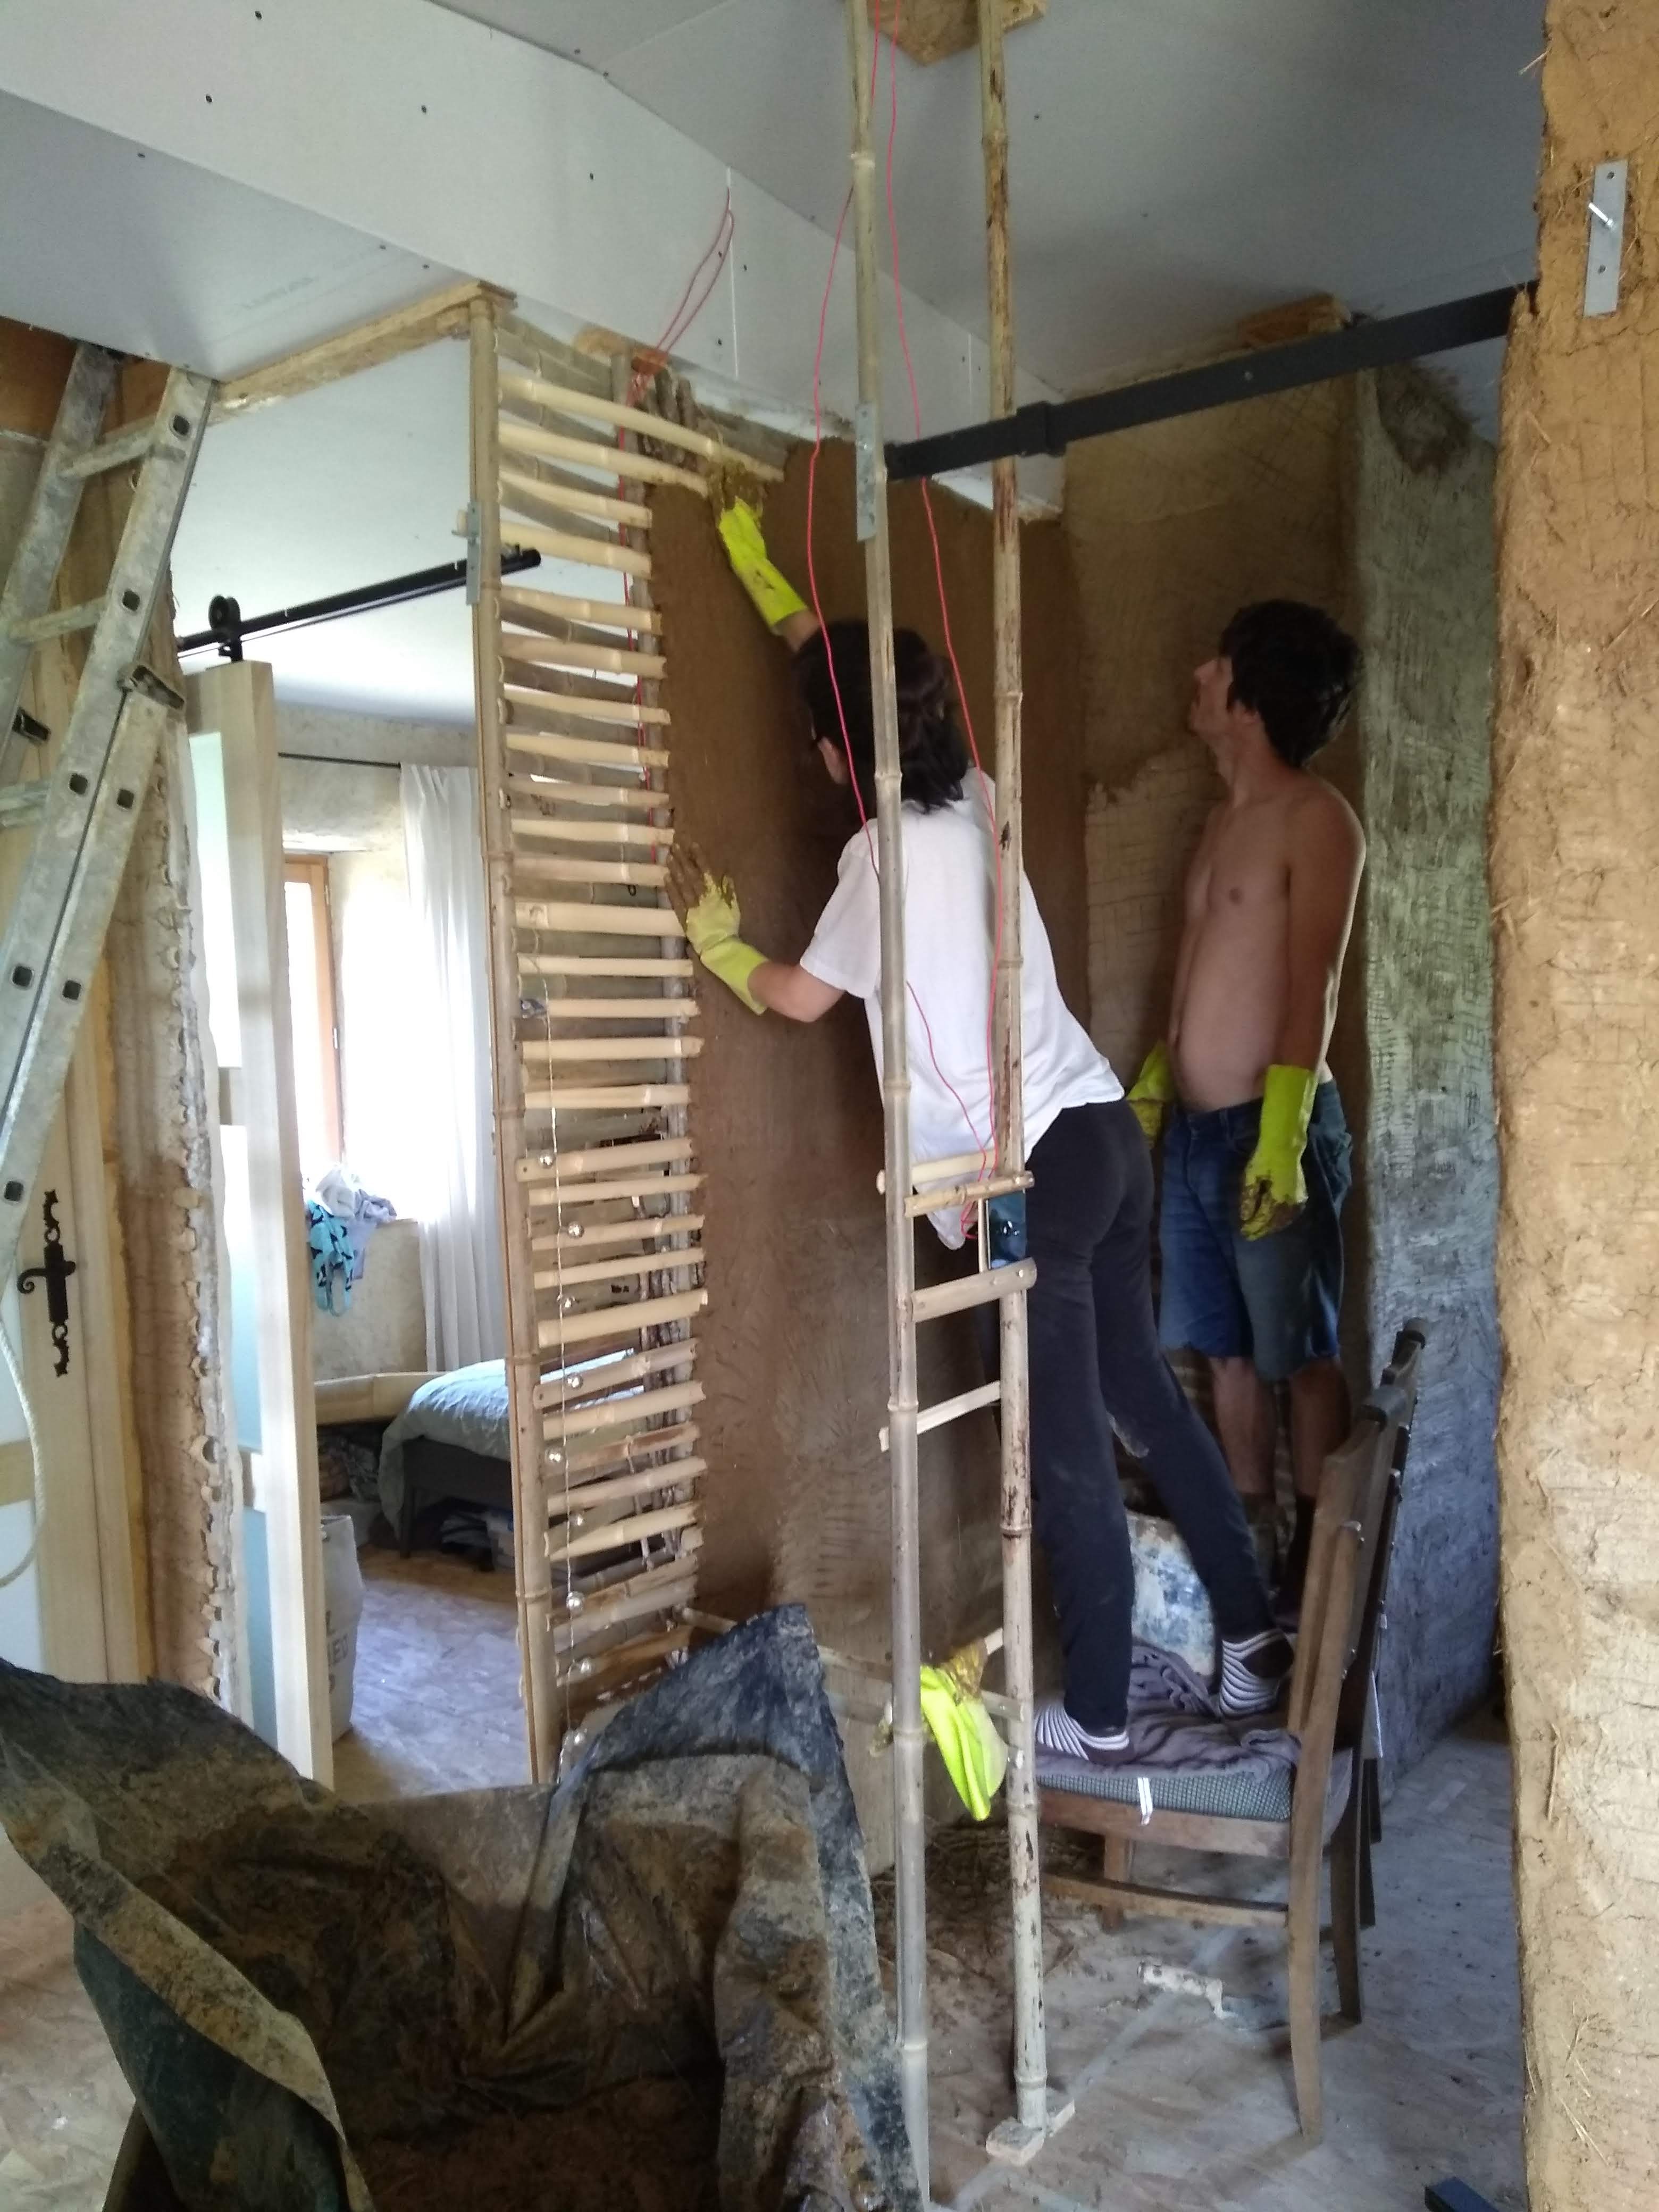
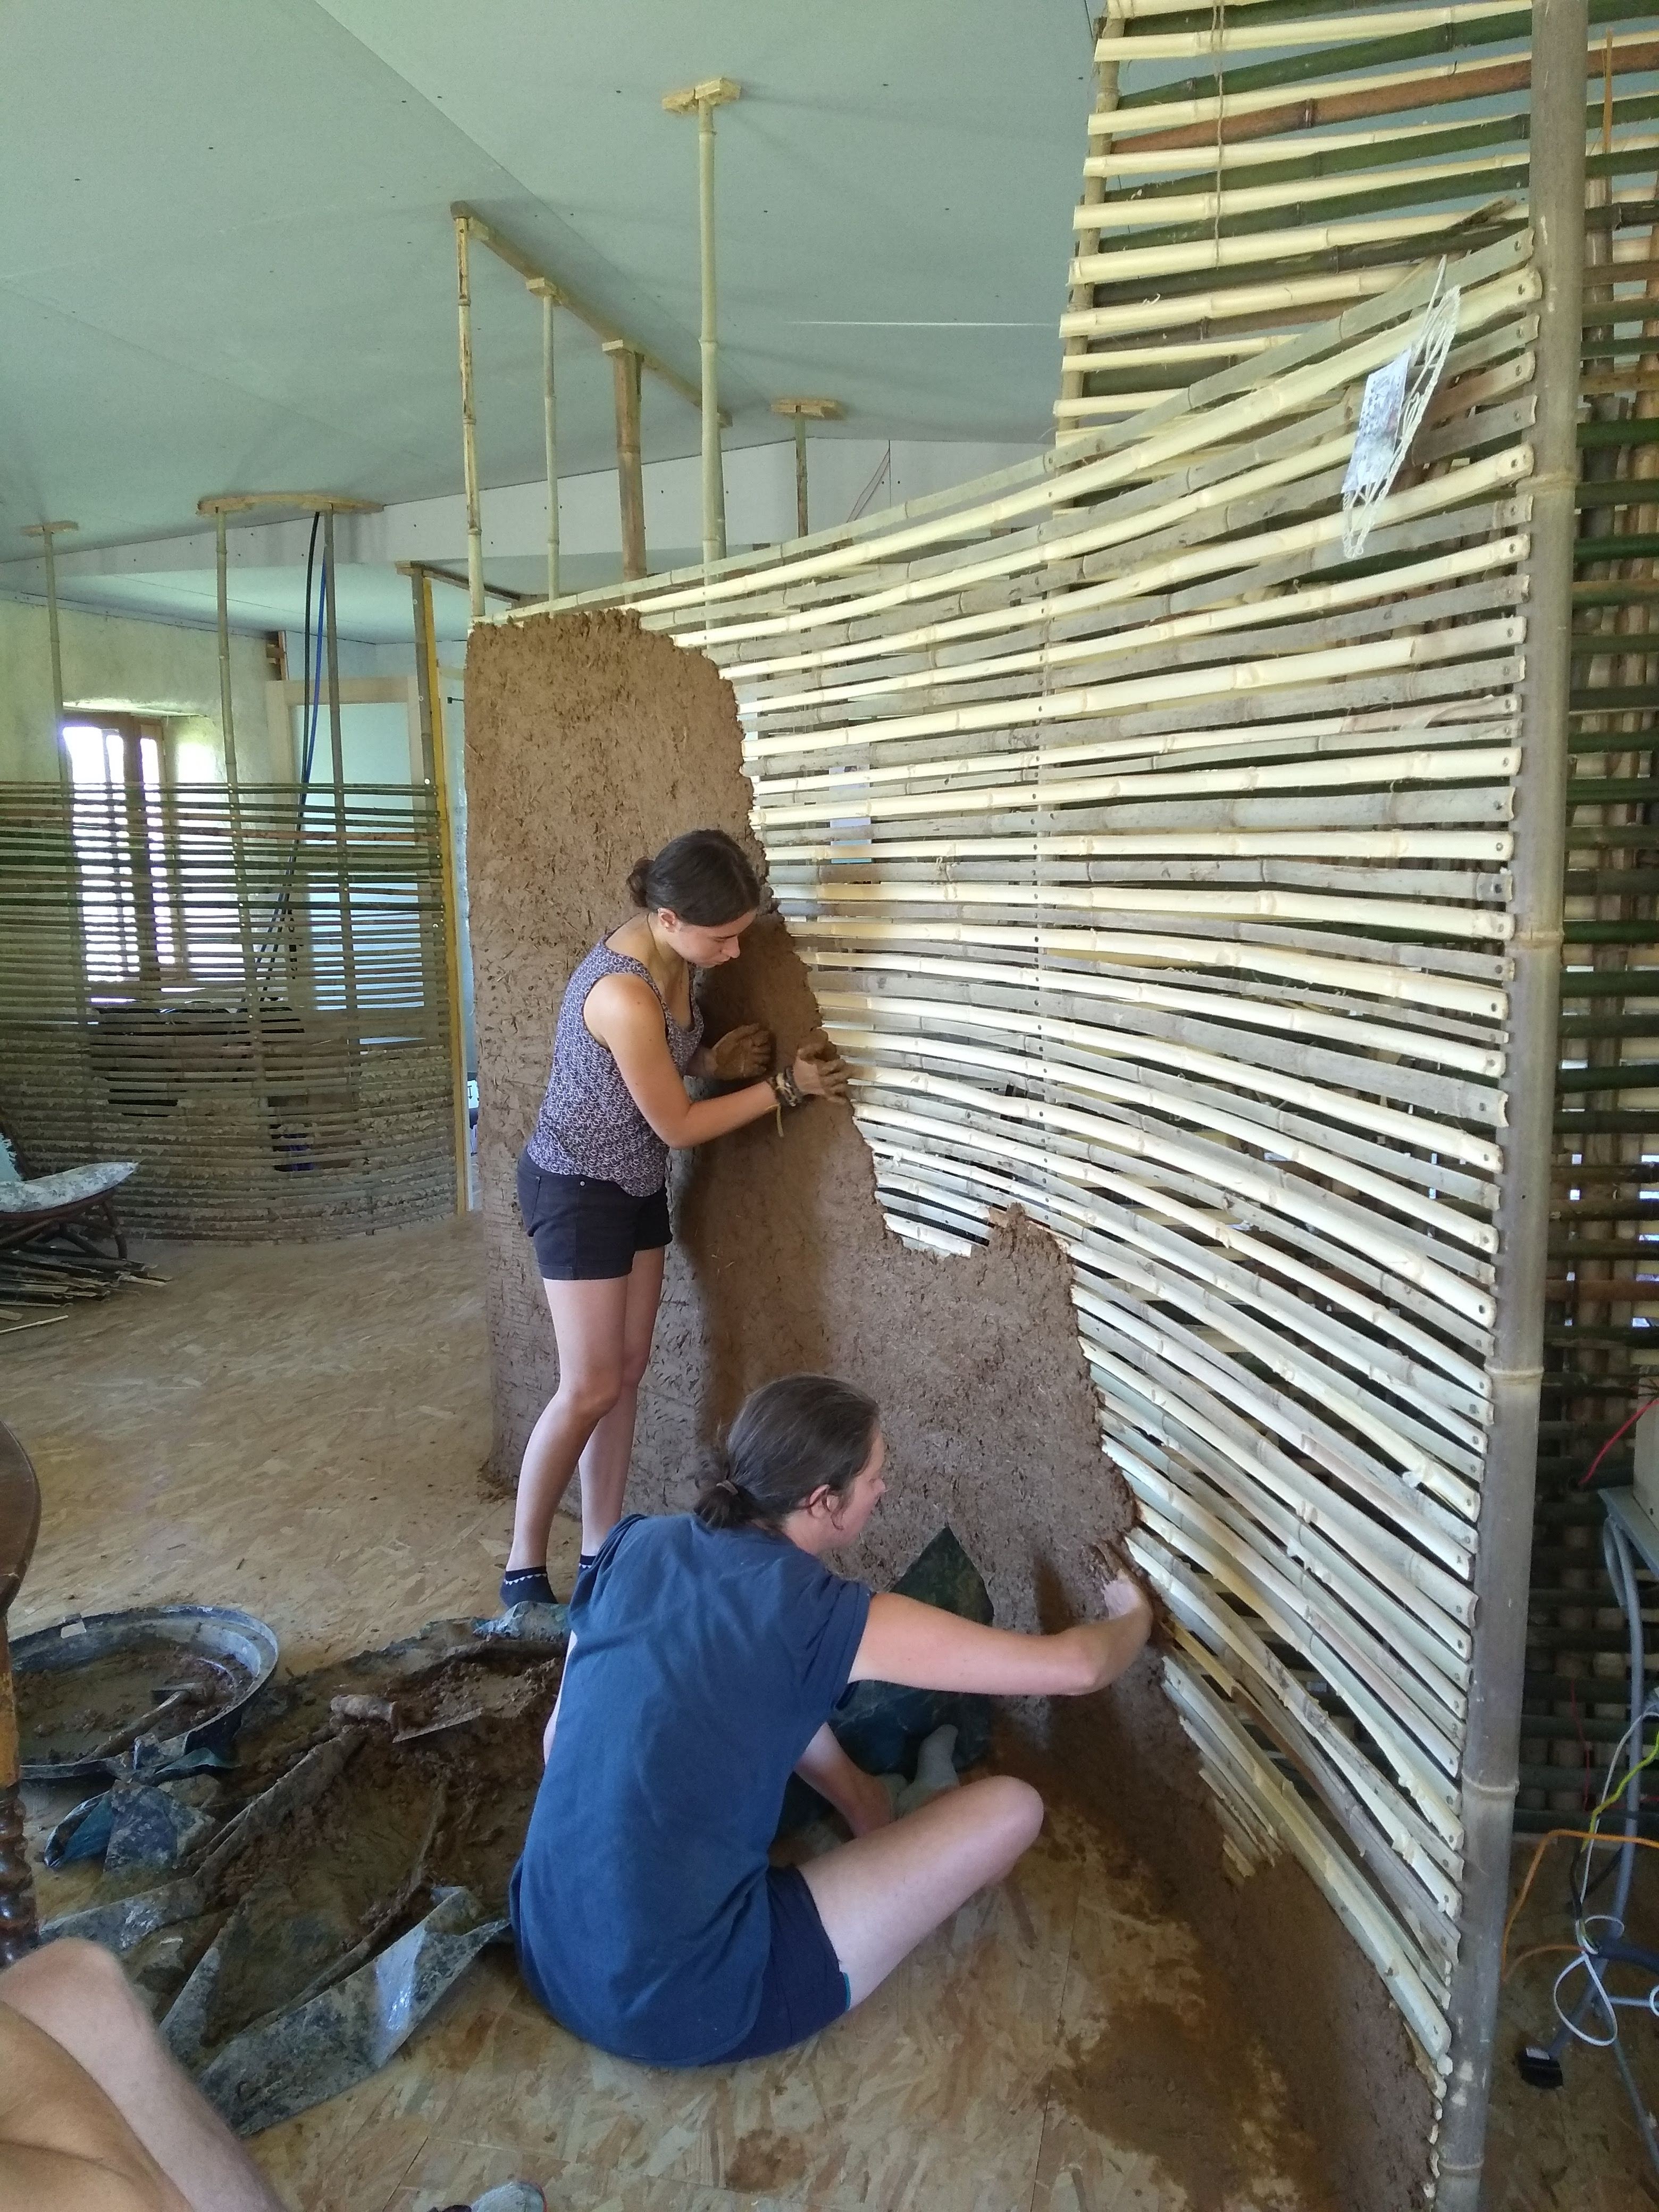
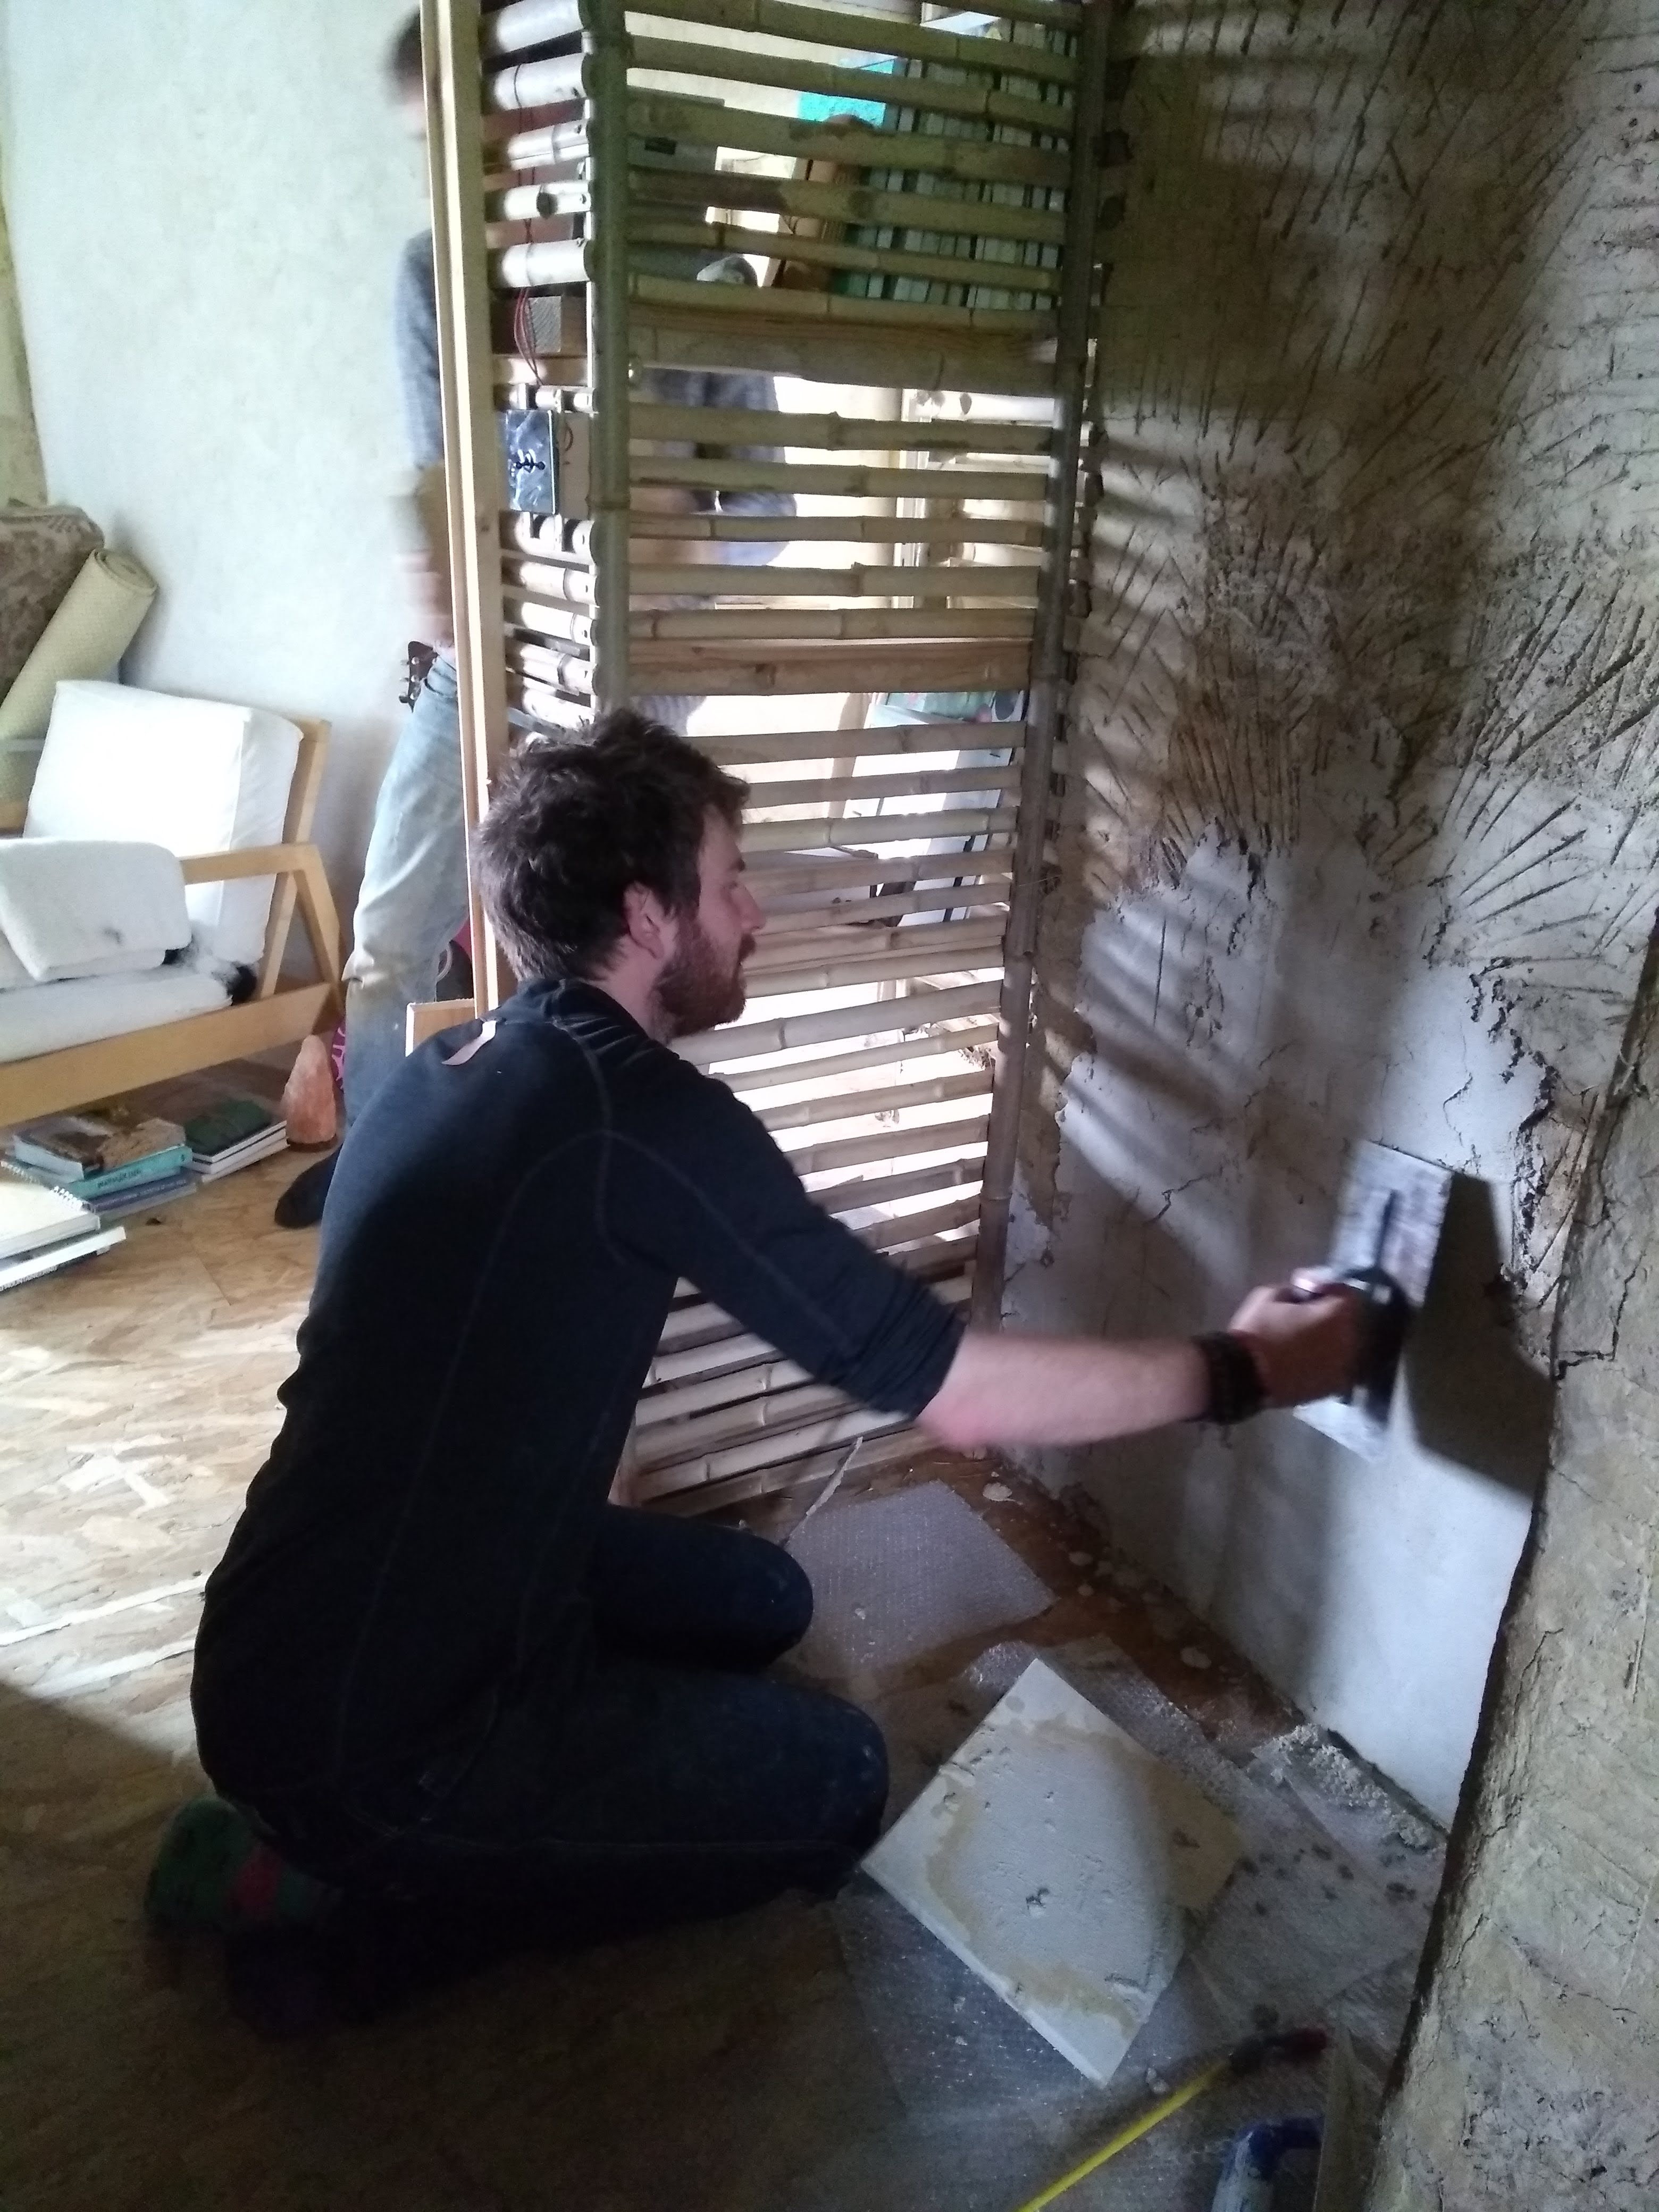
These were created by using the roof joists and the floor as fixing points and then weaving the strips of bamboo in between the upright posts. After creating a few walls in this way, we switched to the ‘panel’ technique, whereby a frame is made of bamboo and a single strut is fixed across. Although this method is more time consuming initially, our reasons for this are twofold: firstly the wall is much straighter, but secondly and most importantly it uses far less daub than the woven wall, which creates rather spacious cavities as it goes around each post. This saves times, effort and weight on the floor.
Most of the structure was left up for a long time in the house prior to smooshing on the daub, so it had plenty of time to season, often splitting with the sound of an almighty gun shot in the deepest quiet of the night! The entirety of our interior floor plan was created using bamboo in this way and quite honestly I absolutely loved the look of it like this, just as bamboo. I could have lived with it like that forever, were it not necessary to have some privacy and sound proofing for working and the toilet of course…

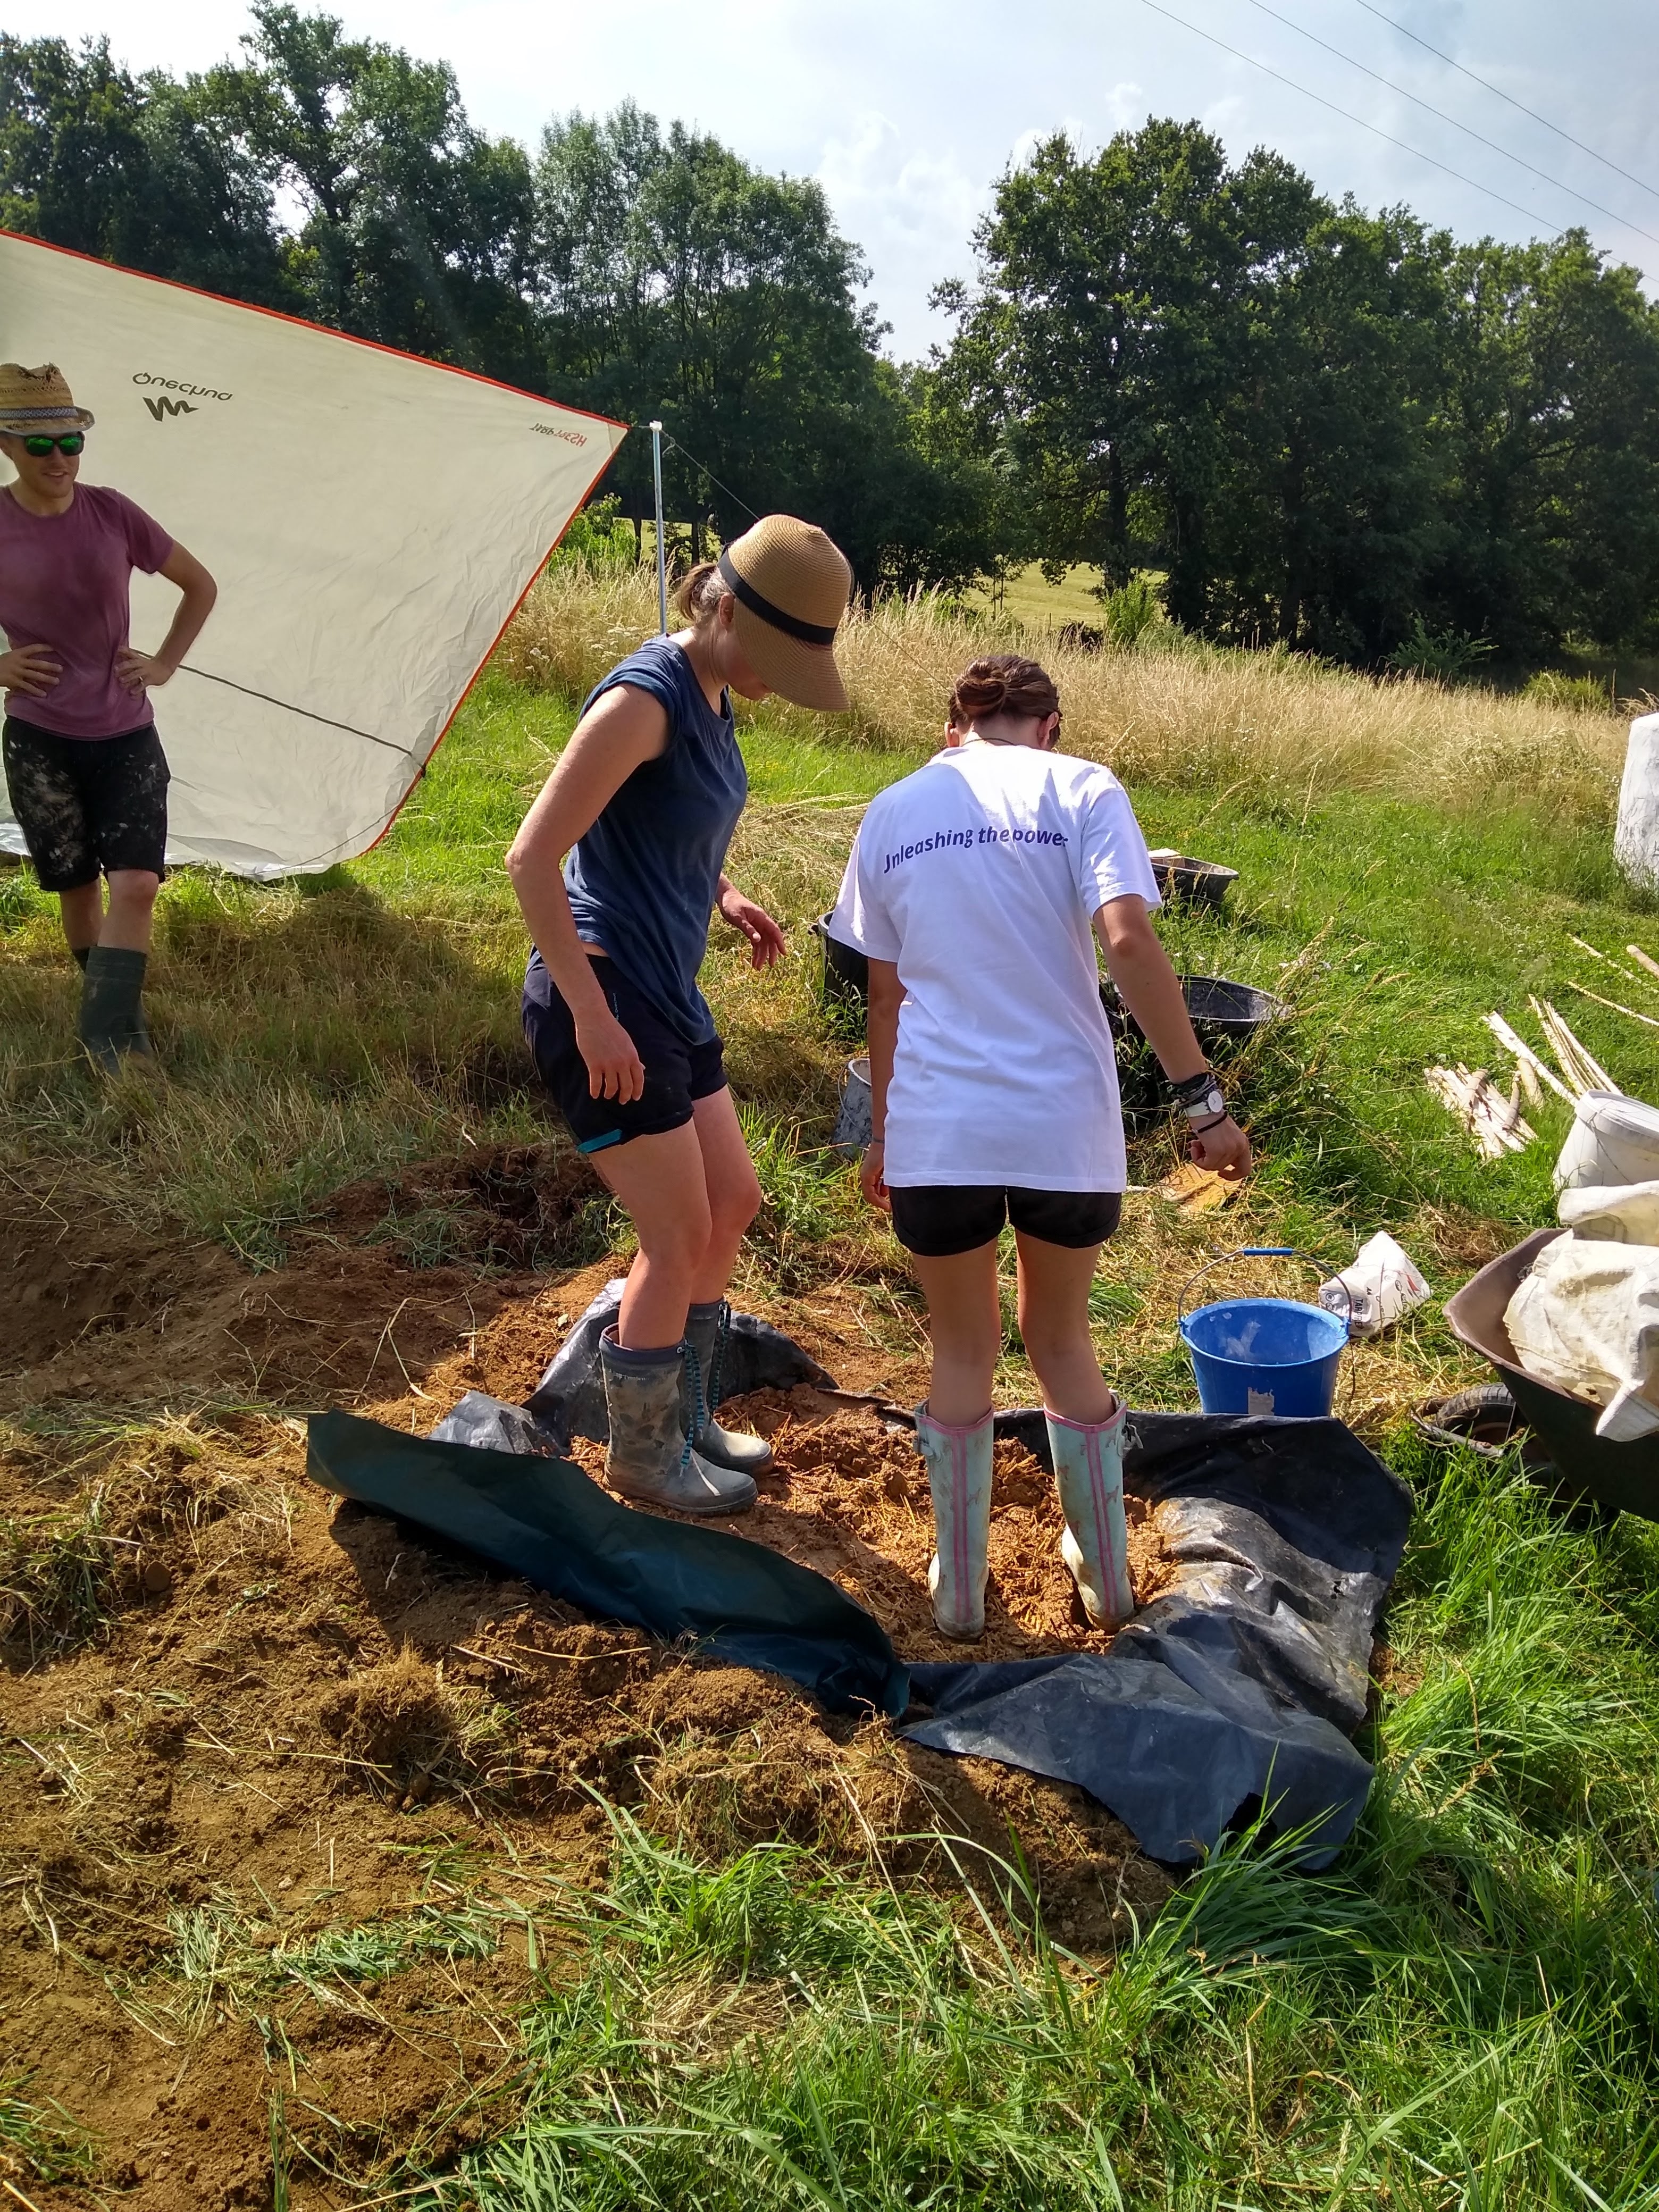
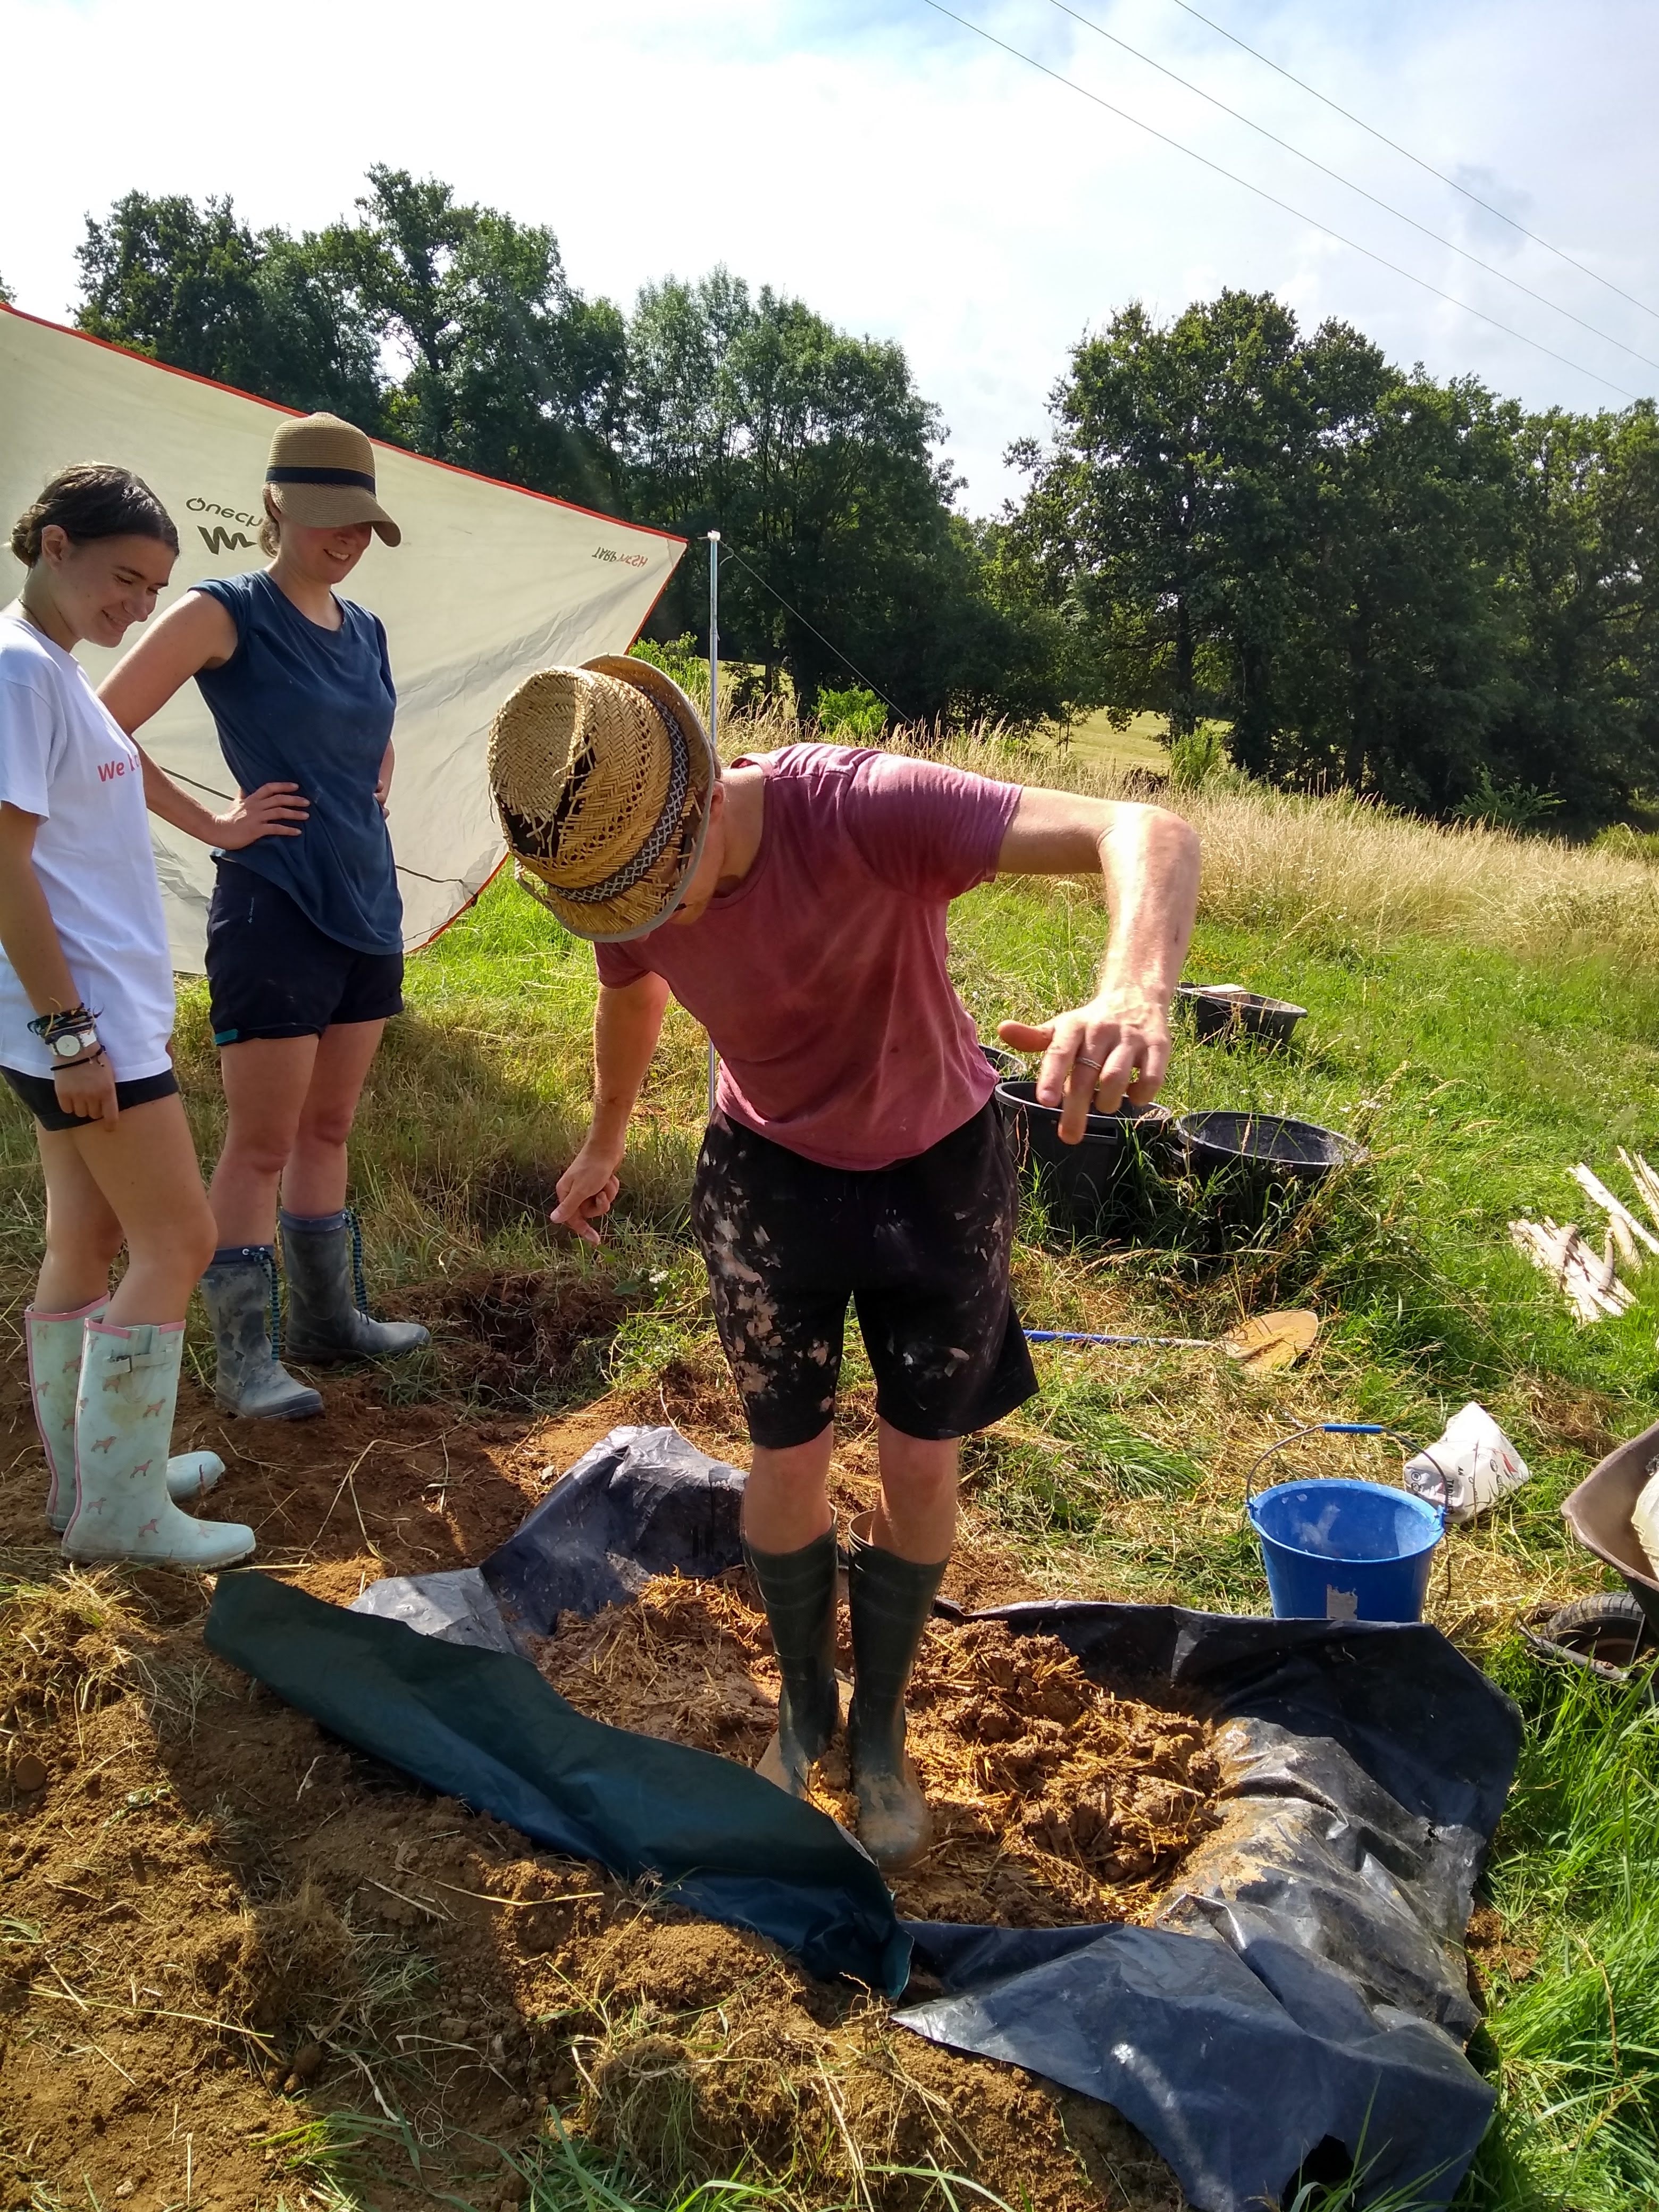
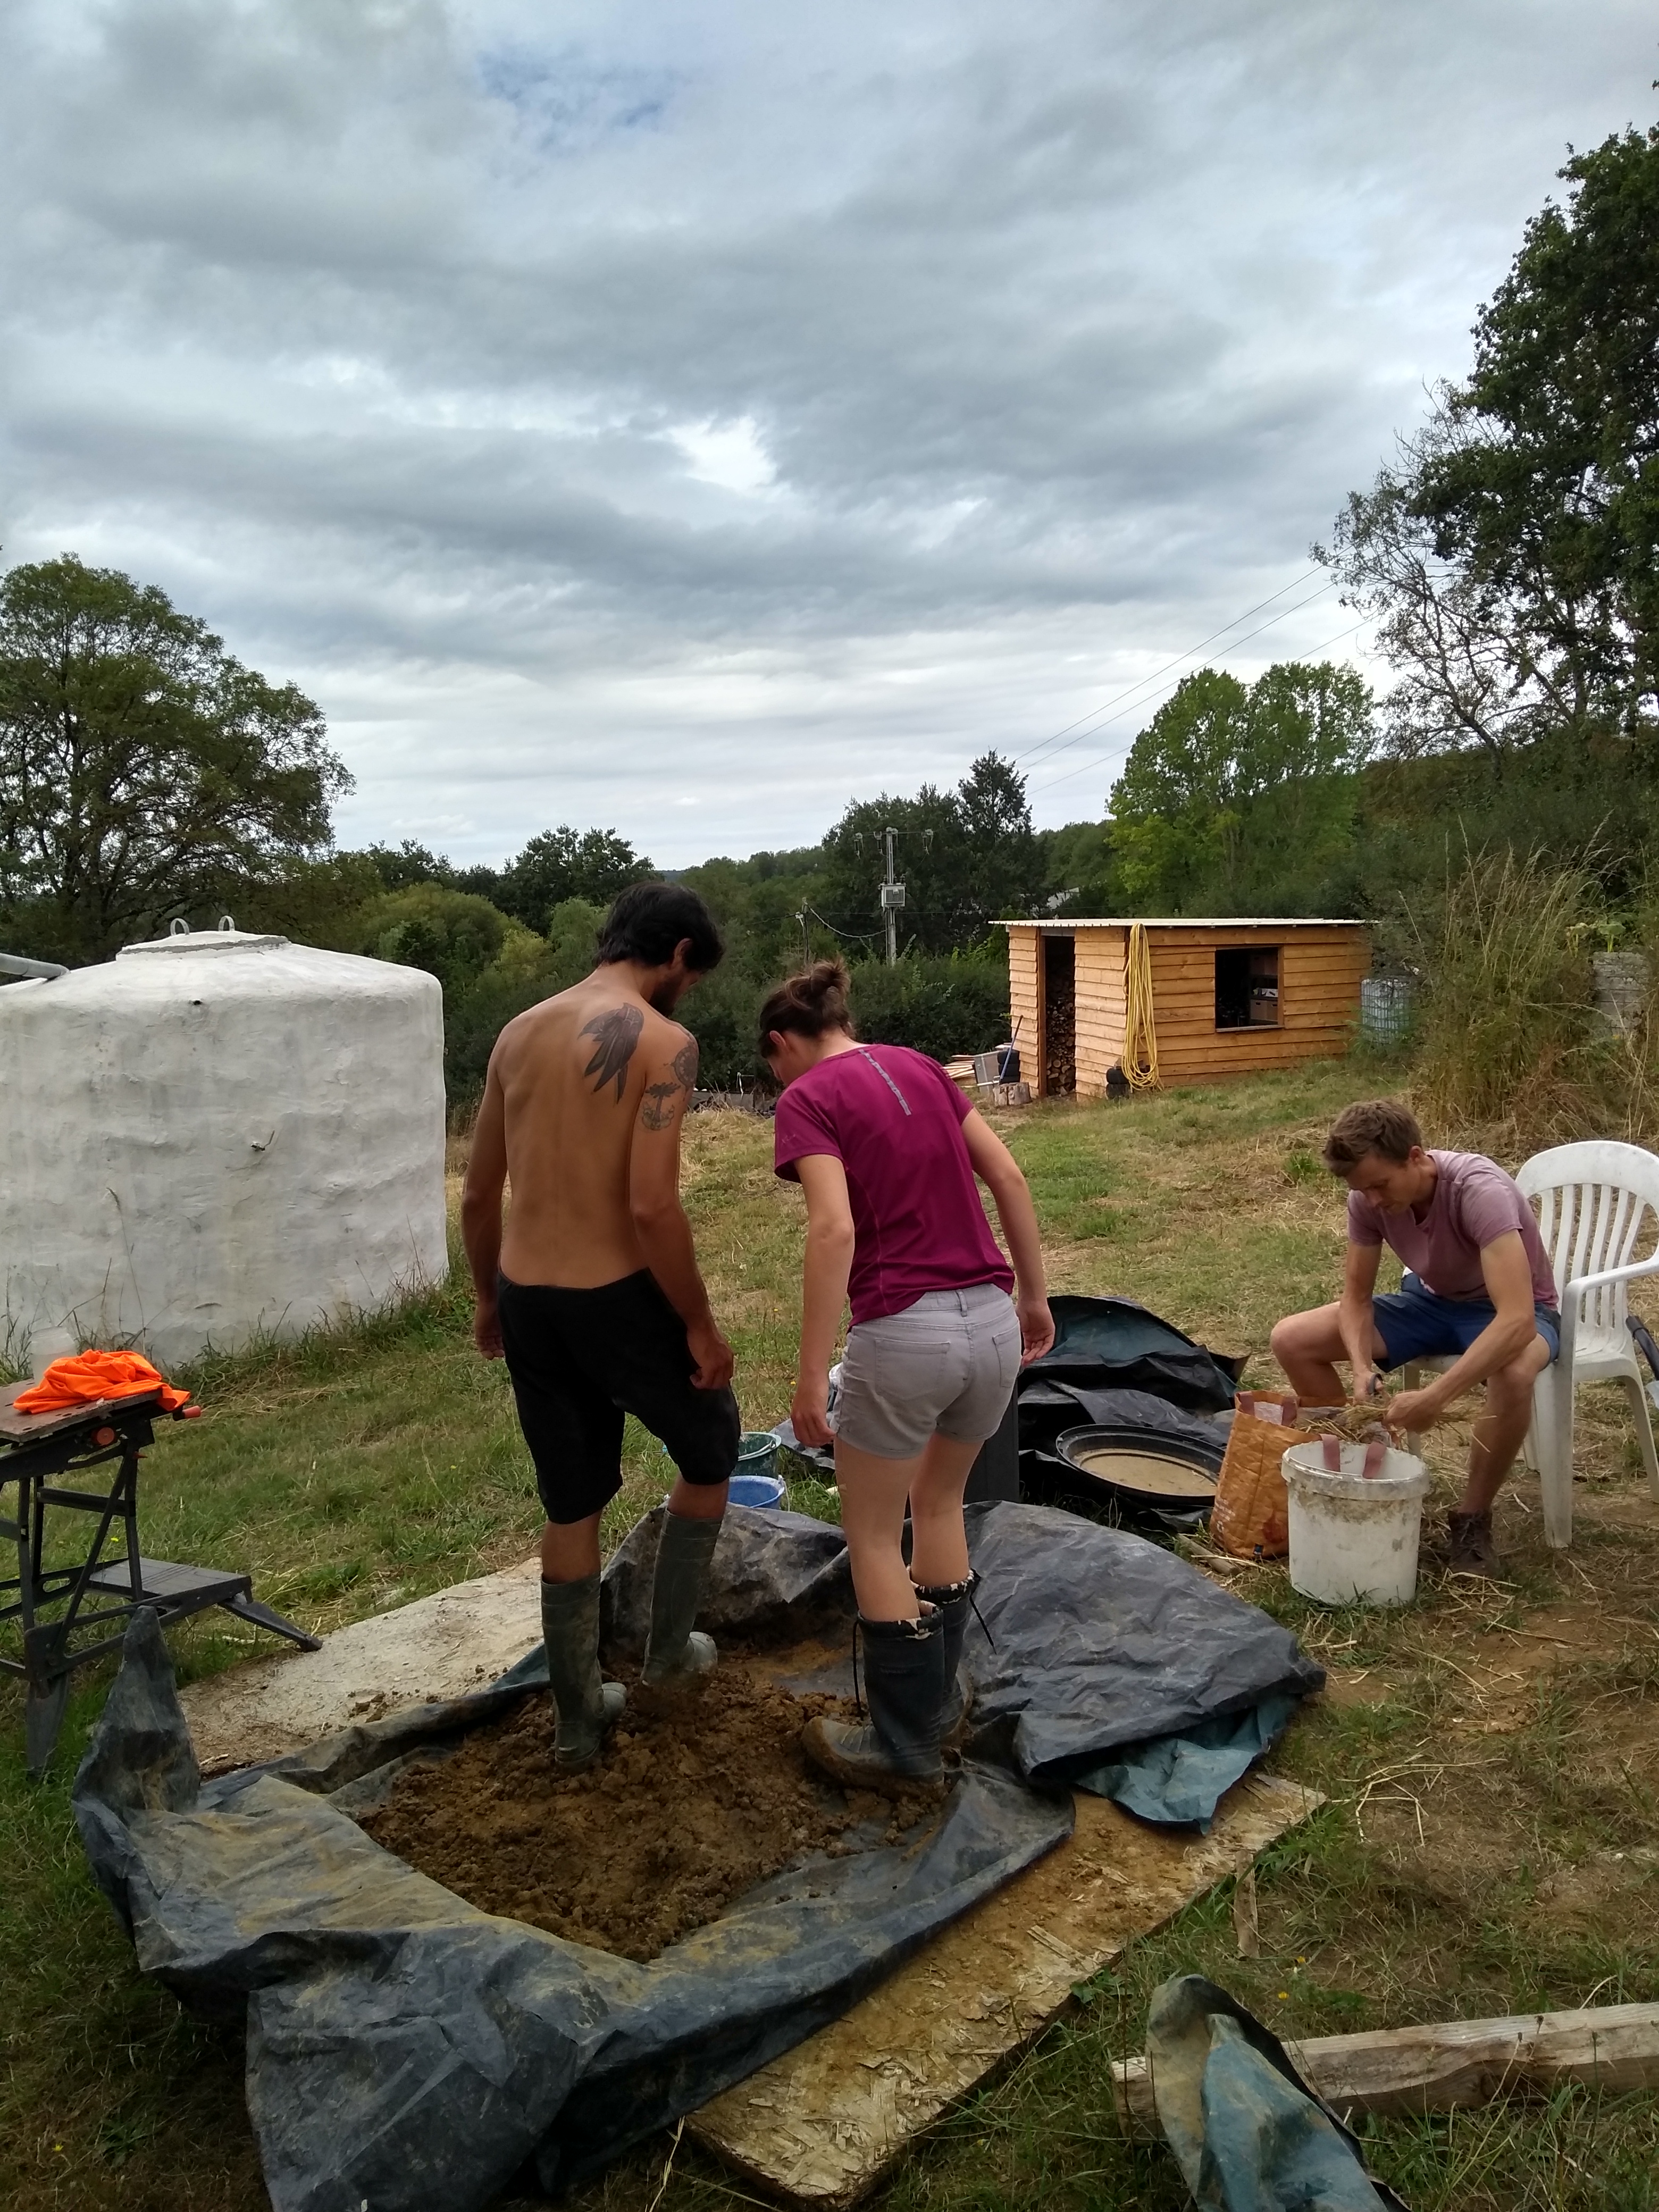
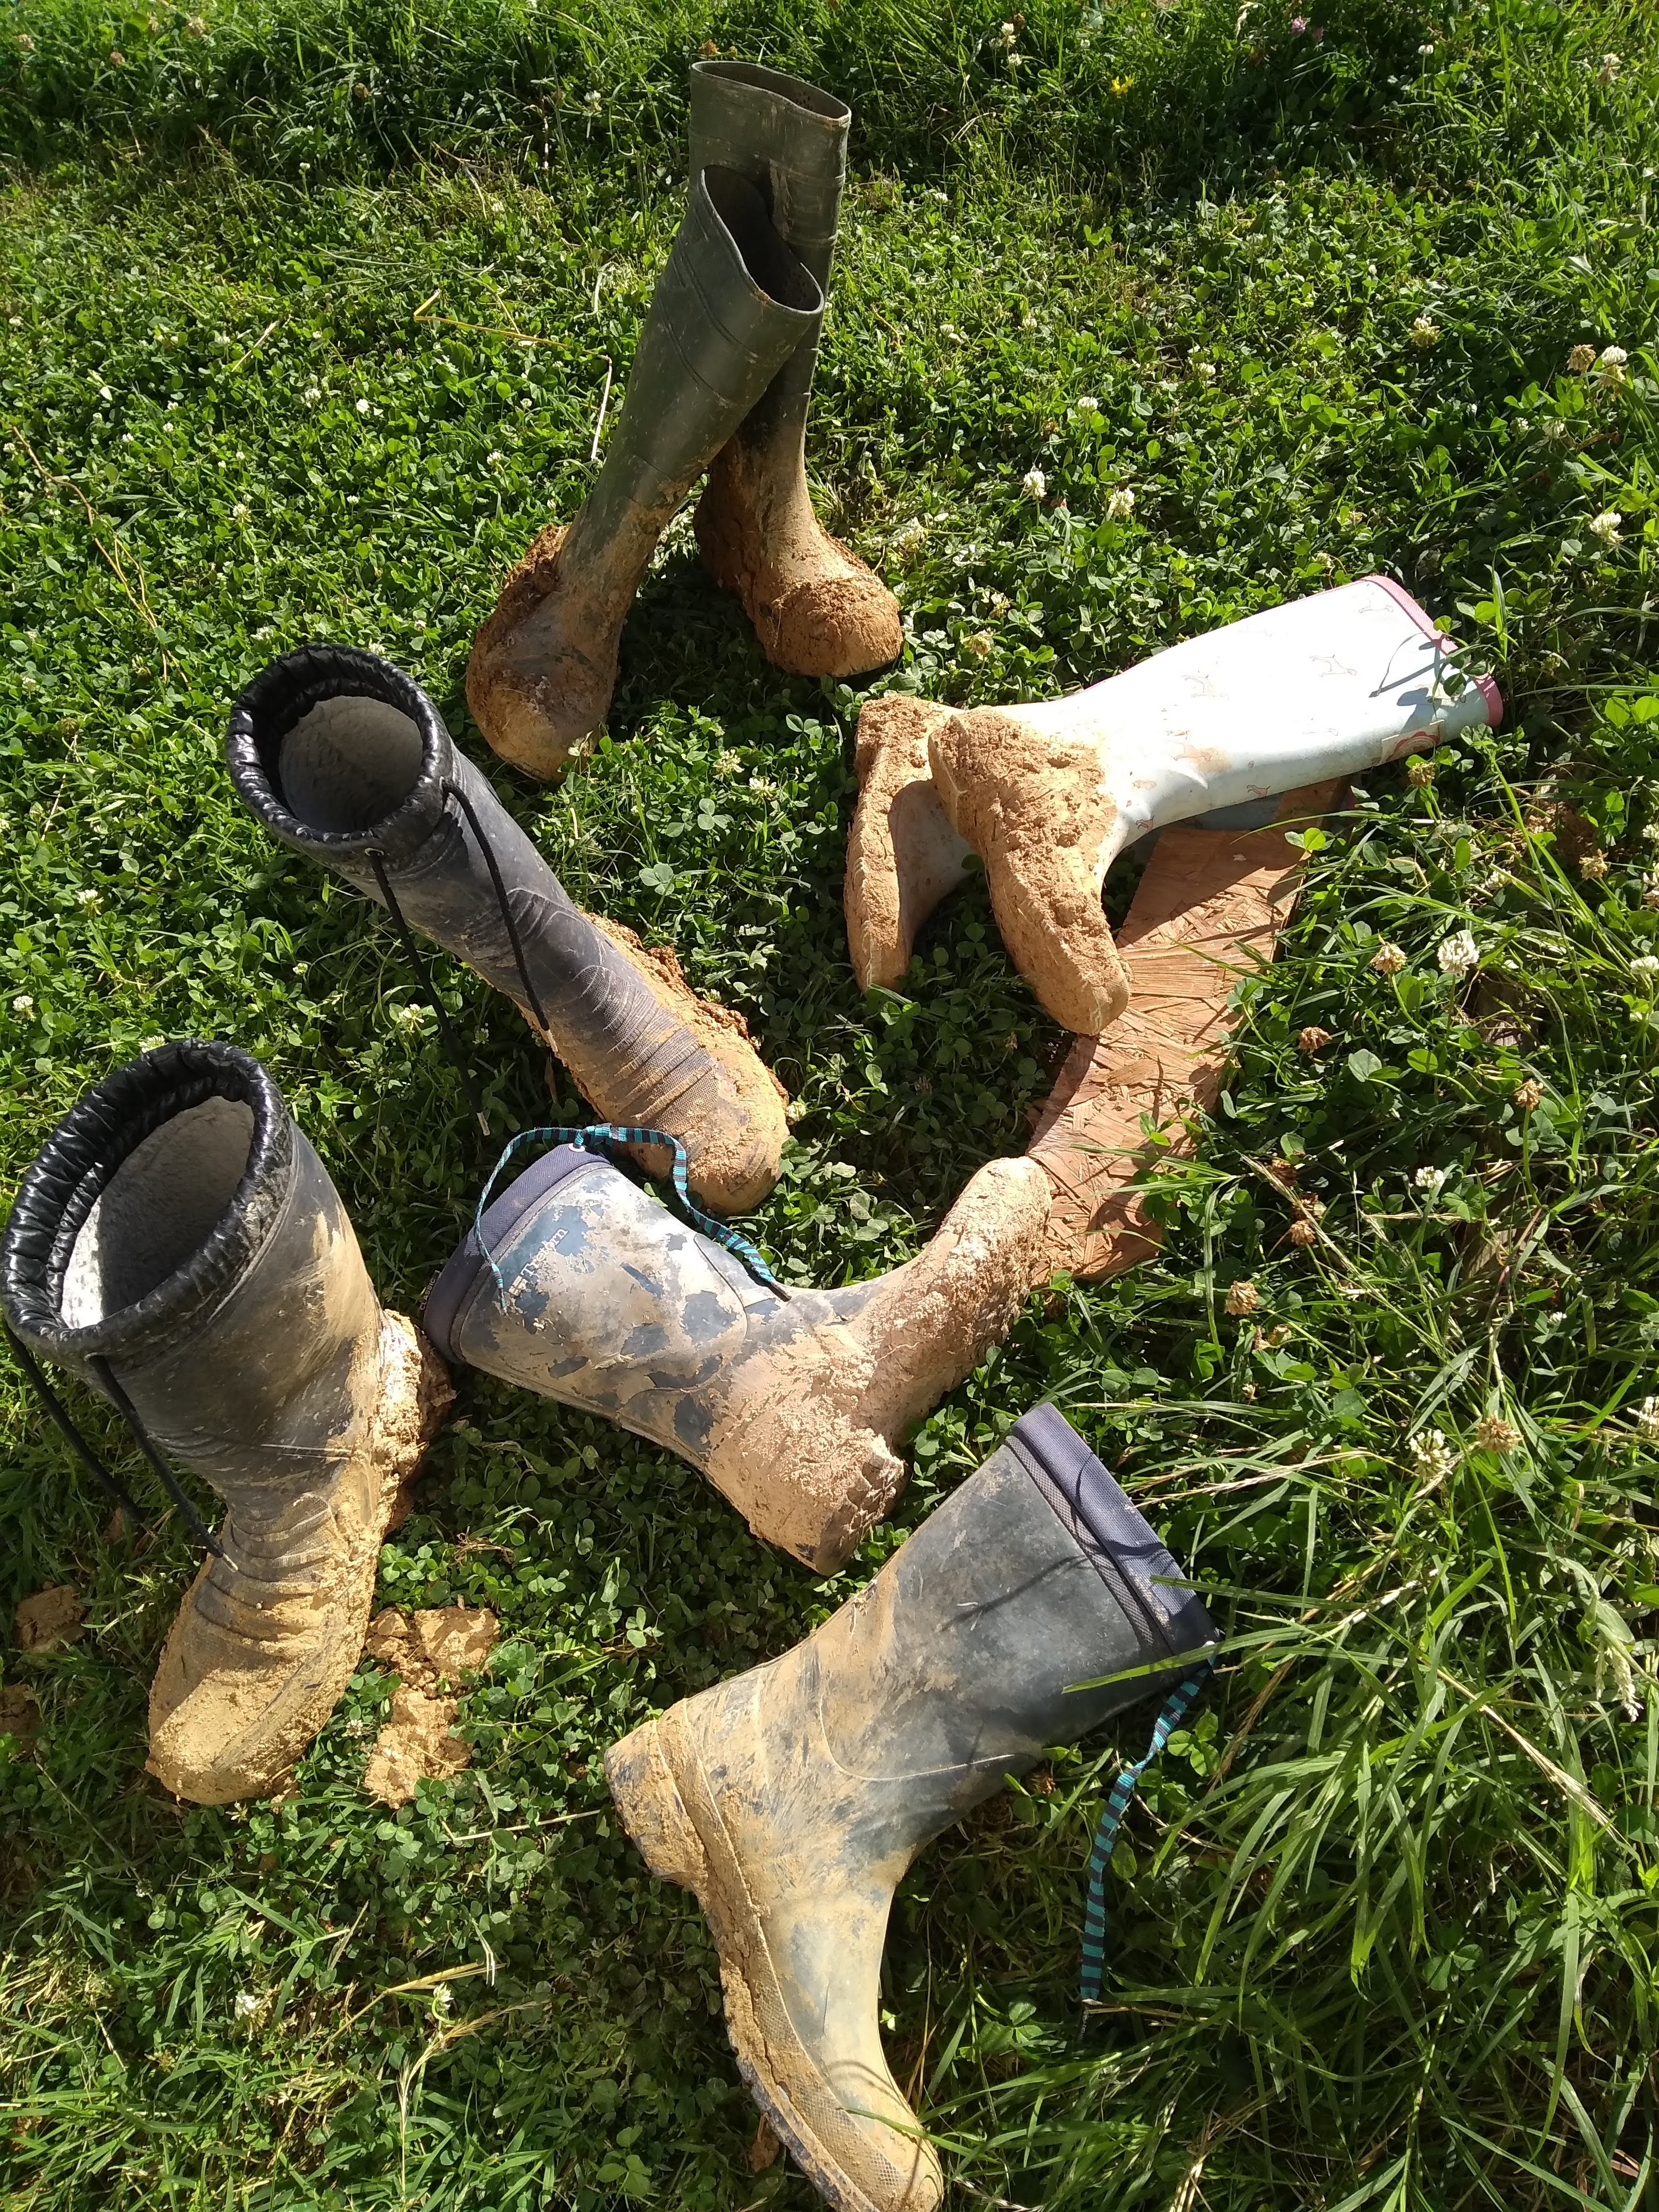
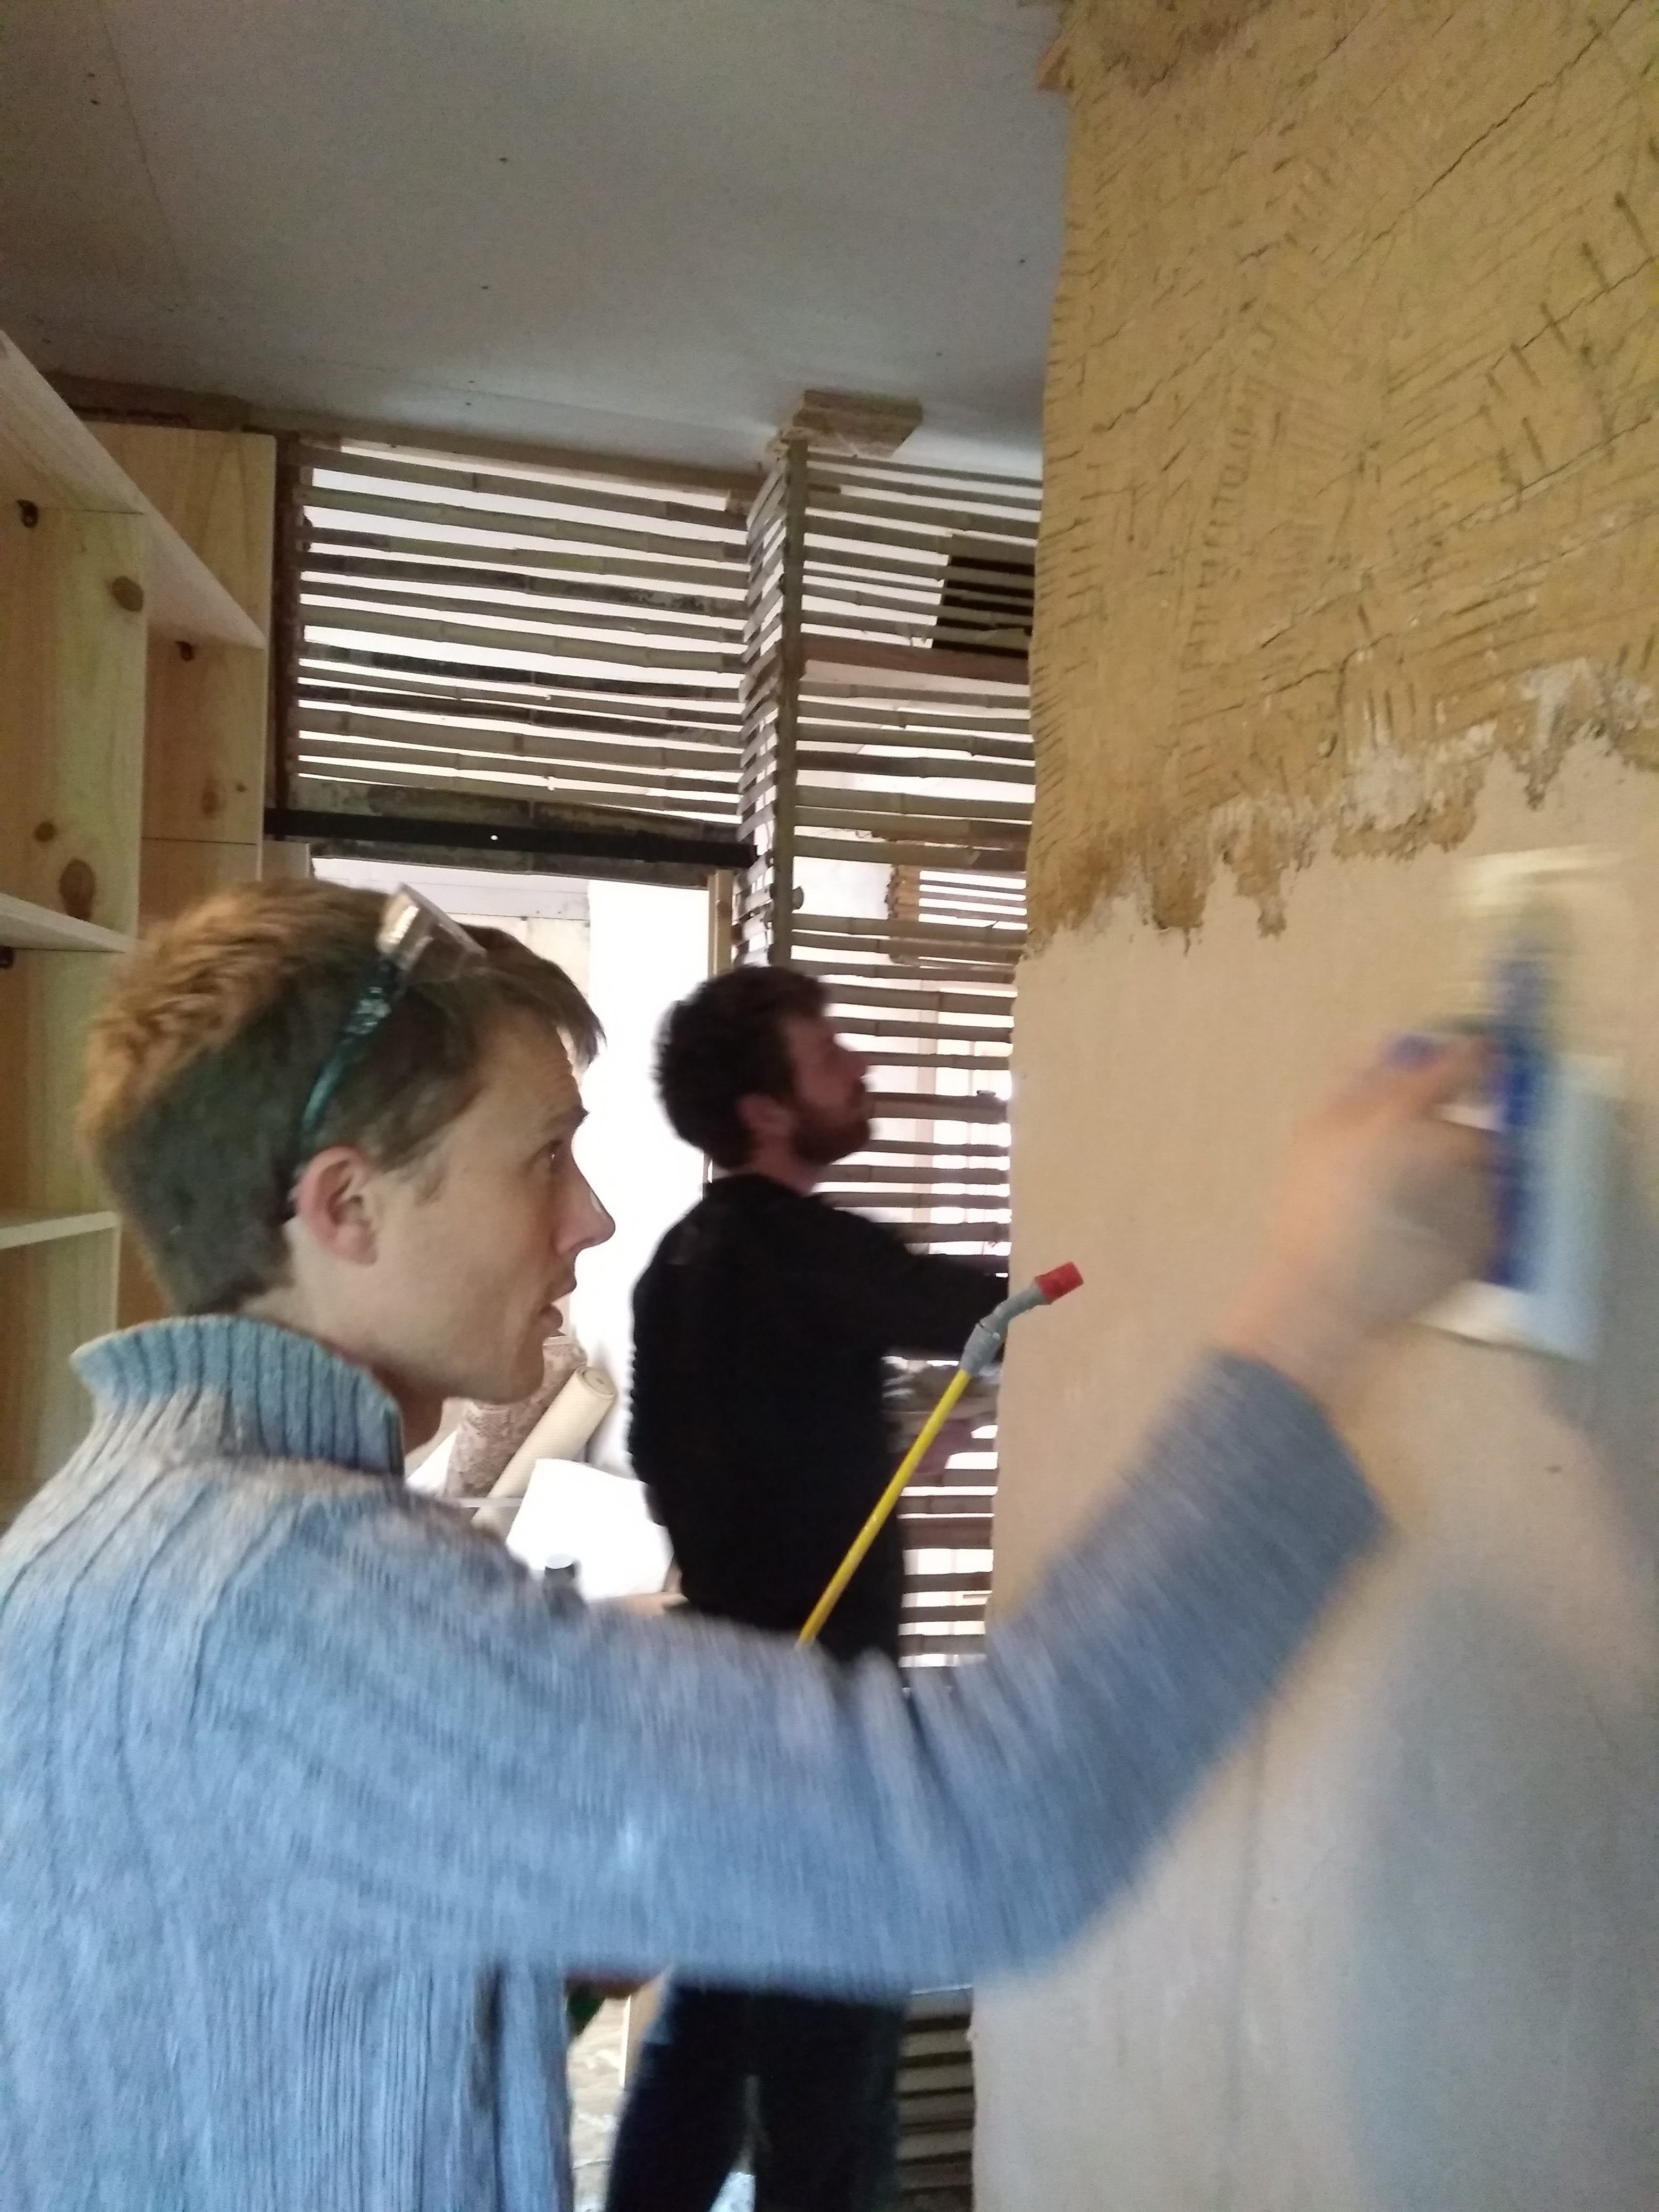
The ‘daub’ is more of a delicate art. There are some differences in the make up of this sludgy mixture, but essentially it needs three things; a binder, an aggregate and reinforcement. In our case we used clay as the binder but lime can also be used, mooshed together with sand and reinforced with straw and hay depending on what we had available on the day. Famously, manure is often added to the daub. The jury is out over whether animal dung is actually needed, it seems it is more likely that long ago straw being used as a reinforcement was recycled once it had been used for animal bedding, followed by the animals themselves often utilised to do the exhausting job of stamping the component part together. We didn’t use it! 💩 Instead opting for the many helping feet we had along this daubing journey.


This is the officially advised daub stamping technique, preferably whilst blasting the Outkast song, ‘Hey Ya’.
Once all the interior bamboo was up (or thereabouts), the daubing could commence. We experimented with various ratios, but found the best daub was always the one made with clay which had been soaking in water, perhaps overnight in the pit after a day of rain. It made the clay silky smooth and it required far less crushing to get a decent finish. Our rough ratio is one bucket of clay to half a bucket of sand and a shed tonne of hay, along with a few splashes of water to slop it up a bit. Ironically, this roughly put together recipe rather follows my own methods for cooking 😂
Having a lovely bucket of sloppyish brown muuuud ready to go on the wall is actually very satisfying. In some ways I prefer it to lime plastering because the materials is so forgiving and not caustic. It begs to be sculpted and is happy to oblige any random corner or strange shape gladly if there is enough reinforcing hay. It is very easy to get it smooth with a spray of water and gloves, and it is very happy to stick provided the correct spacing has been left between the bamboo struts. Too big and it collapses through, too small and it cannot connect with its buddy on the other side of the wall. It is precisely this connection around the wattle that gives it strength.
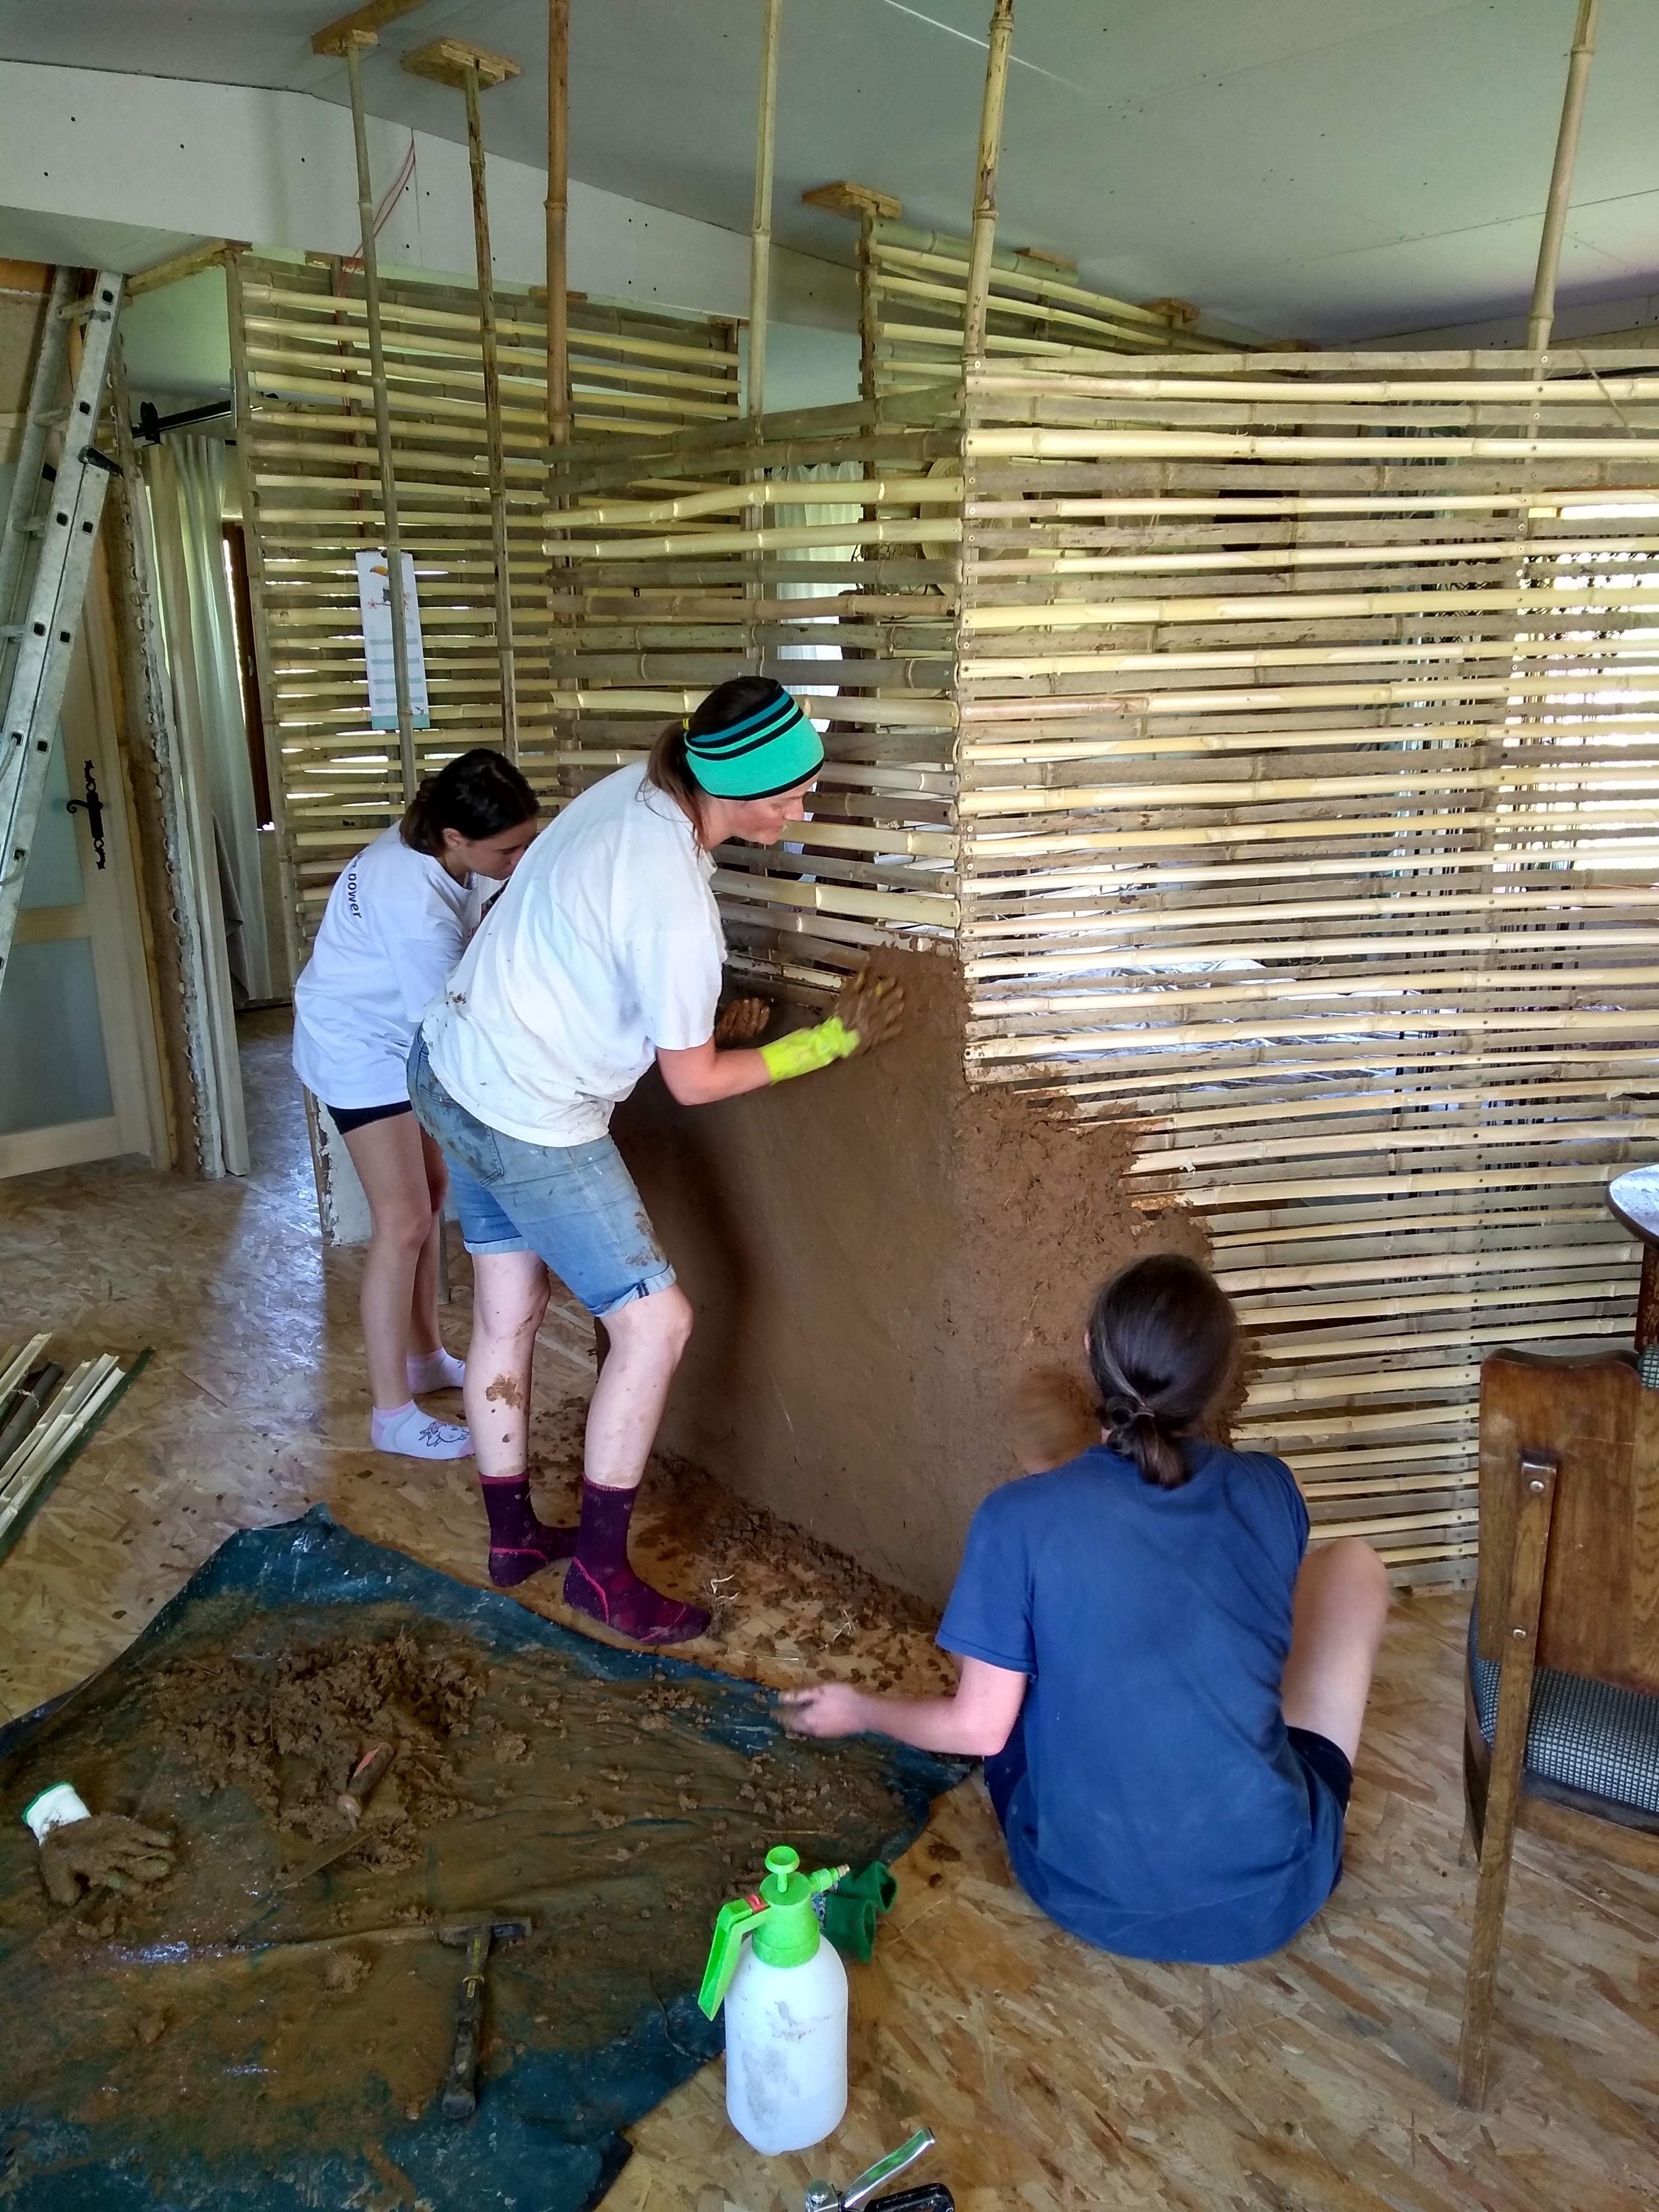
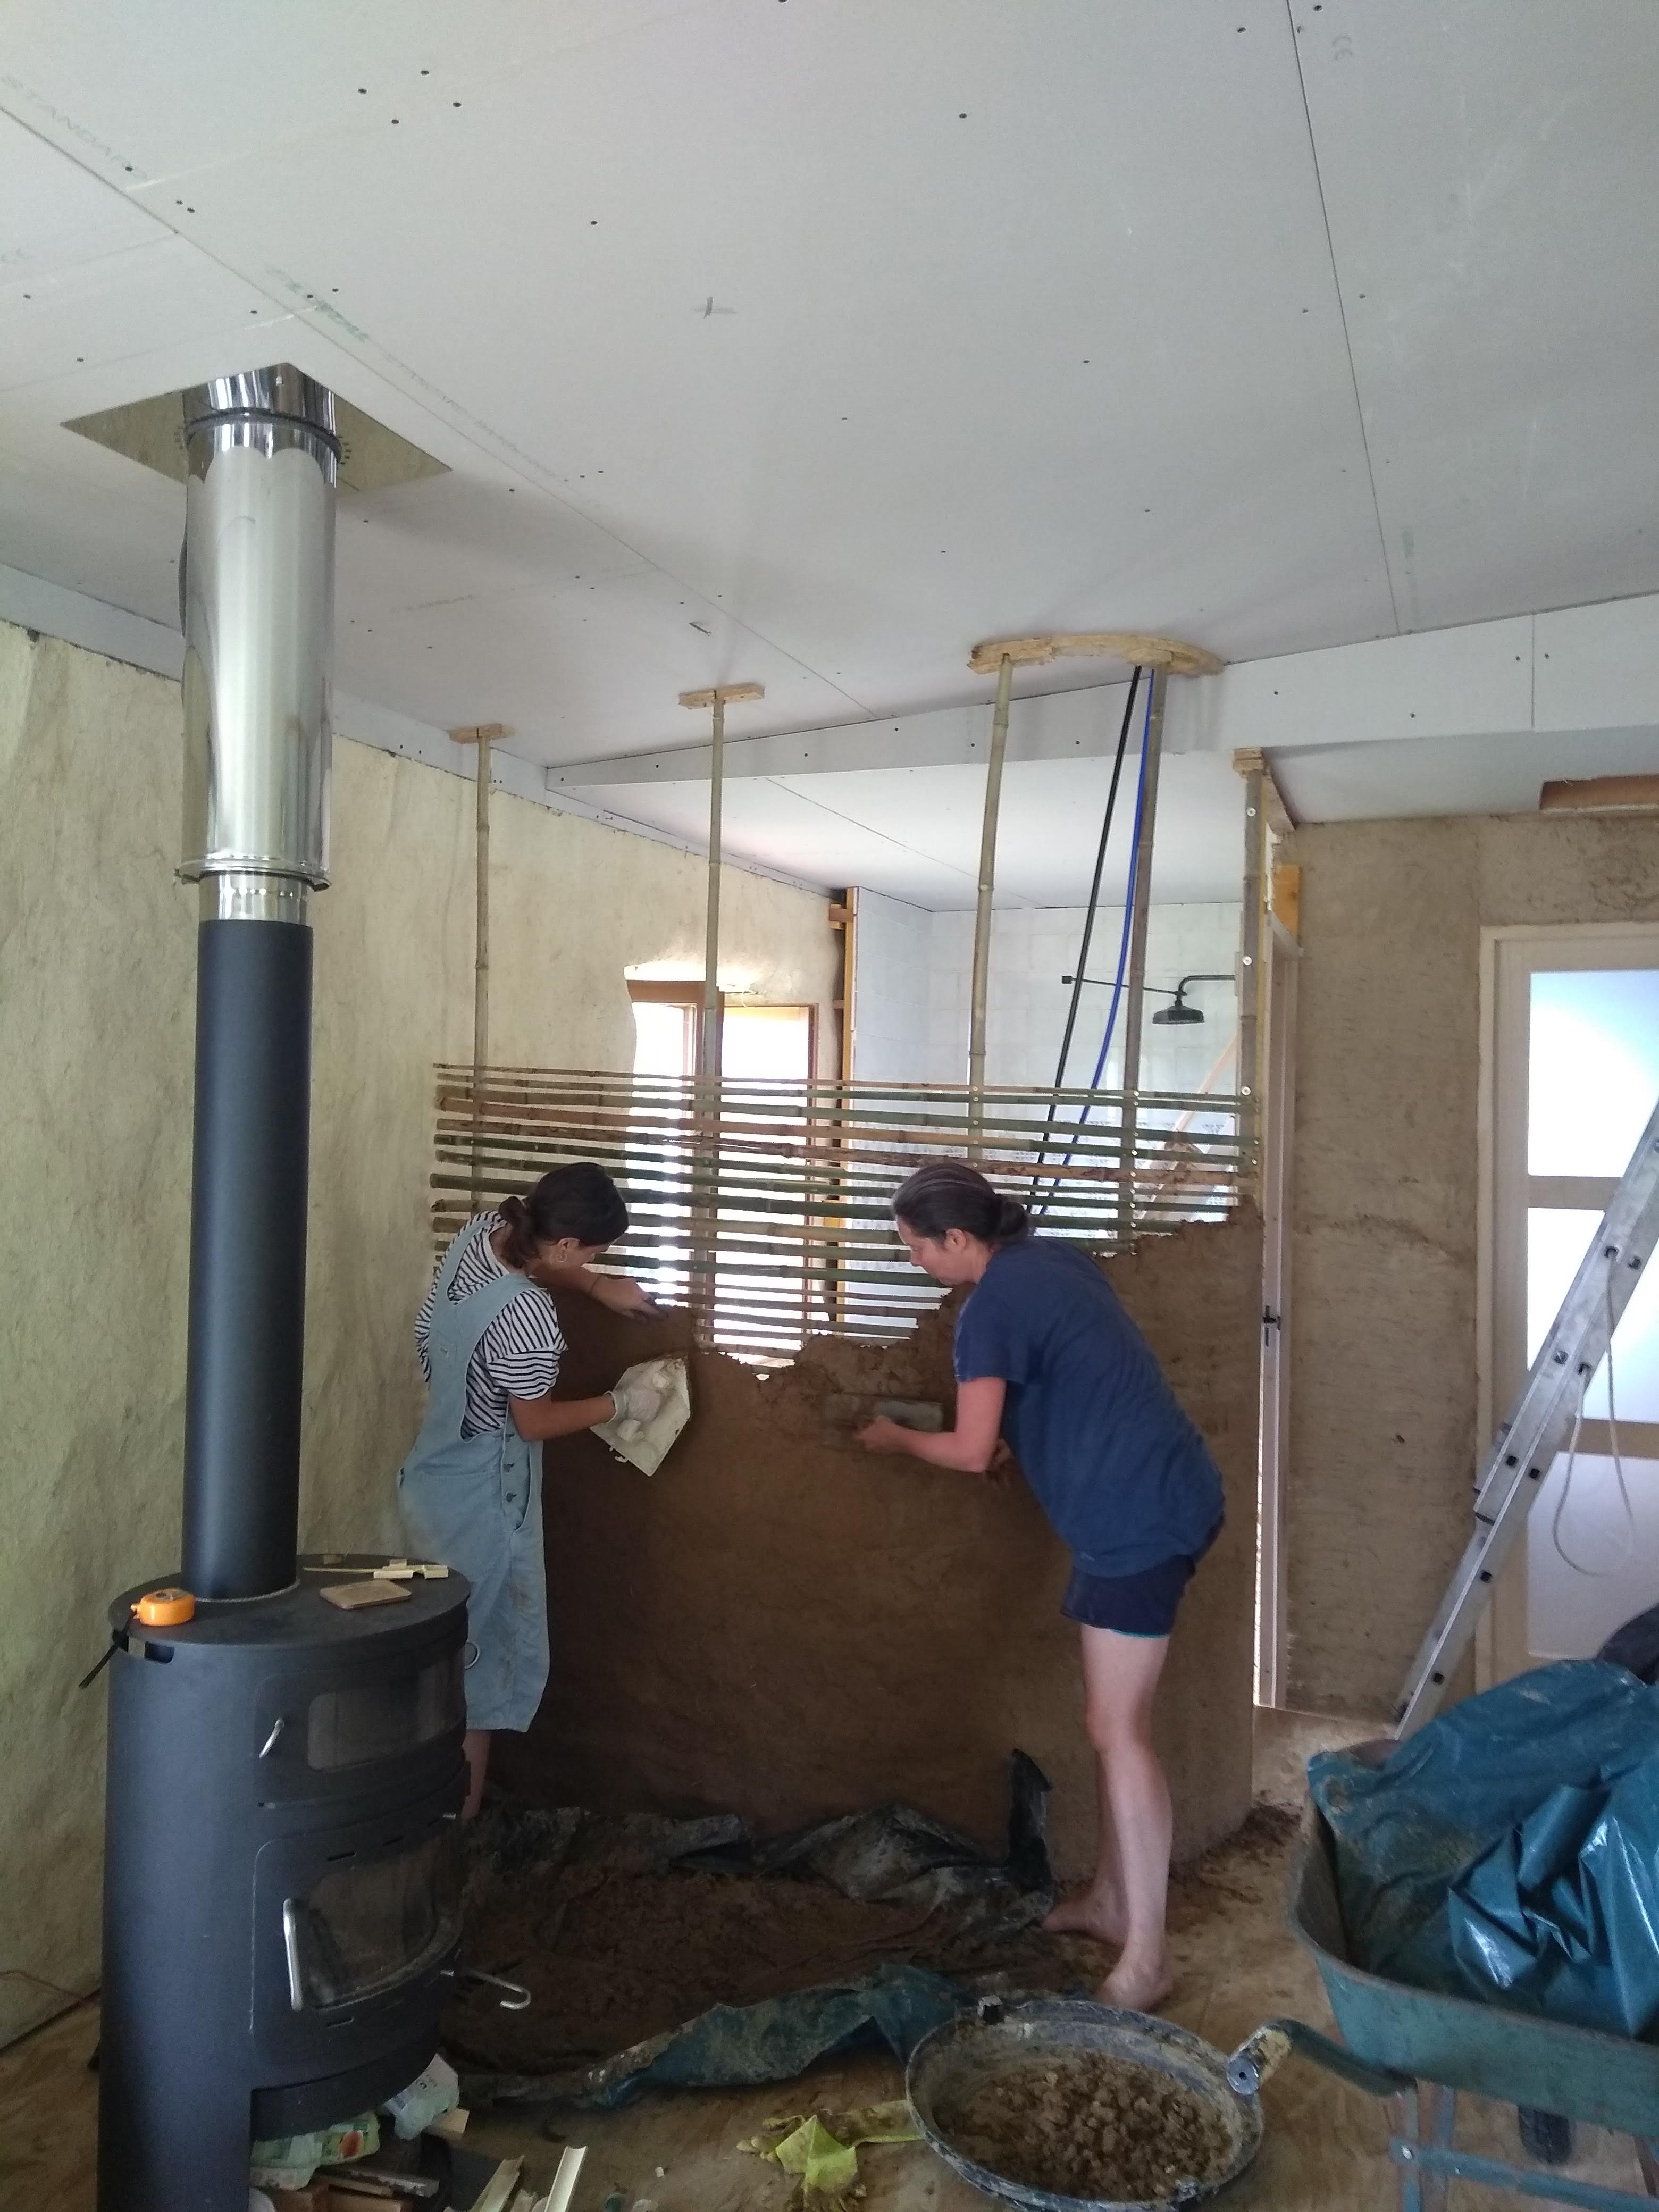
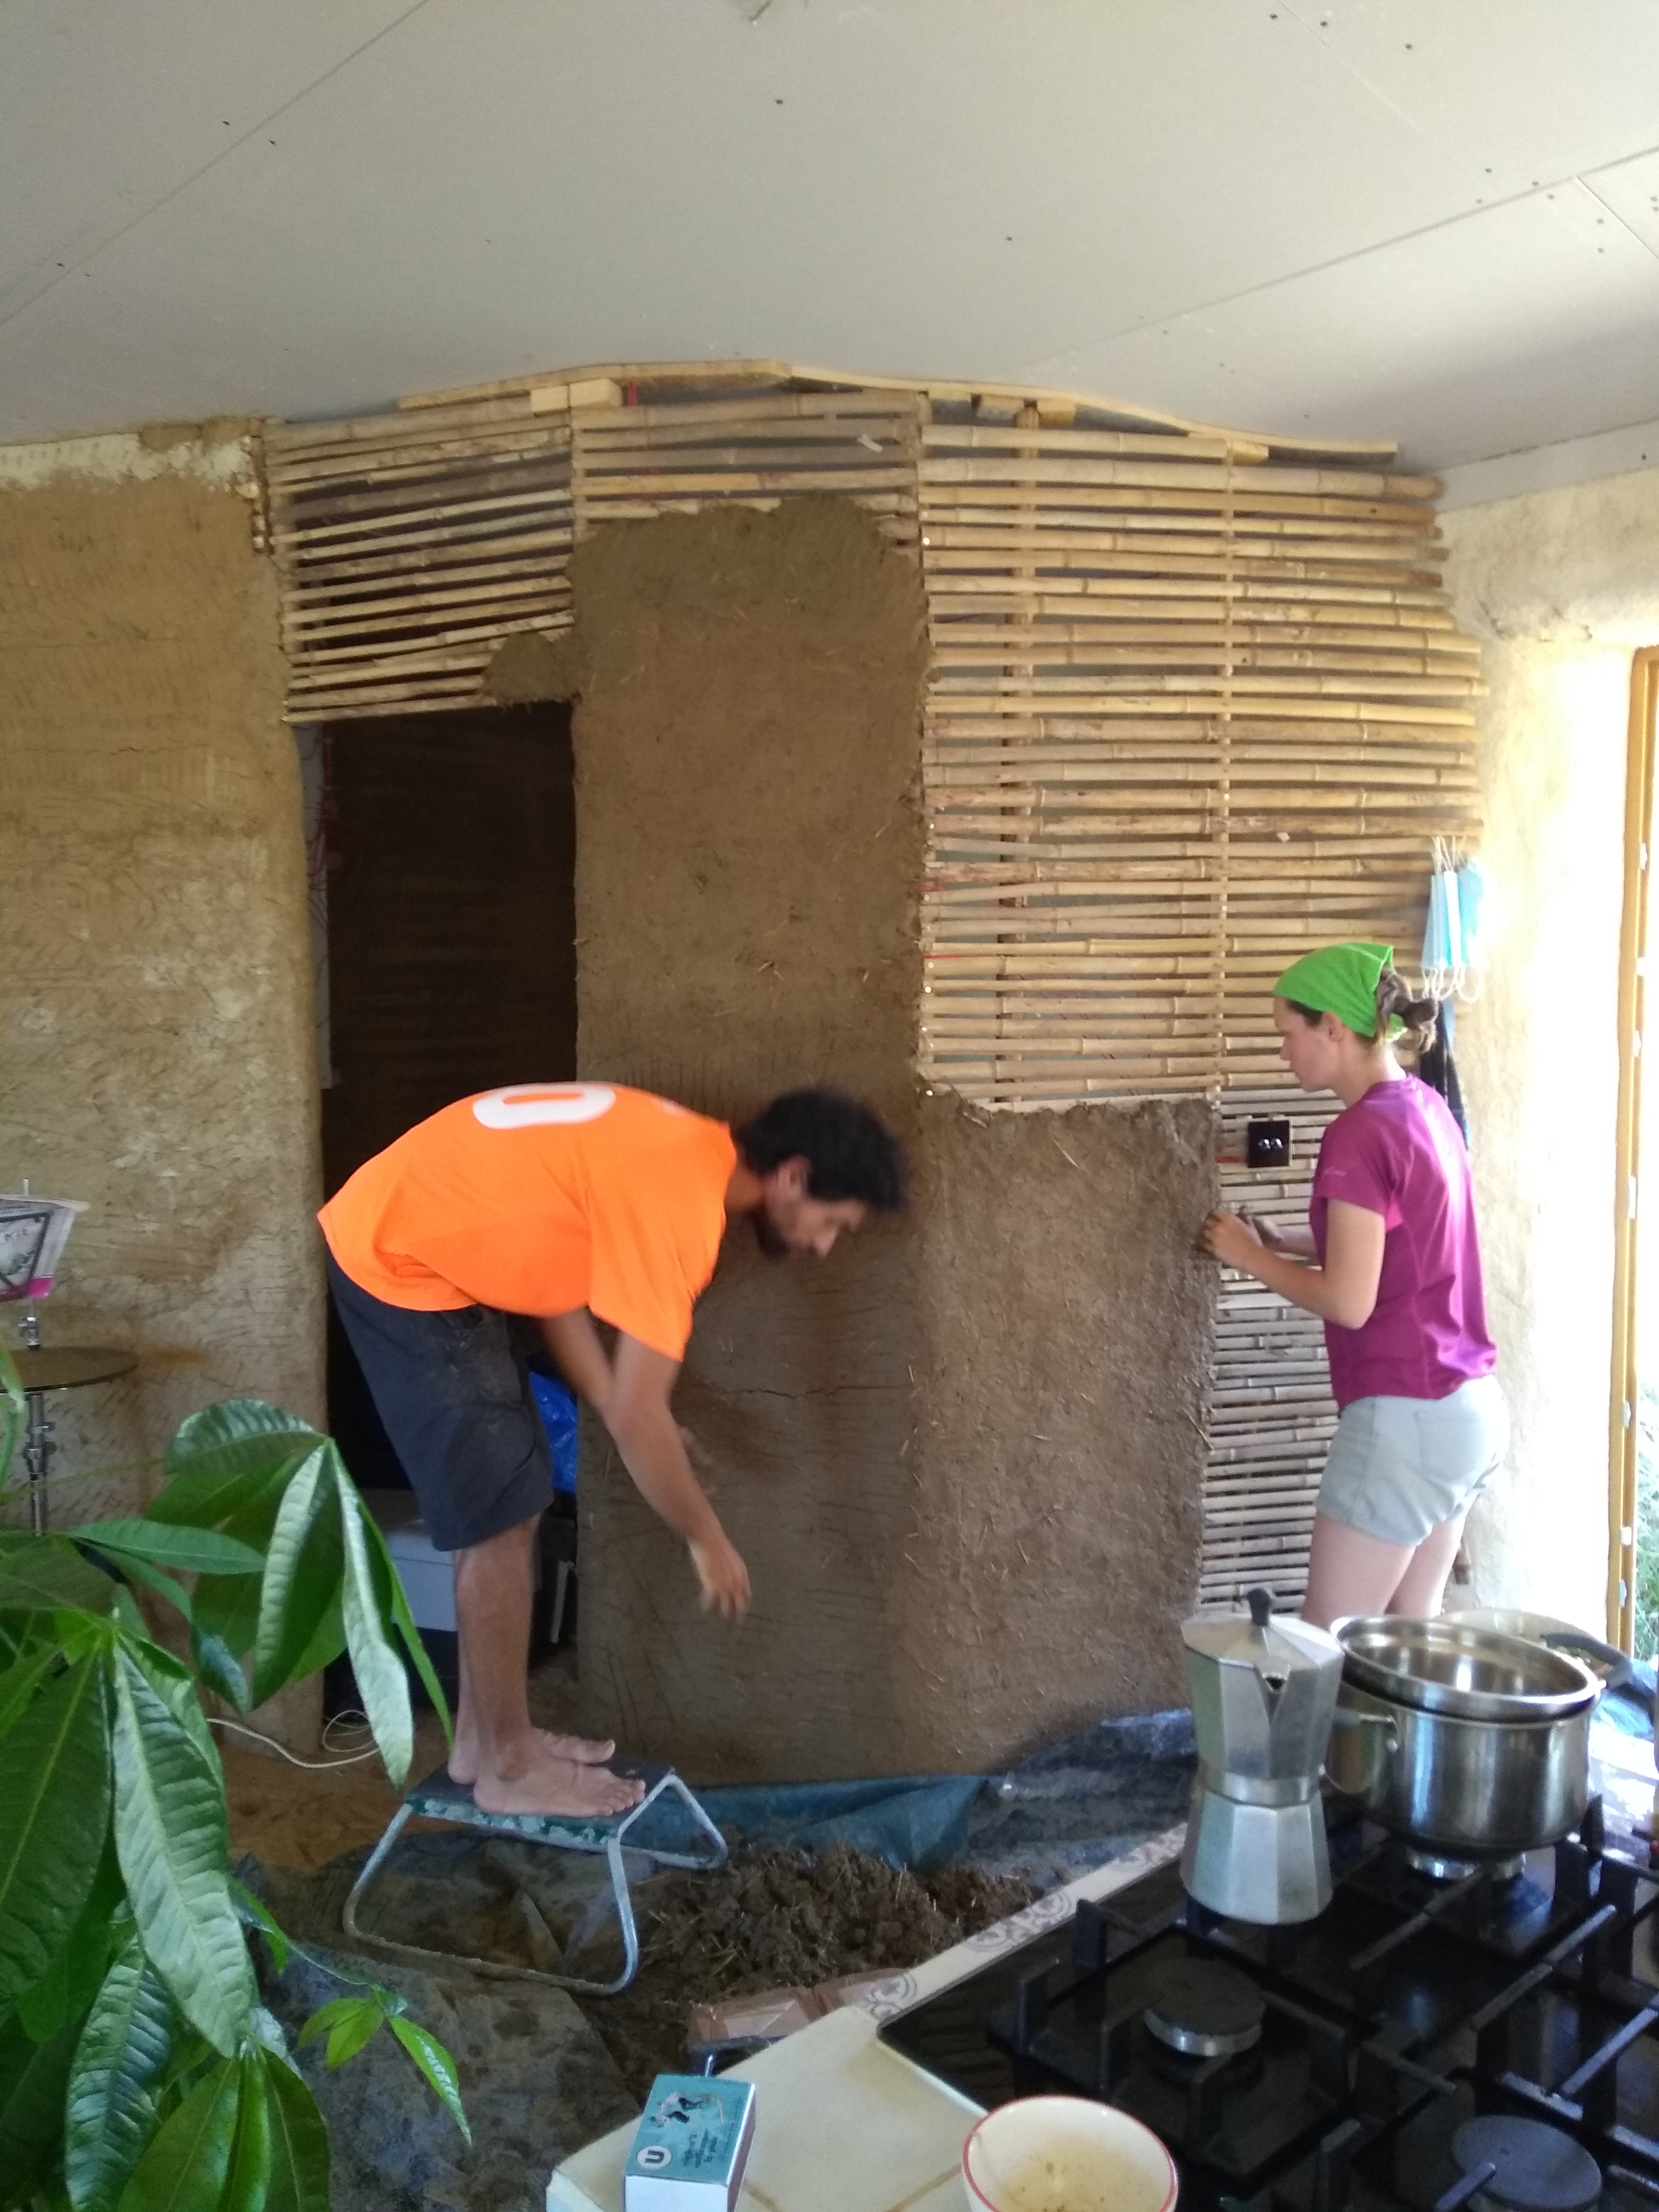

We were fortunate to have many helping hands as well as feet for the daubing, which we spread over quite a few months. Dan and I have also done a fair whack of it ourselves, but it is definitely more fun with a tribe. I literally loved watching the excitement in everyone’s eyes as they daubed, there was something really instinctive about it, about constructing with these completely natural, non-toxic materials, from scratch, using nature’s own hardware shop in our garden (and our friend’s bamboo forest!). The sense of satisfaction was palpable when we did this as a group, “a wall, it’s a real wall!”. And very prettily-shaped walls at that, something that was very appealing was the ability to create curvy walls.
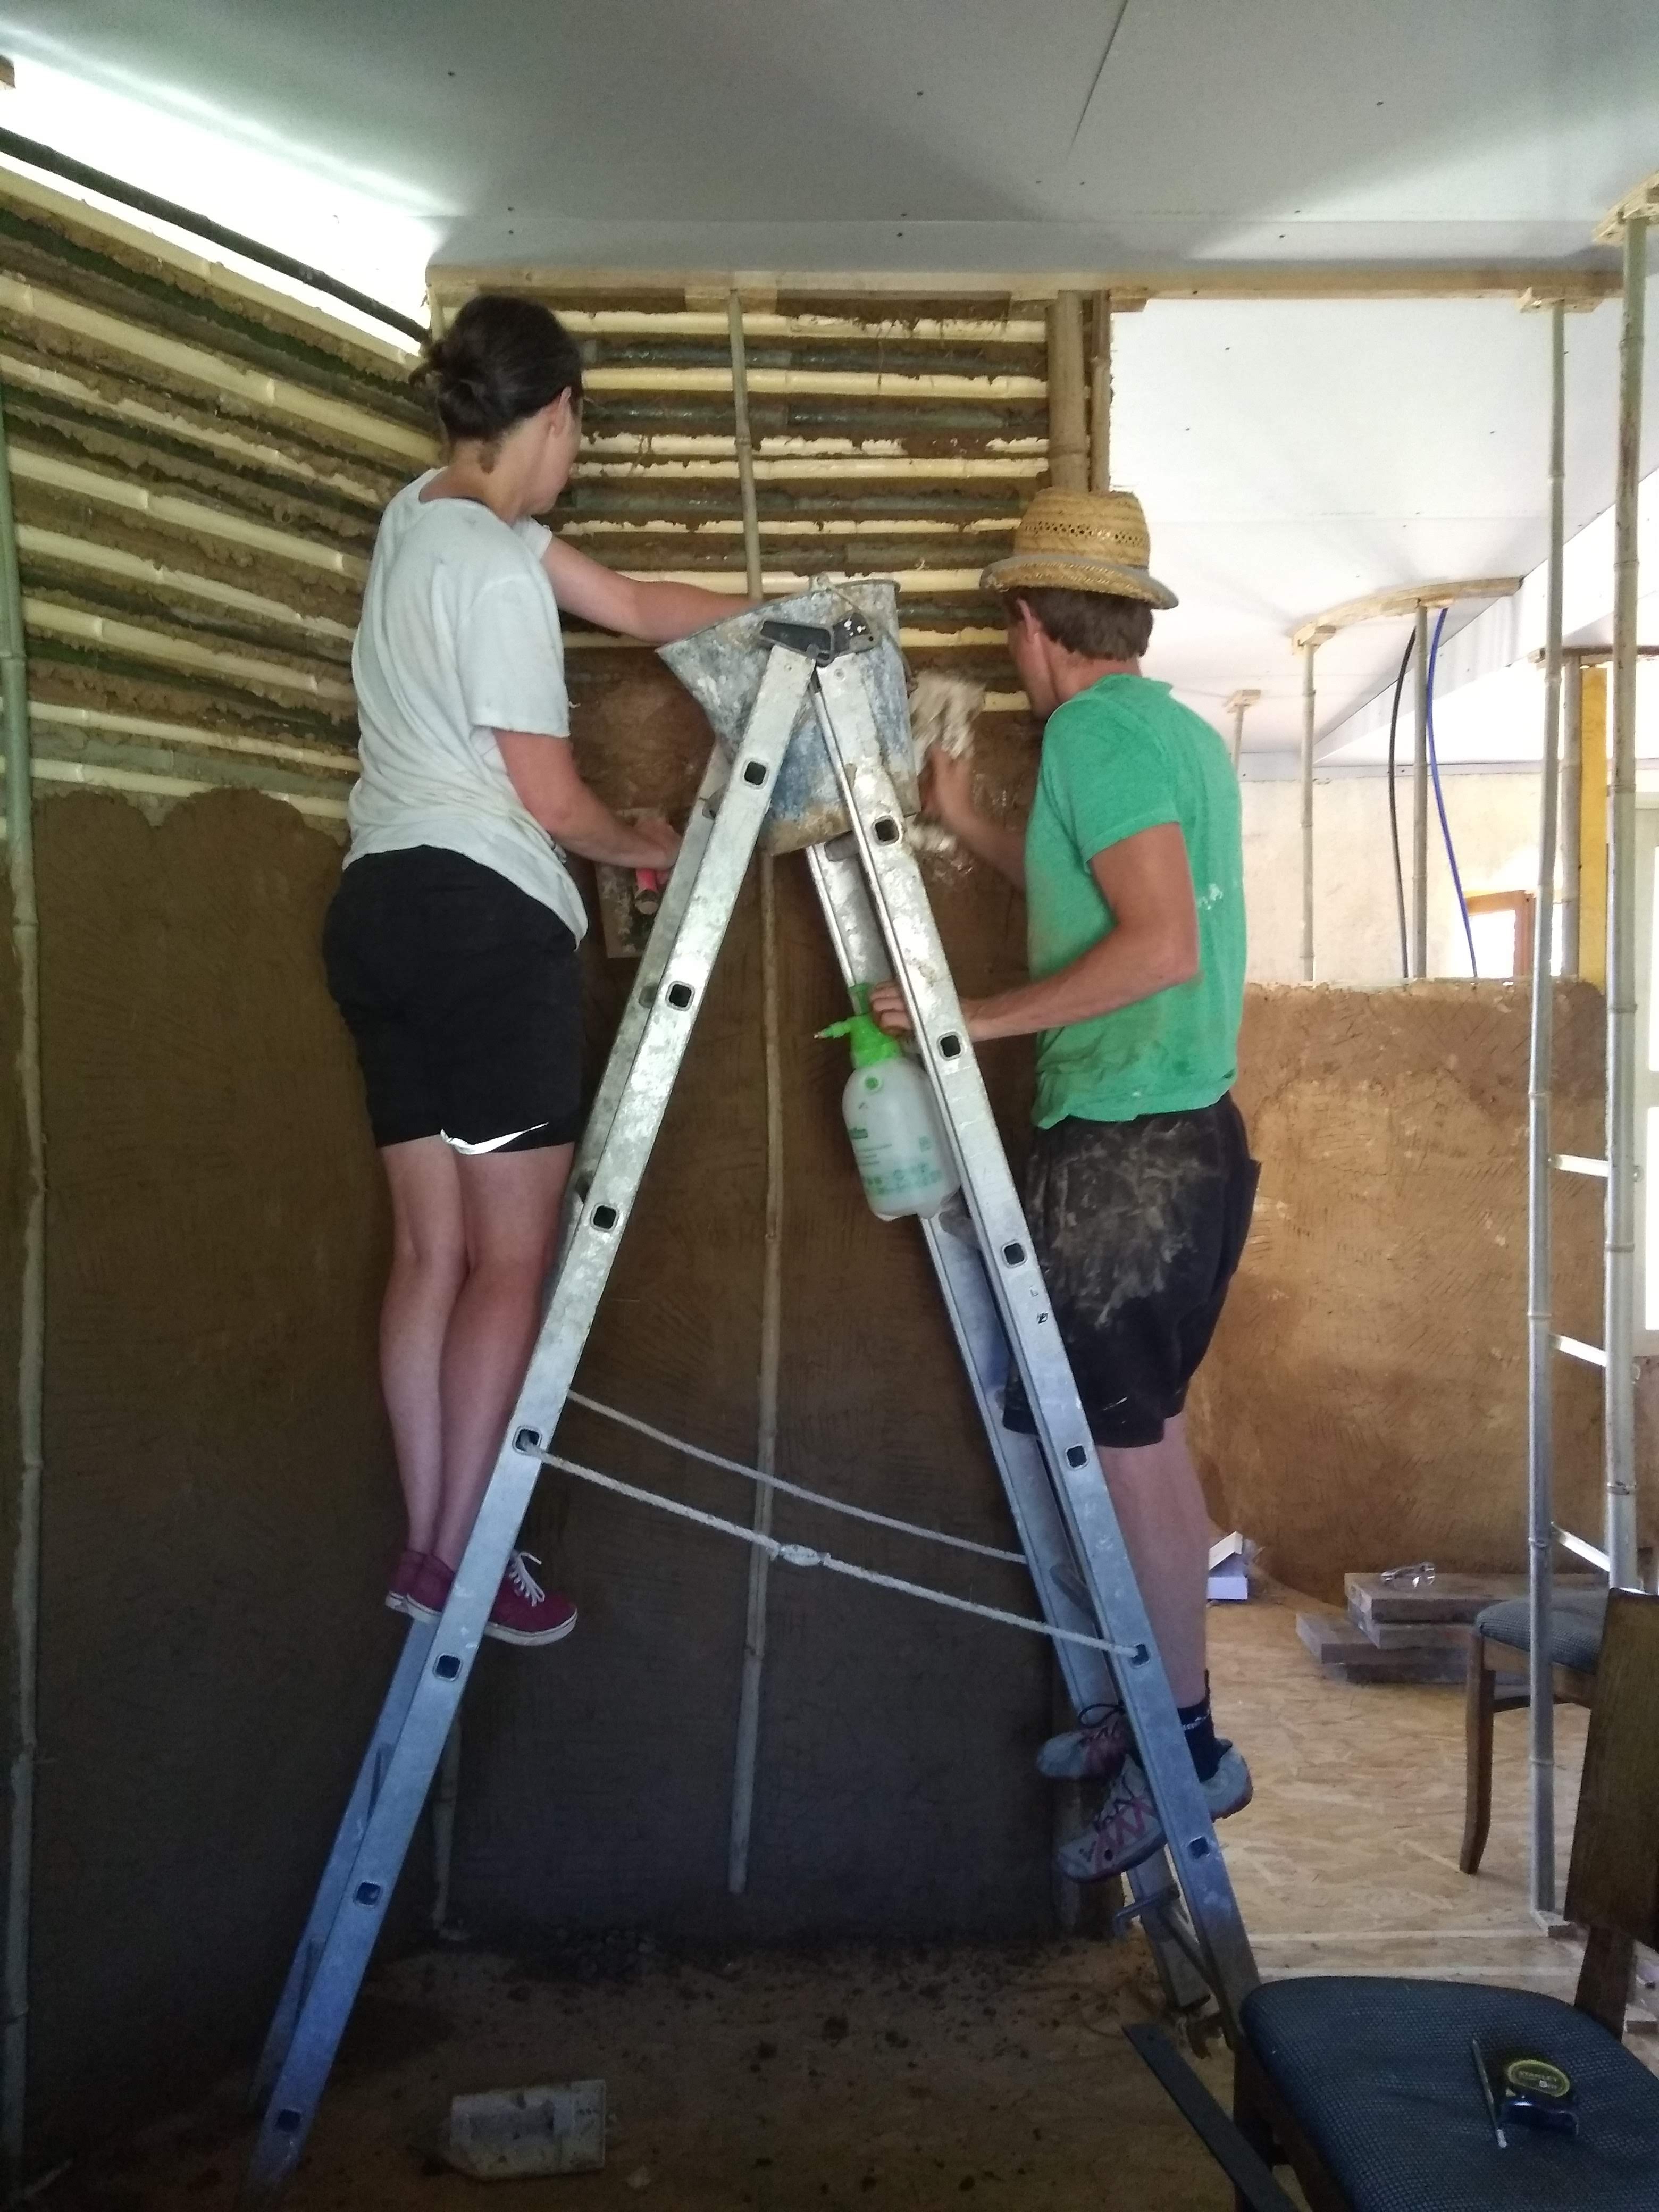
Once the wattle has been daubed on both sides, either simultaneously or at different times, and has dried out well, the final coat of lime plaster can be applied. We chose to do this to have the walls in keeping with the rest of the house. Finishing the walls with lime is also just a normal part of wattle and daubing. The lime is very good at controlling moisture and bug bugs. This has meant a huge amount of lime plastering for Dan and I, and with no mixer, we beat all the lime putty by hand. If the internet ever goes down I think I could still make a living as a lime beater, I would definitely be as stacked as Arnie if it were my full time job! Lime plastering is a highly physical job, but we feel like we’ve finally got it down, right as we near the end of the process of course. We did have helping hands for one section of the wall and it is again, a lovely element to share. However it can be tiring and it is quite unforgiving, it certainly takes a knack to apply it anywhere near to perfect.
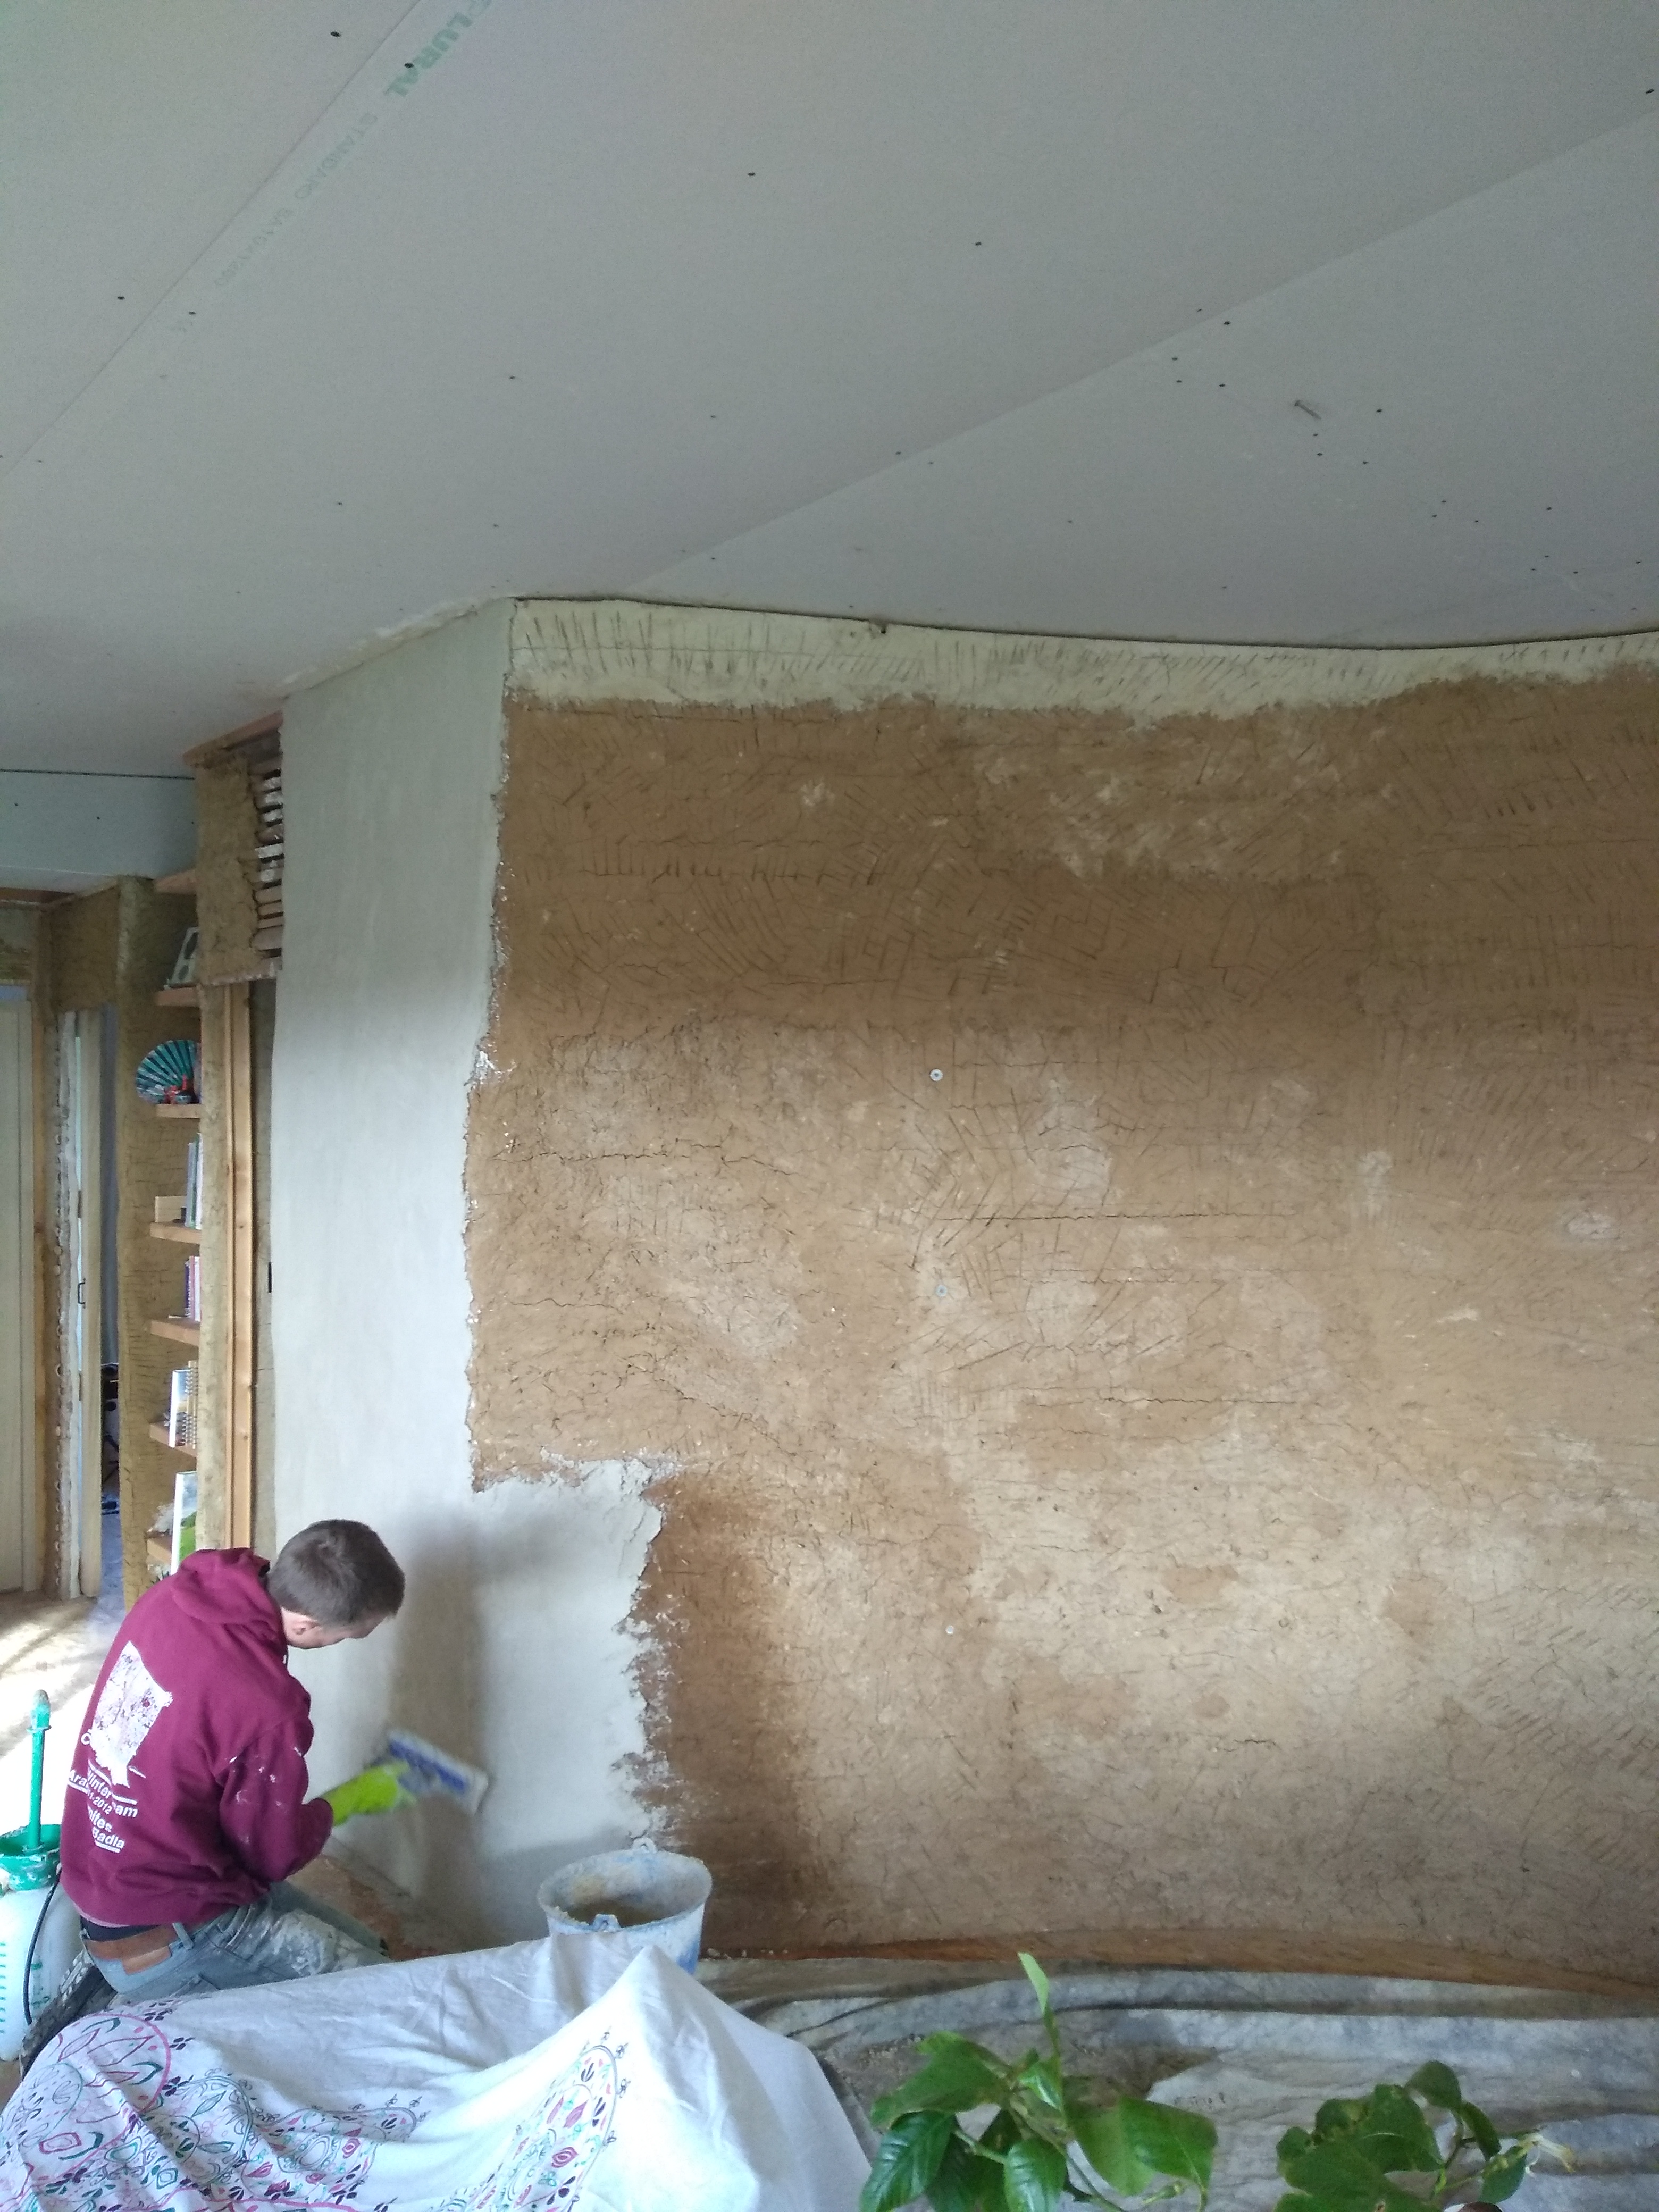
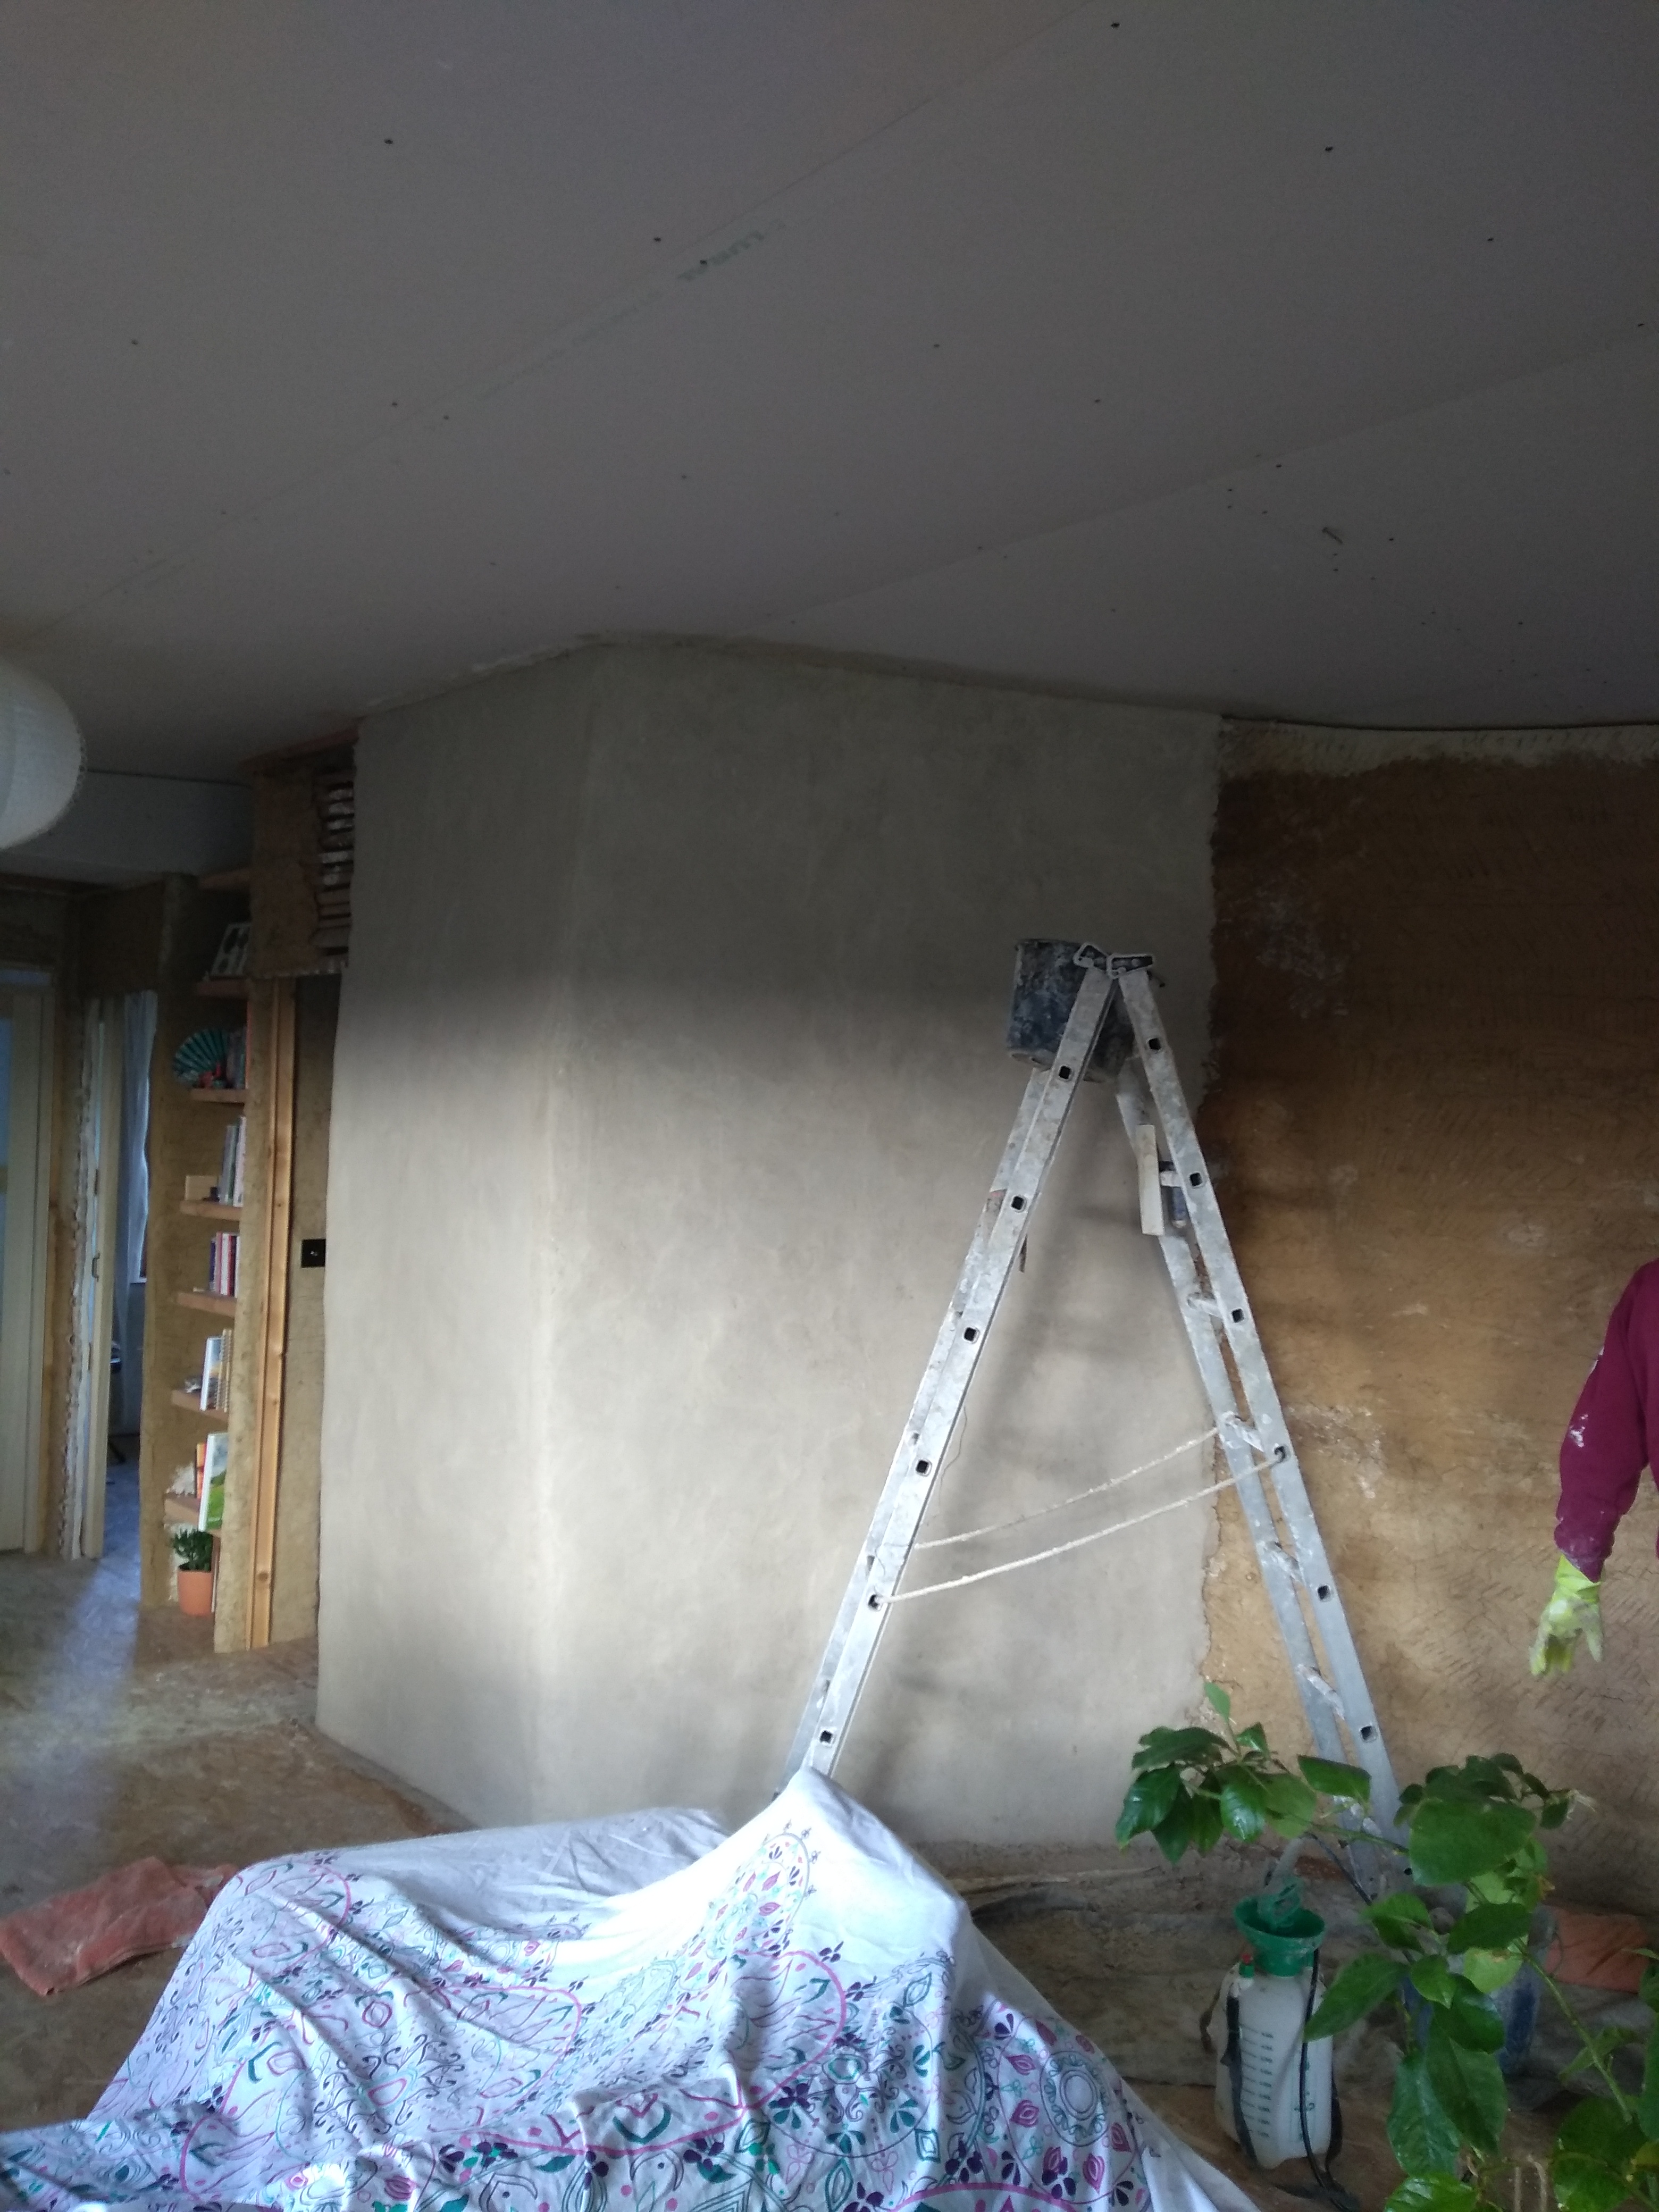
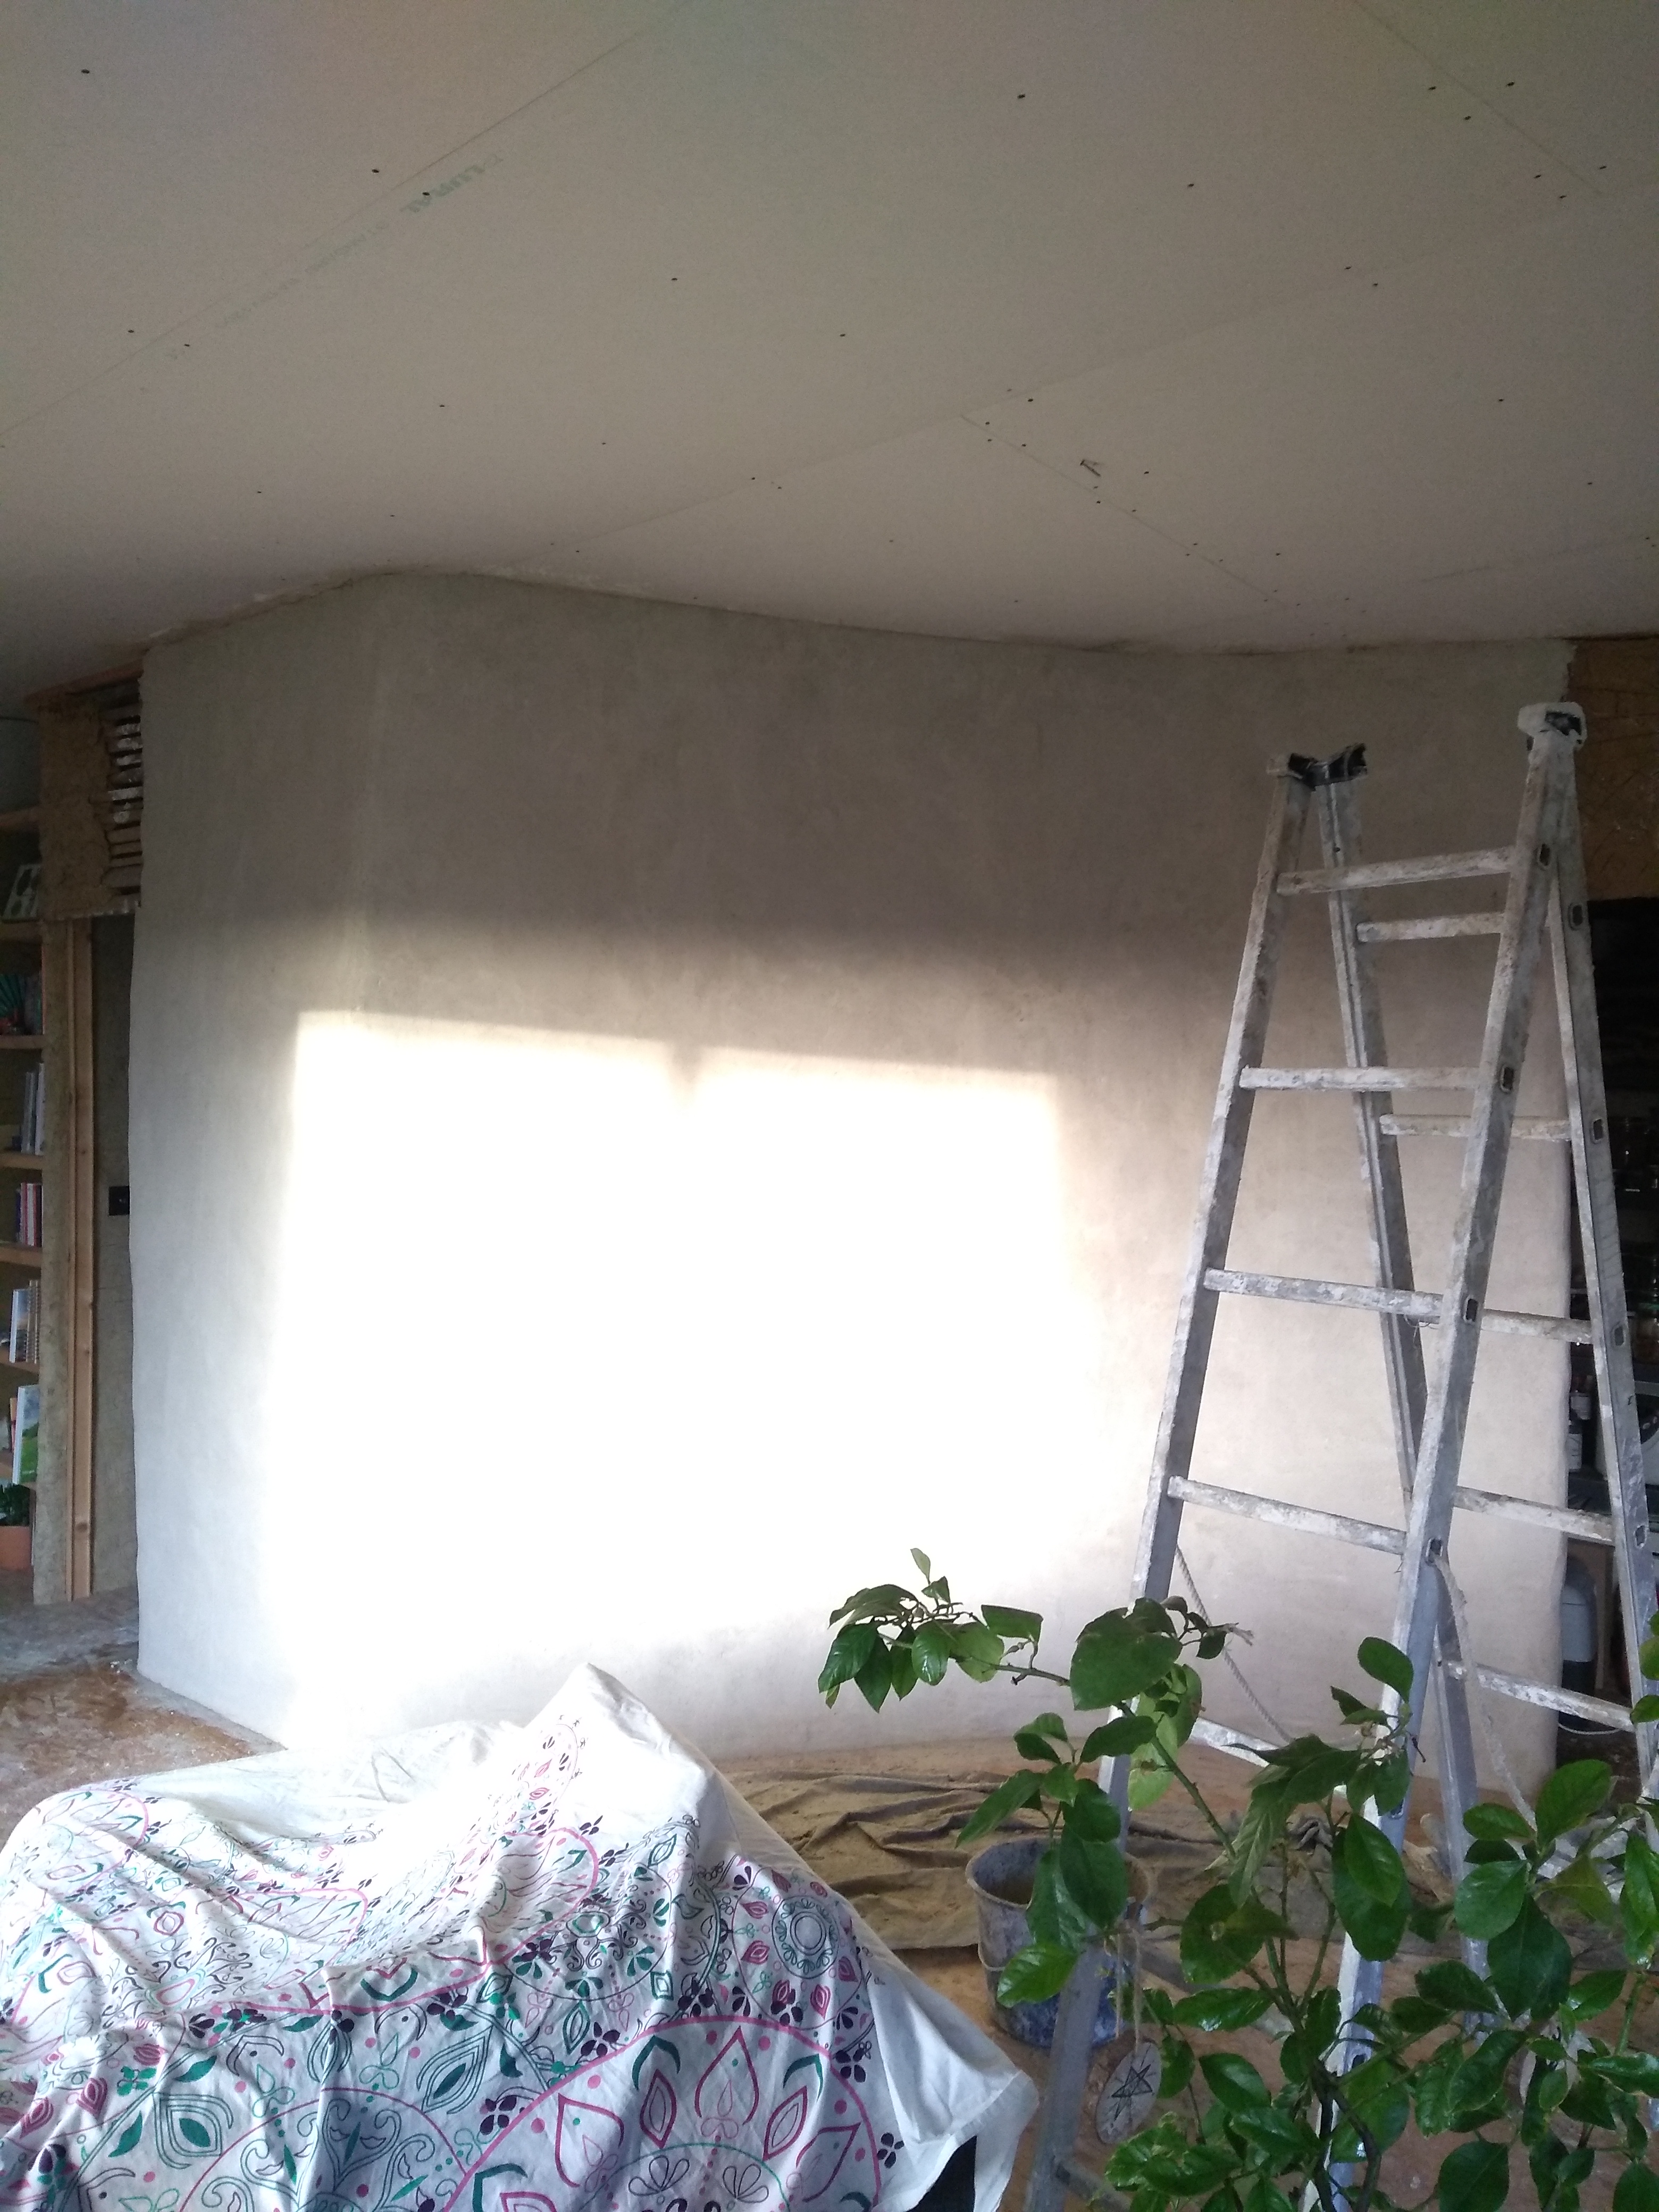
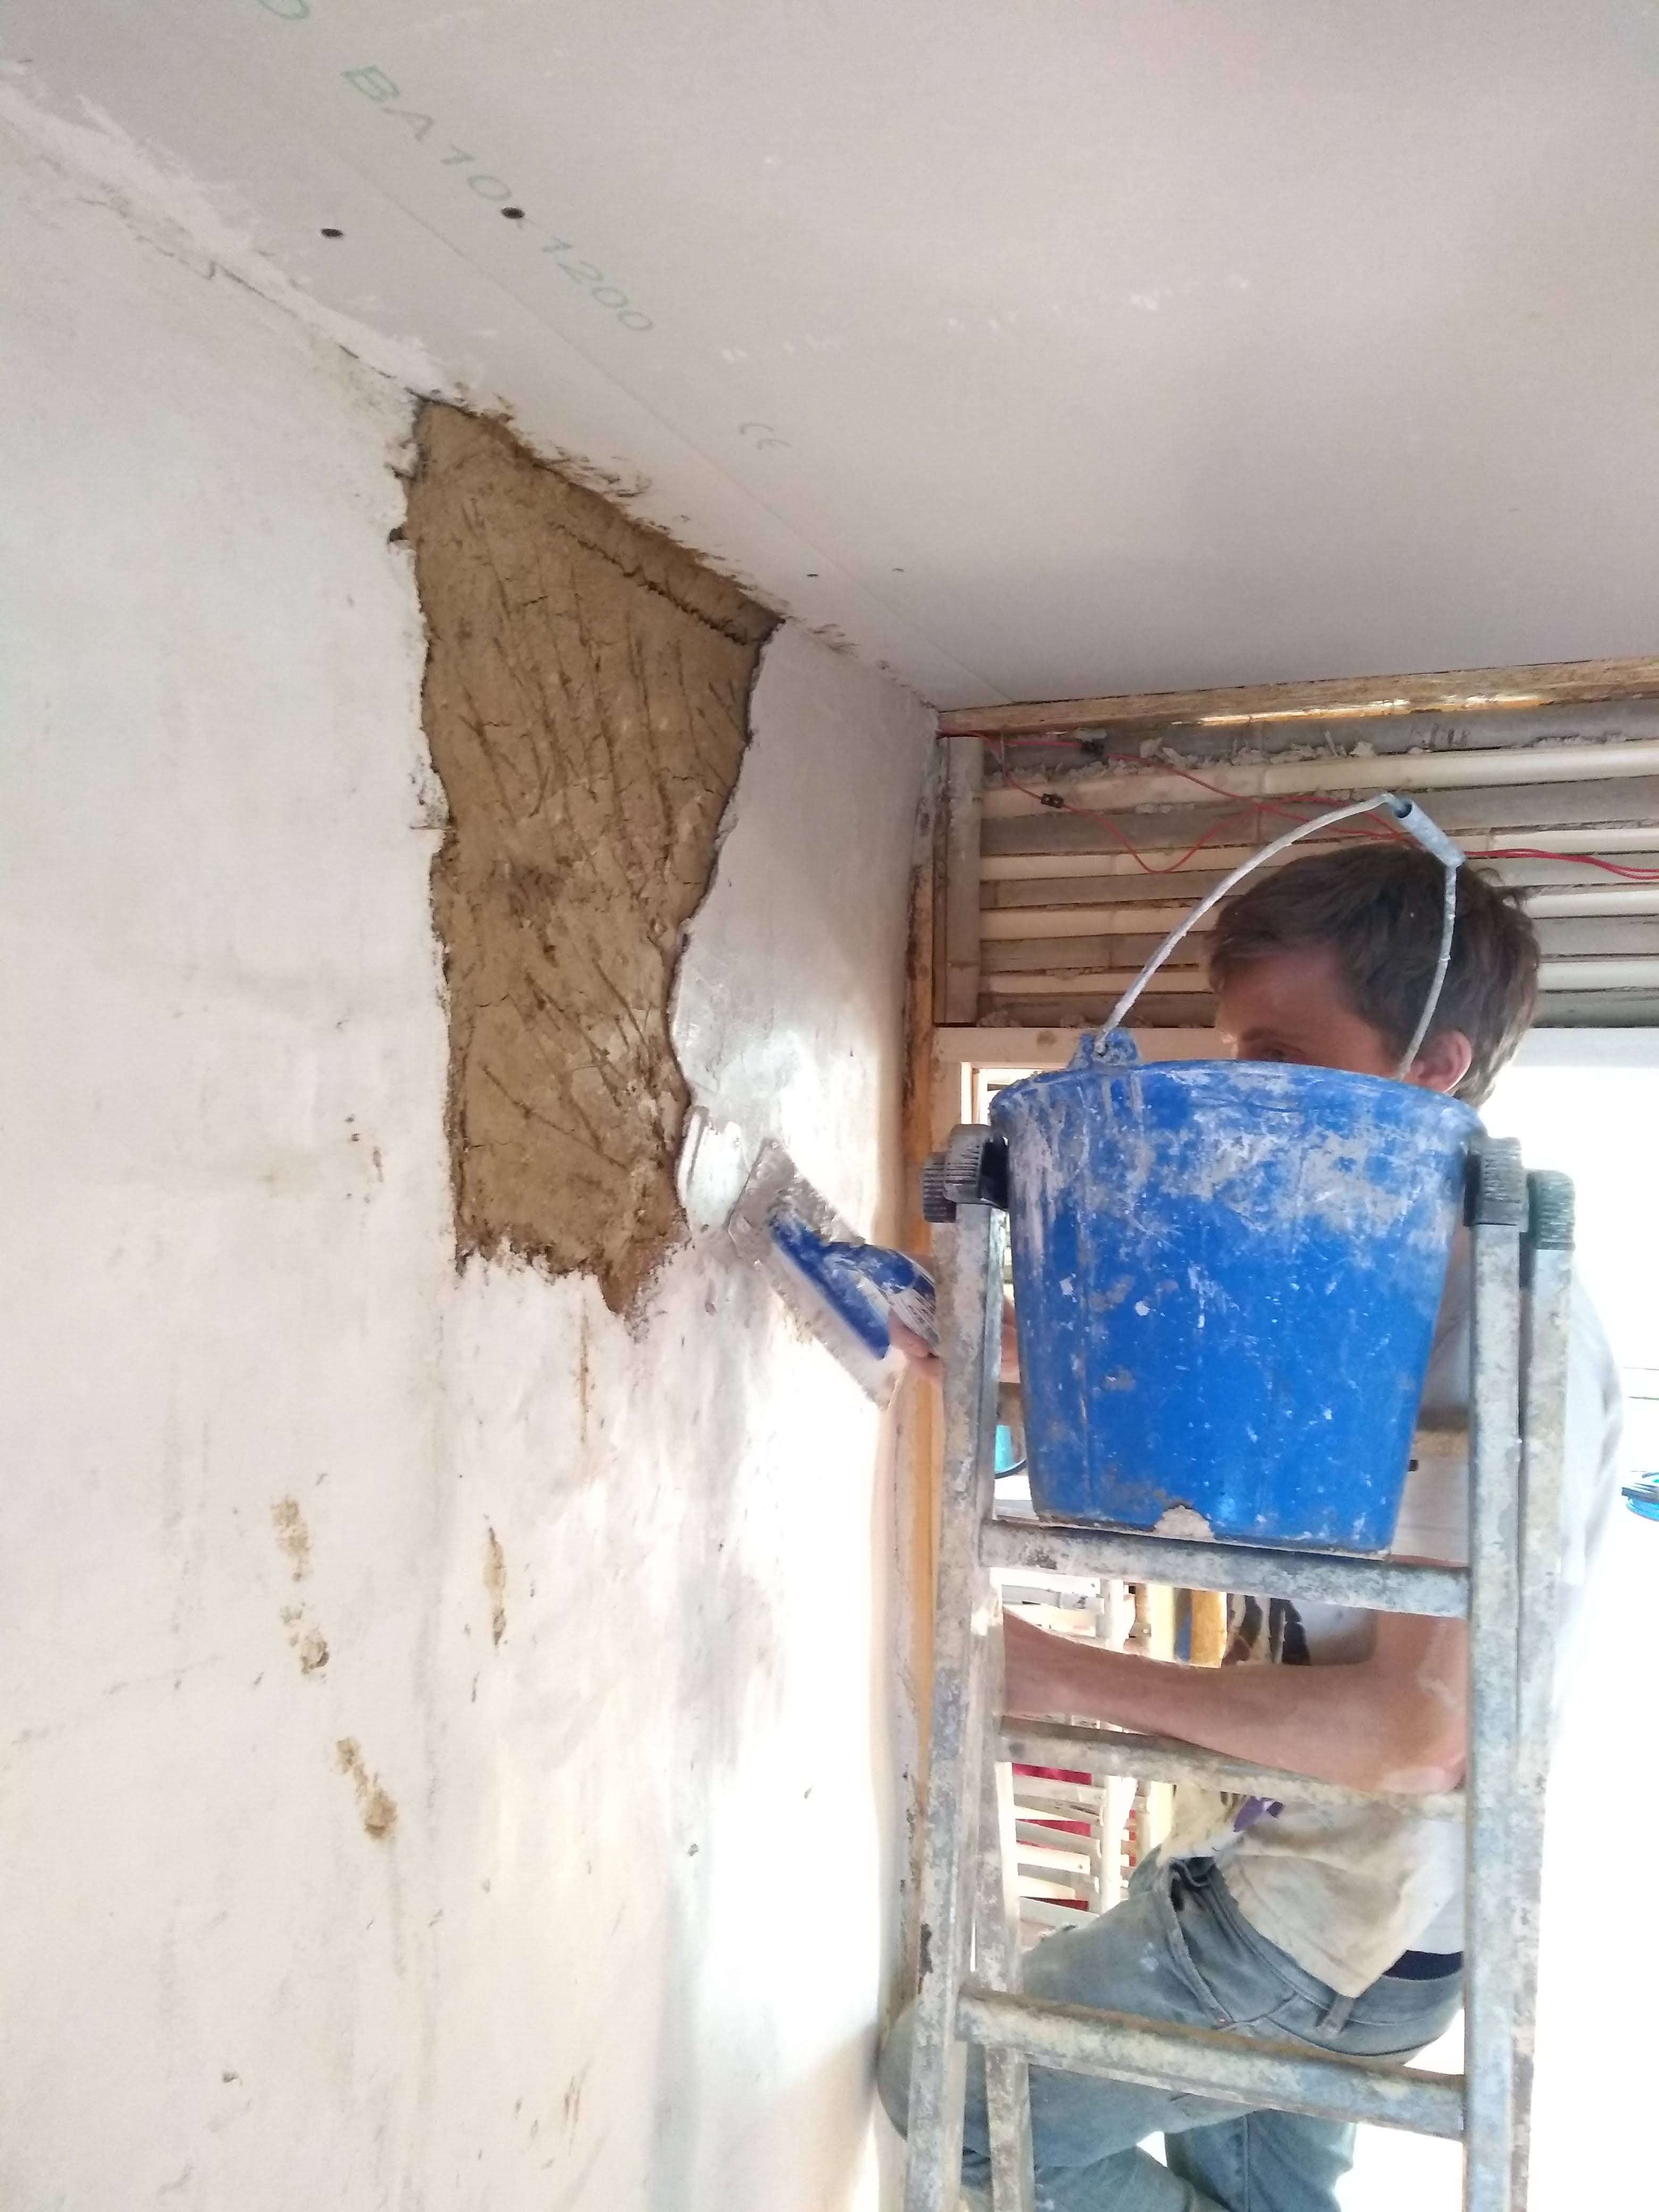
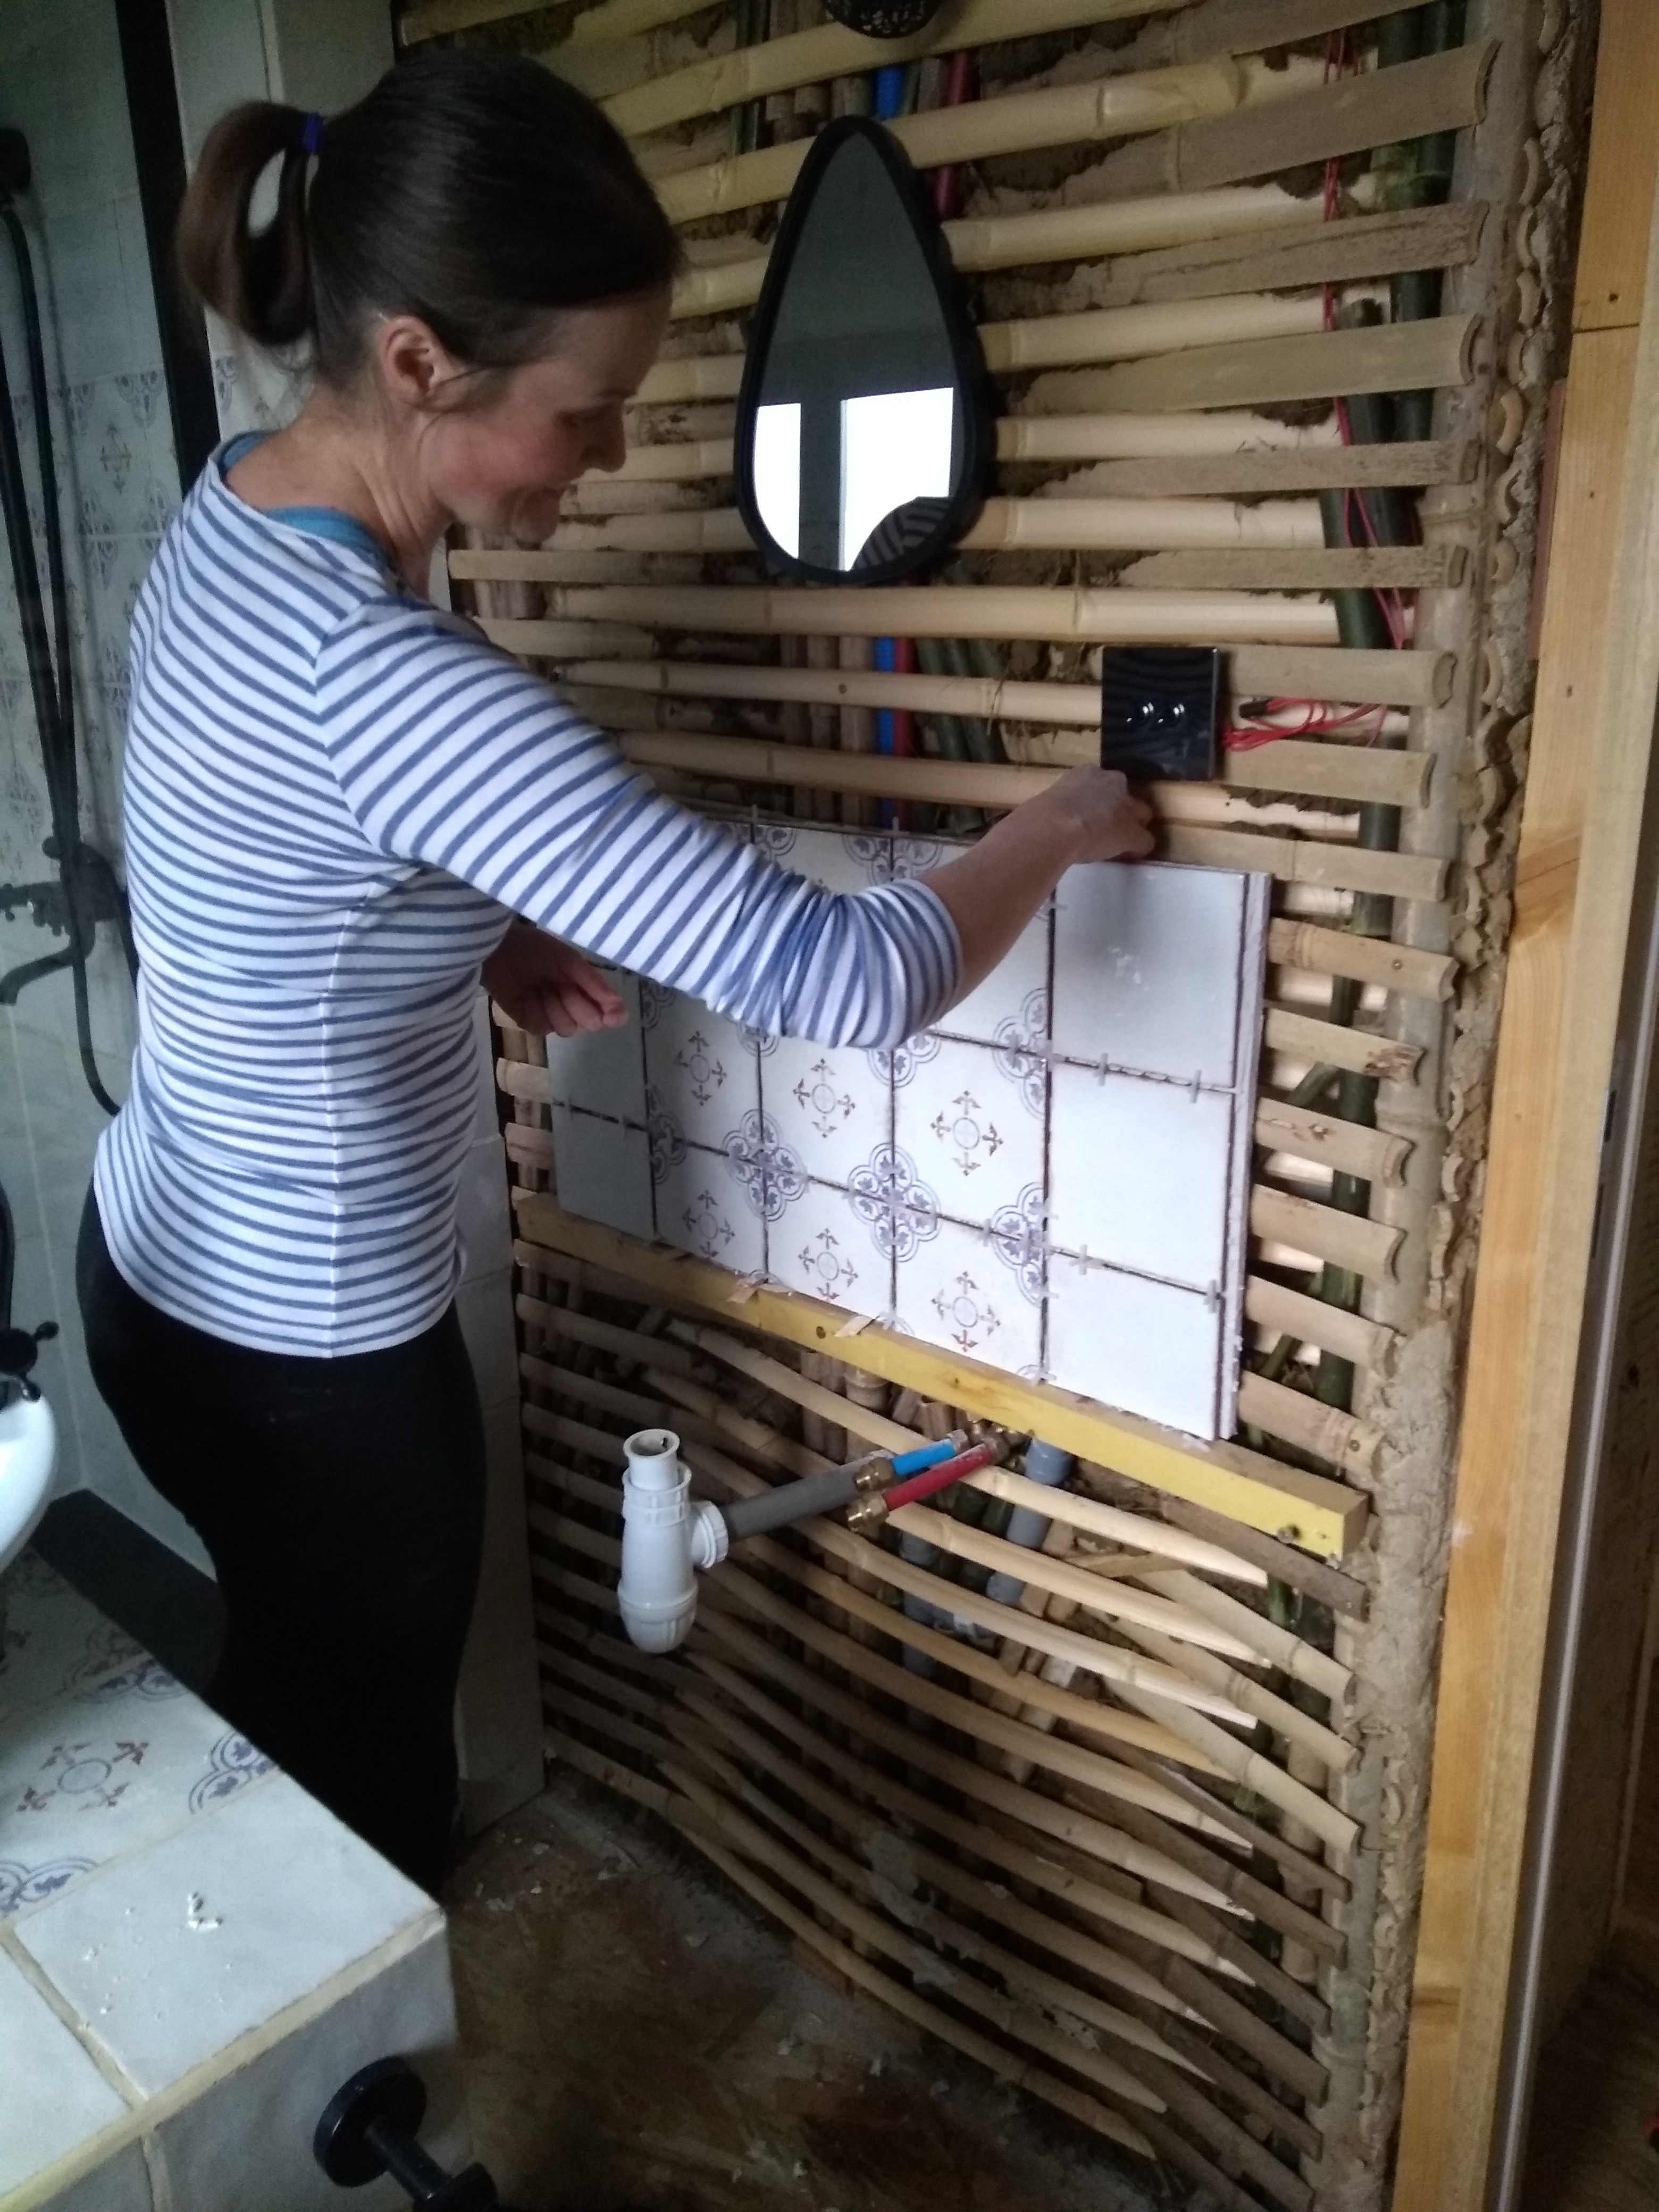
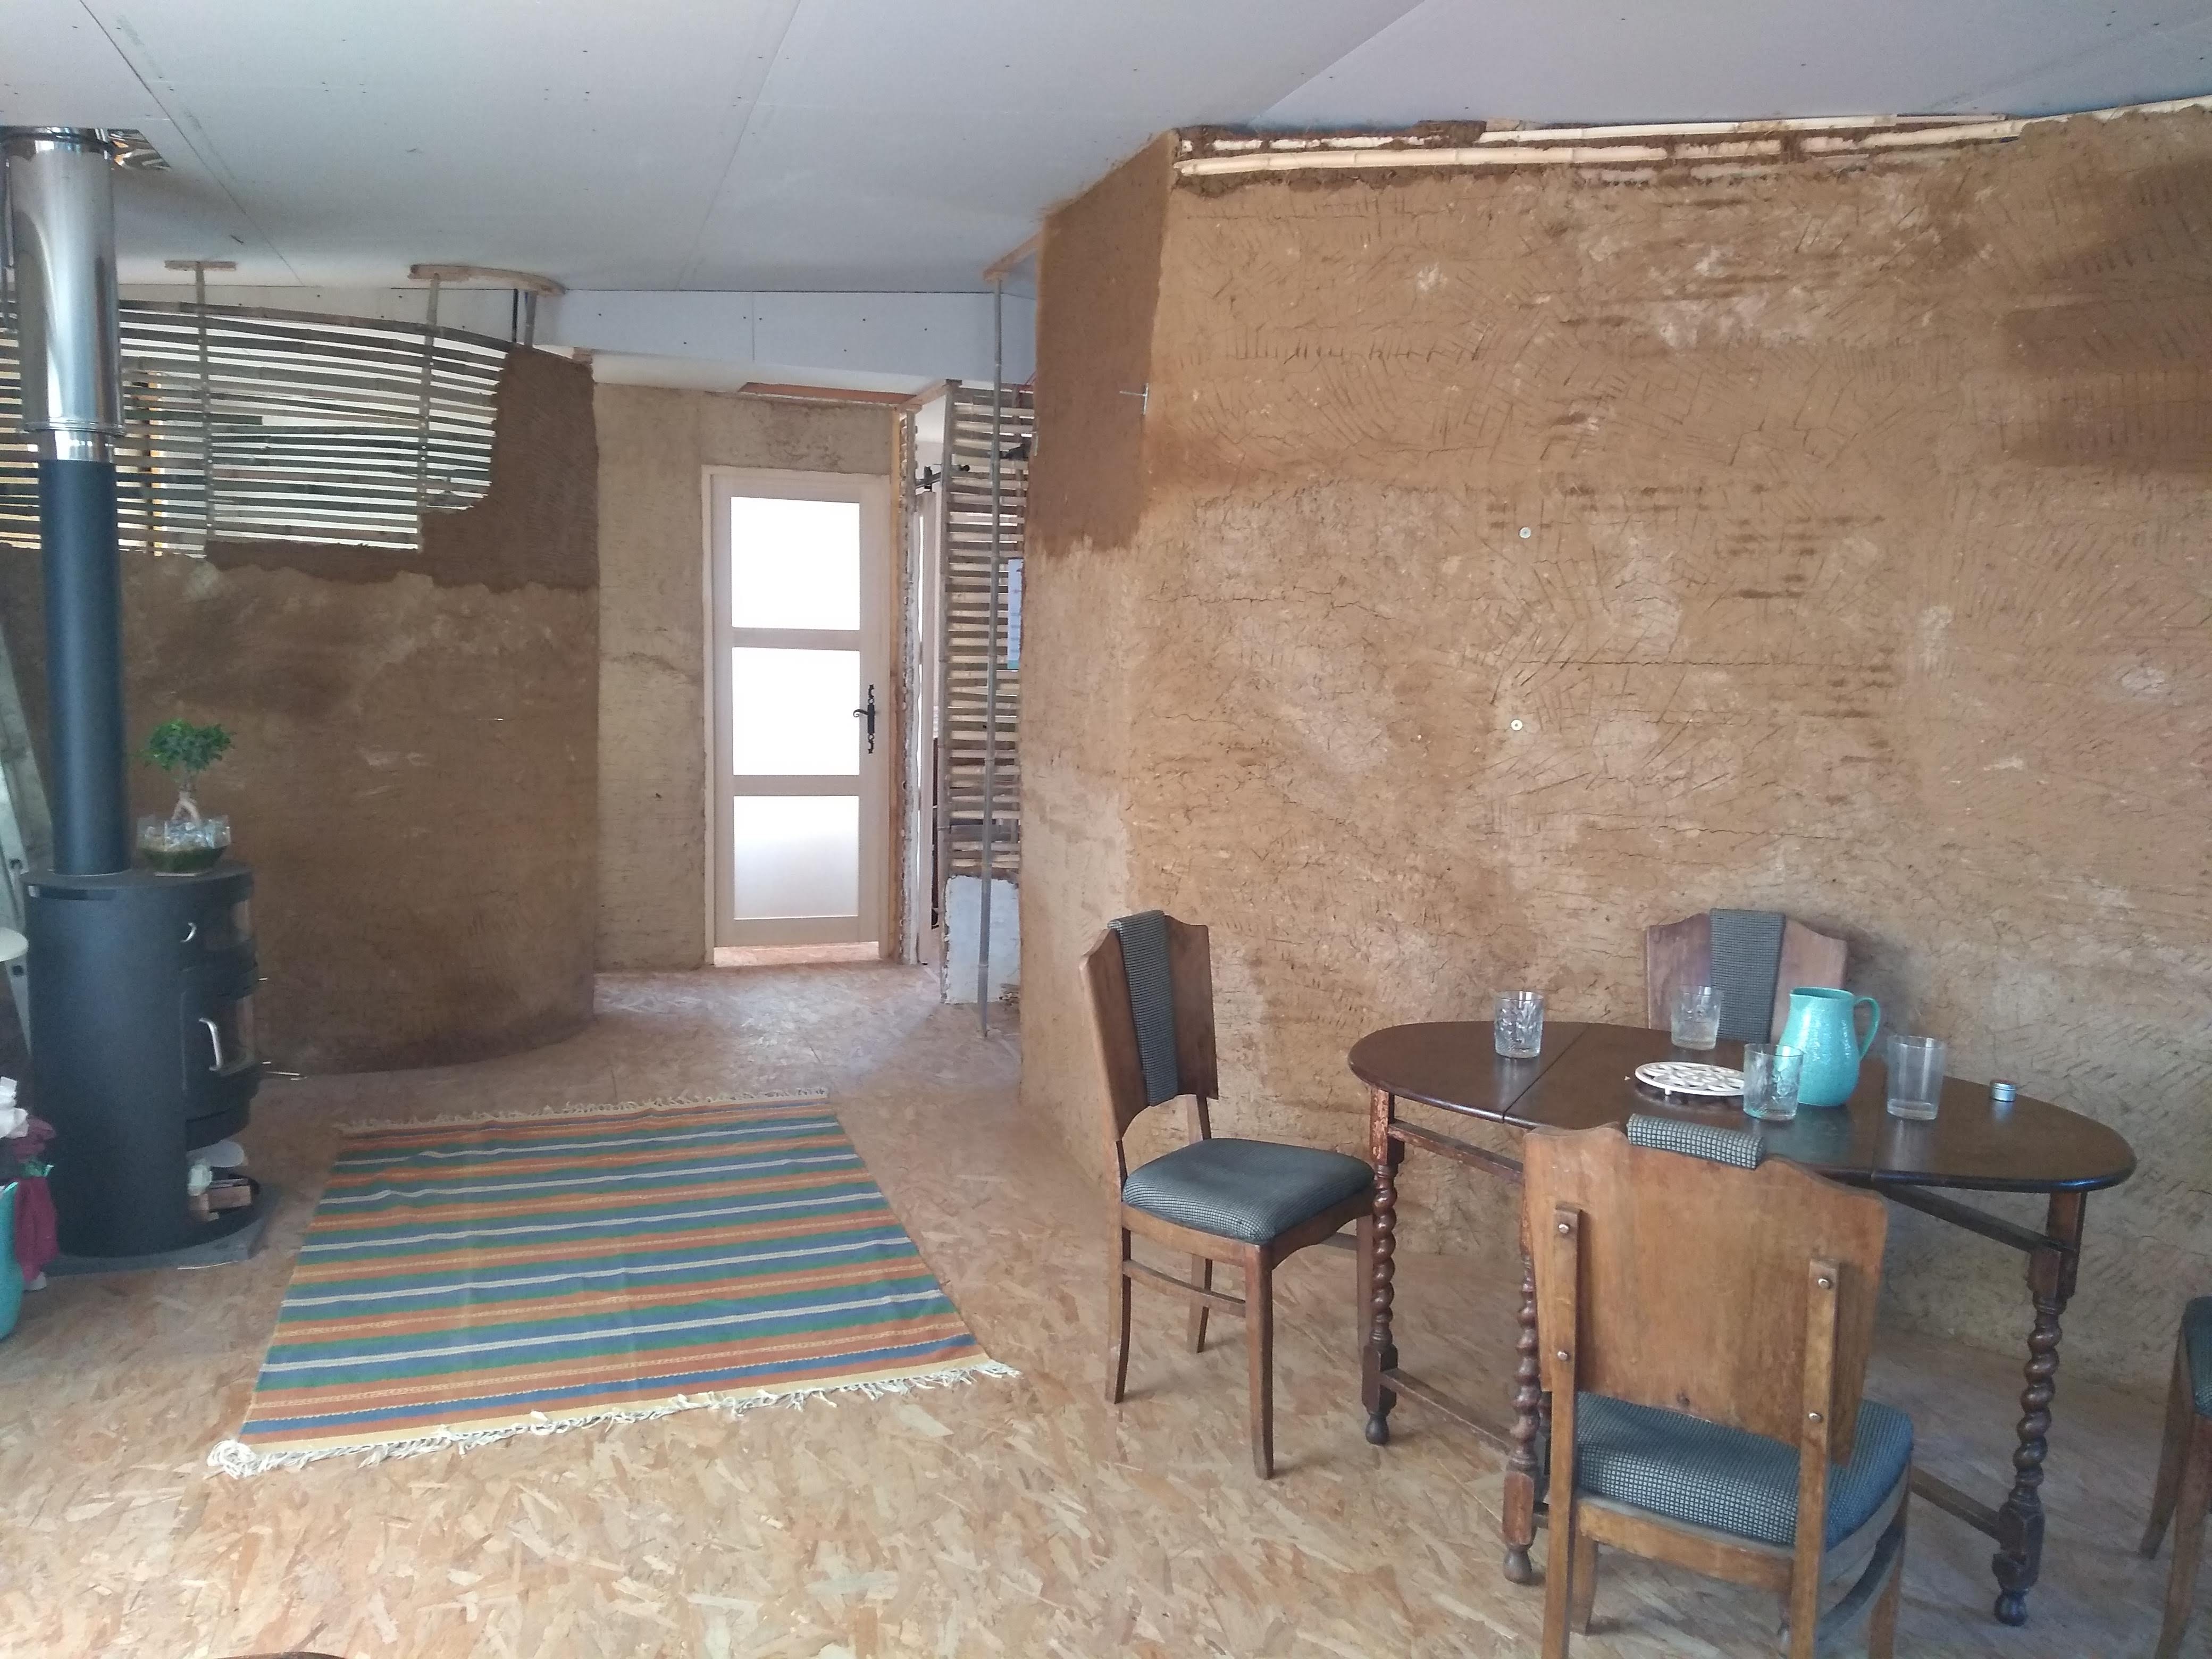
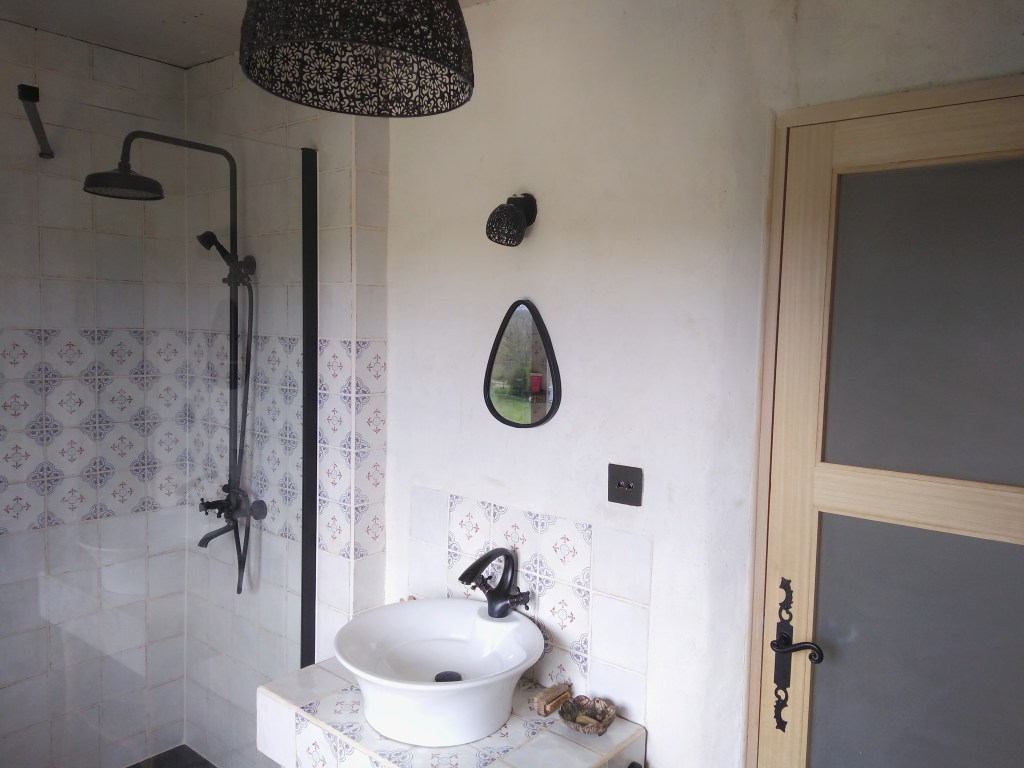
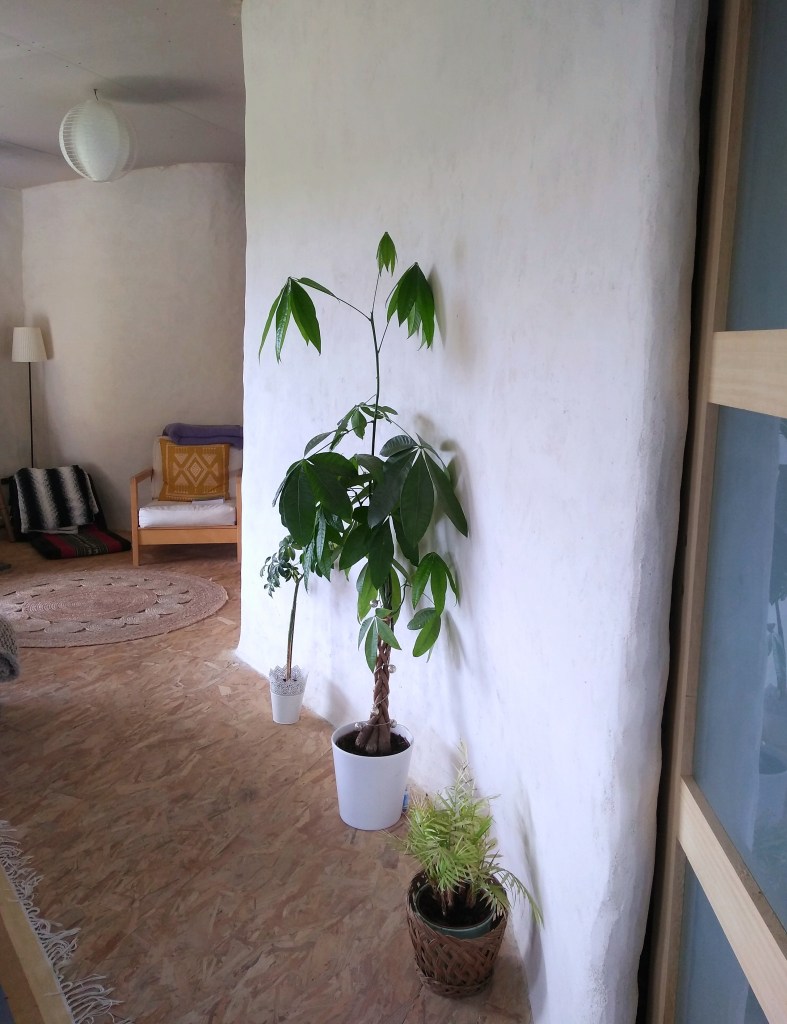
So, a long road later and our walls have taken shape. All the plumbing and electrics have been put in, through, and around the walls. Now they are (almost) completely finished, I’m delighted with the result. They are handsome, clean, sturdy, phenomenally sound-proof and, to me, so aesthetically pleasing. It has been a slog at times, but given the chance to go back I would one hundred percent stick to this technique (I can’t speak for Dan!). It has been a pleasure to share it with friends and we have been supremely lucky to have had so many people both interested in and willing to help out and find out how this most natural of techniques feels.

")
")
")
")
")

Raelly lovely and interesting. I enjoyed seeing you both in the visuals. Much love ❤
LikeLiked by 2 people
Thank you so much for your lovely words and thoughts Geertje 💚 Sending love ✨
LikeLiked by 1 person
Pingback: The Final Straw… 🐪🌾 | Les Vignes Basses
Pingback: Espying Energy Efficiency | Les Vignes Basses