To Render Or Not To Render
Earlier in the summer we really thought we wouldn’t be able to render the house until spring 2018. Everything we had read pointed to the fact that lime render needs to remain frost-free for three months after application. We were told by our straw bale building guru, Barbara Jones, that the only way to effectively protect it is to wrap the house up in bubble wrap each evening to protect it from the ice. So, we decided in September that it was too late and we wouldn’t be able to get the three layers on in time around the exterior of the house.
However, we were experiencing an Indian Summer at the time, and so we researched further into the conundrum of lime and frost. Our initial decision was based on the fact that the previous October we had a seriously cold snap, averaging around -4C for a week or so. This October however, the weather was finally on our side. During the entirety of the summer, Mother Nature decided to dump rain on us in every form, ensuring the wall construction was super stressful. As I mentioned in a previous post, Dan and I didn’t sleep for weeks. We are still panicking even now during the night at the sound of wind or rain on our aluminium caravan roof. As is always the way though, the weather Gods gave their best when we least expected it. We took this as a sign and decided to go for it with the rendering.
With hindsight, this was a great decision; magnificent weather followed for weeks. Although we did have a few frosts about two weeks after finishing the final coat. As per Barbara’s recommendation, we tucked in little housey, all nice and snug as a bug in a rug with bubble wrap. Not the most eco-friendly decision we’ve made, but it did allow us to properly protect the house for the winter. And we have enough bubble wrap to last us our entire lives.


Prep Work
Before we could render, the bales required a hair cut, and we borrowed a hedge cutter from our lovely neighbours to do this. They looked really awesome once Dan and Jo had chopped them. Whilst the guys cracked on with the trim, I made a start on setting the window subframes, placing and compressing the last few bales underneath the windows. For the sub framing itself, we managed to use left over Douglas Fir from the box beams. Handy!
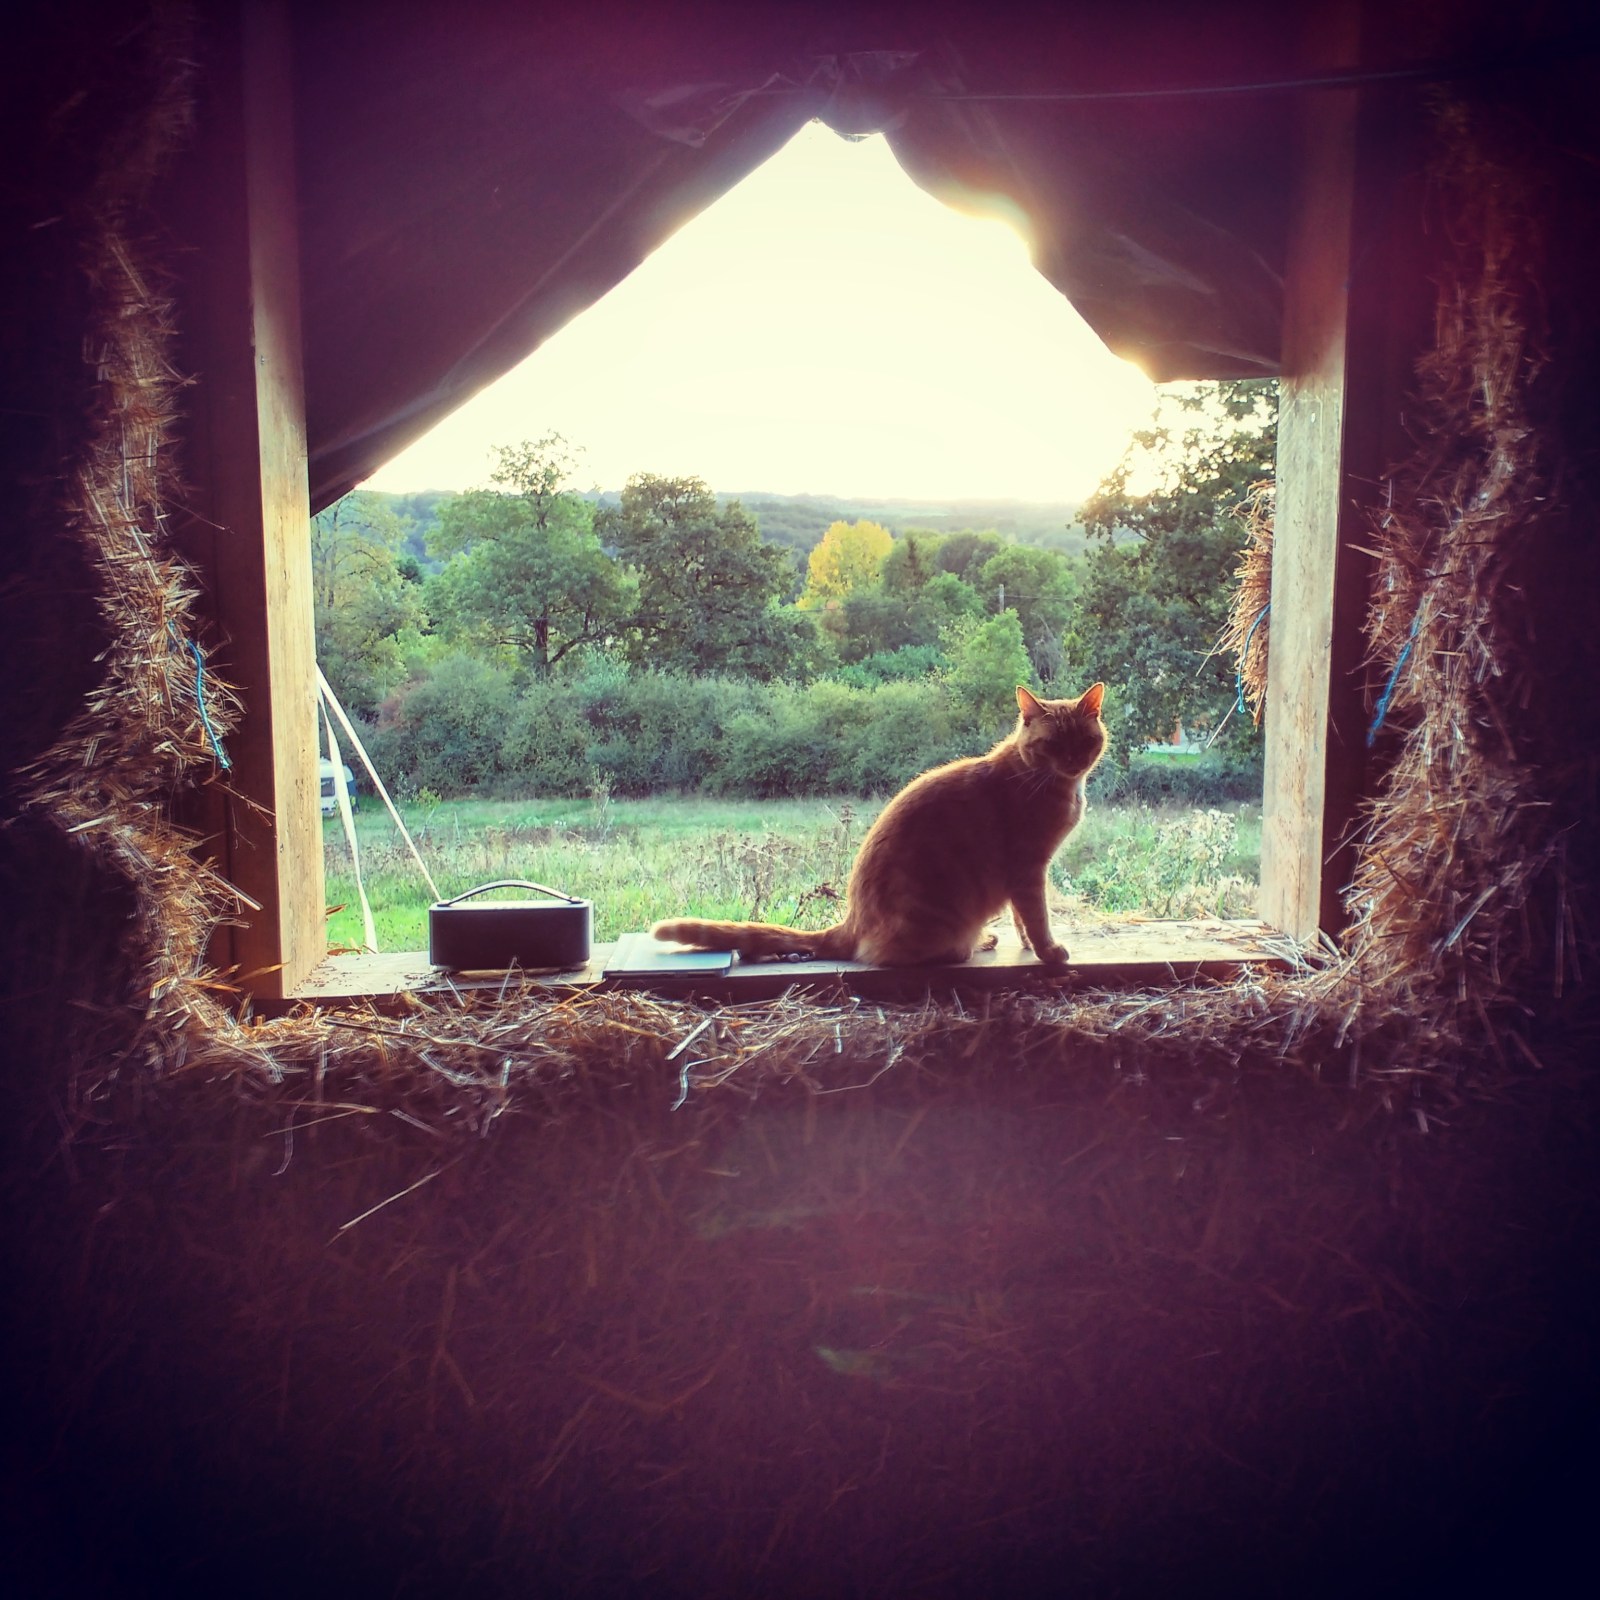
Once all the pieces had been cut we worked on placing the top section of the subframe into place followed by stuffing the gap between the roof beam and the frame with straw. We were immensely happy with this stage because the house really began to take shape; we could start to visualise the floor layout. We all loved sitting in the frames and imagining what it will be like inside the house in the future, especially Whiskles 🐱


Slap And Tickle
And so commenced the rendering. We took a lot of advice (and equipment!) for this from our local straw bale building experts, Tam and Boo. This was so helpful and their encouragement really helped us get through this stage. To begin with we mixed up the lime putty with sharp sand in a ratio of 1:3. This ratio was fine, but we didn’t think it was quite sticky enough so we changed it to 1:2. This was great and happily attached directly to the straw. It took quite a bit of work by hand to make it stick, but perseverance alongside the slap-and-massage technique (nothing dodgy here), seemed to do the trick.
It turns out that we slaked far too much lime earlier in the year, which meant using it at a higher concentration wasn’t too bad for our stock levels. I’m so pleased there were three of us doing this. The few times that Jo was doing it alone he found it quite soul destroying; the scale of the task, the repetitive nature, the constant dry skin and the extreme hard work of mixing the render, all contributed to this feeling. Doing it together with some tunes pumping and banter flowing was way more fun on the sunny Autumn days.
We had some helping hands in the form of Dan’s Mum, Janet and sister, Claire. It’s surprising how much ground is coverable with so many hands 🙌🏼 It was super hot at this time, around 28 degrees, too hot in fact! Lime doesn’t like this temperature either… it’s very temperamental 😉 To remedy this, one of us (normally Dan), was constantly running around with a water sprayer moistening the lime, which promptly sucked up anything it was given in that heat. We also created makeshift hessian flags to place over the walls, which were also sprayed with water to help maintain a humid environment.


The Filling
Coat number two was a delight to put on compared to the key coat. We actually split this ‘body coat’ into two. Leaving us with three coats in total; the key coat (10mm), the first body coat (15mm) and the second body/finishing coat (10mm). Extra straw fibres were added to this for enhanced strength. These were left out of the final coat so that the finish looked much smoother.
Ultimately we ended up using our hands for this layer, try as we might to use a render gun! Again, we borrowed a gun from a neighbour and an air compressor from our lovely friend, Linda, but when all was in place and the first bit of render shot at the wall, well, it was a little bit of an anti climax! ‘Shot’ is perhaps too strong a word. Our equipment wasn’t right or strong enough at all. The conclusion: Hands before guns 🙌🏼 = 😇 / 🔫 = 👿
Our friends, Gary and Diane, visited us in their camper van where upon we gratefully received two more sets of helping hands for finishing off the second coat. The sun continued to shine during their visit and we endeavoured to keep the render humid! Ideally, well ventilated, humid air is the best for carbonation of the lime, meaning that if we had actually attempted this earlier in the summer with such extreme temperatures, we would have risked the lime as much as we have with frosts at this end of the year. Much of the prior research was conducted in English and relevant for the British weather, we didn’t take into account the longer French summer, which this year, played directly into our hands.


The Icing On The Cake
Finally, after 12 days, we were on to the last coat. And my goodness, how satisfying! It looked great. So worth all the effort beforehand. We started using a plastic trowel to help our hands achieve a line free finish, smoothing it right down. With no straw poking through and a smooth second coat to key onto, it really came together.
Jo was leaving us on the last day of October after three and a half months and an entire house built with us, so as planned (!) we finished the concluding coat of the last wall on his final evening. Perfect timing! We couldn’t have done this, let alone have got this far with out Jo. Now the straw and house feels far more protected for the winter and beyond. After a couple more finishing touches, including lime washing, we are moving on to the windows and doors.


")
")
")
")
")

You realy got your putty together 🙂
Very impressive and a worry free winter ahead and lots more work.
LikeLiked by 1 person
Pingback: What Light Through Yonder Window Breaks? – Les Vignes Basses
Pingback: The Final Straw… 🐪🌾 | Les Vignes Basses