Tyres and gravel have been a consistent theme at Les Vignes Basses over the last few weeks. With a lot of help from our friends, many bad backs and copious amounts of alcofrol (surprisingly, it has come out level!), we have completed the rammed tyre foundations and the structural box beam.


The process was a real learning curve, but we all felt like we had gained some quite in-depth knowledge and skills about the specifics of rammed-tyre foundations. Sourcing the right gear was important and relatively pain free. We found the tyres in our local garages who were happy to give them to us for free because they have to pay to dispose of them anyway. The gravel came from the quarry 2kms away in our village (mega handy!). The wood was locally sourced from a stand-alone sawmill, which meant we made a reasonable saving on it when compared with the chain shops.
We wanted to use the most natural material possible for the insulation of the ring beam so we trawled the internet and blogs and found many talking about utilising natural sheep’s wool. Pyrenean sheep kindly donated their wool to us; I thanked them all profusely whilst hiking in the Pyrenees a couple of weeks beforehand. Their wool was washed once and then treated with borax to make it as unfriendly to moths as possible.
It became apparent pretty quickly that sourcing tyres in a variety of sizes was a completely accidental blessing. It allowed us to manoeuvre the height of the rammed tyres by a centimetre if needed, giving a much more accurate finish to the pillars. 165’s, 175’s and 185’s were our tyres of choice, all with an R-14 radius.
Smooshing is a technical term, officially. Getting the tyres level to a quarter of a bubble and then applying the ‘smooshing’ technique for the rest is an undeniably viable building approach 🙂 Amazingly, it is possible to know how much a tyre will increase in size once full of gravel and even more amazingly (or sad, depending on how you look at it) it is possible to know which brand of tyre will increase more or less after a few attempts. This meant it was easier to predict how high or low pillar depression need to be. We were all surprised by the accuracy achieved in levelling, which was confirmed by the trusty laser sight.
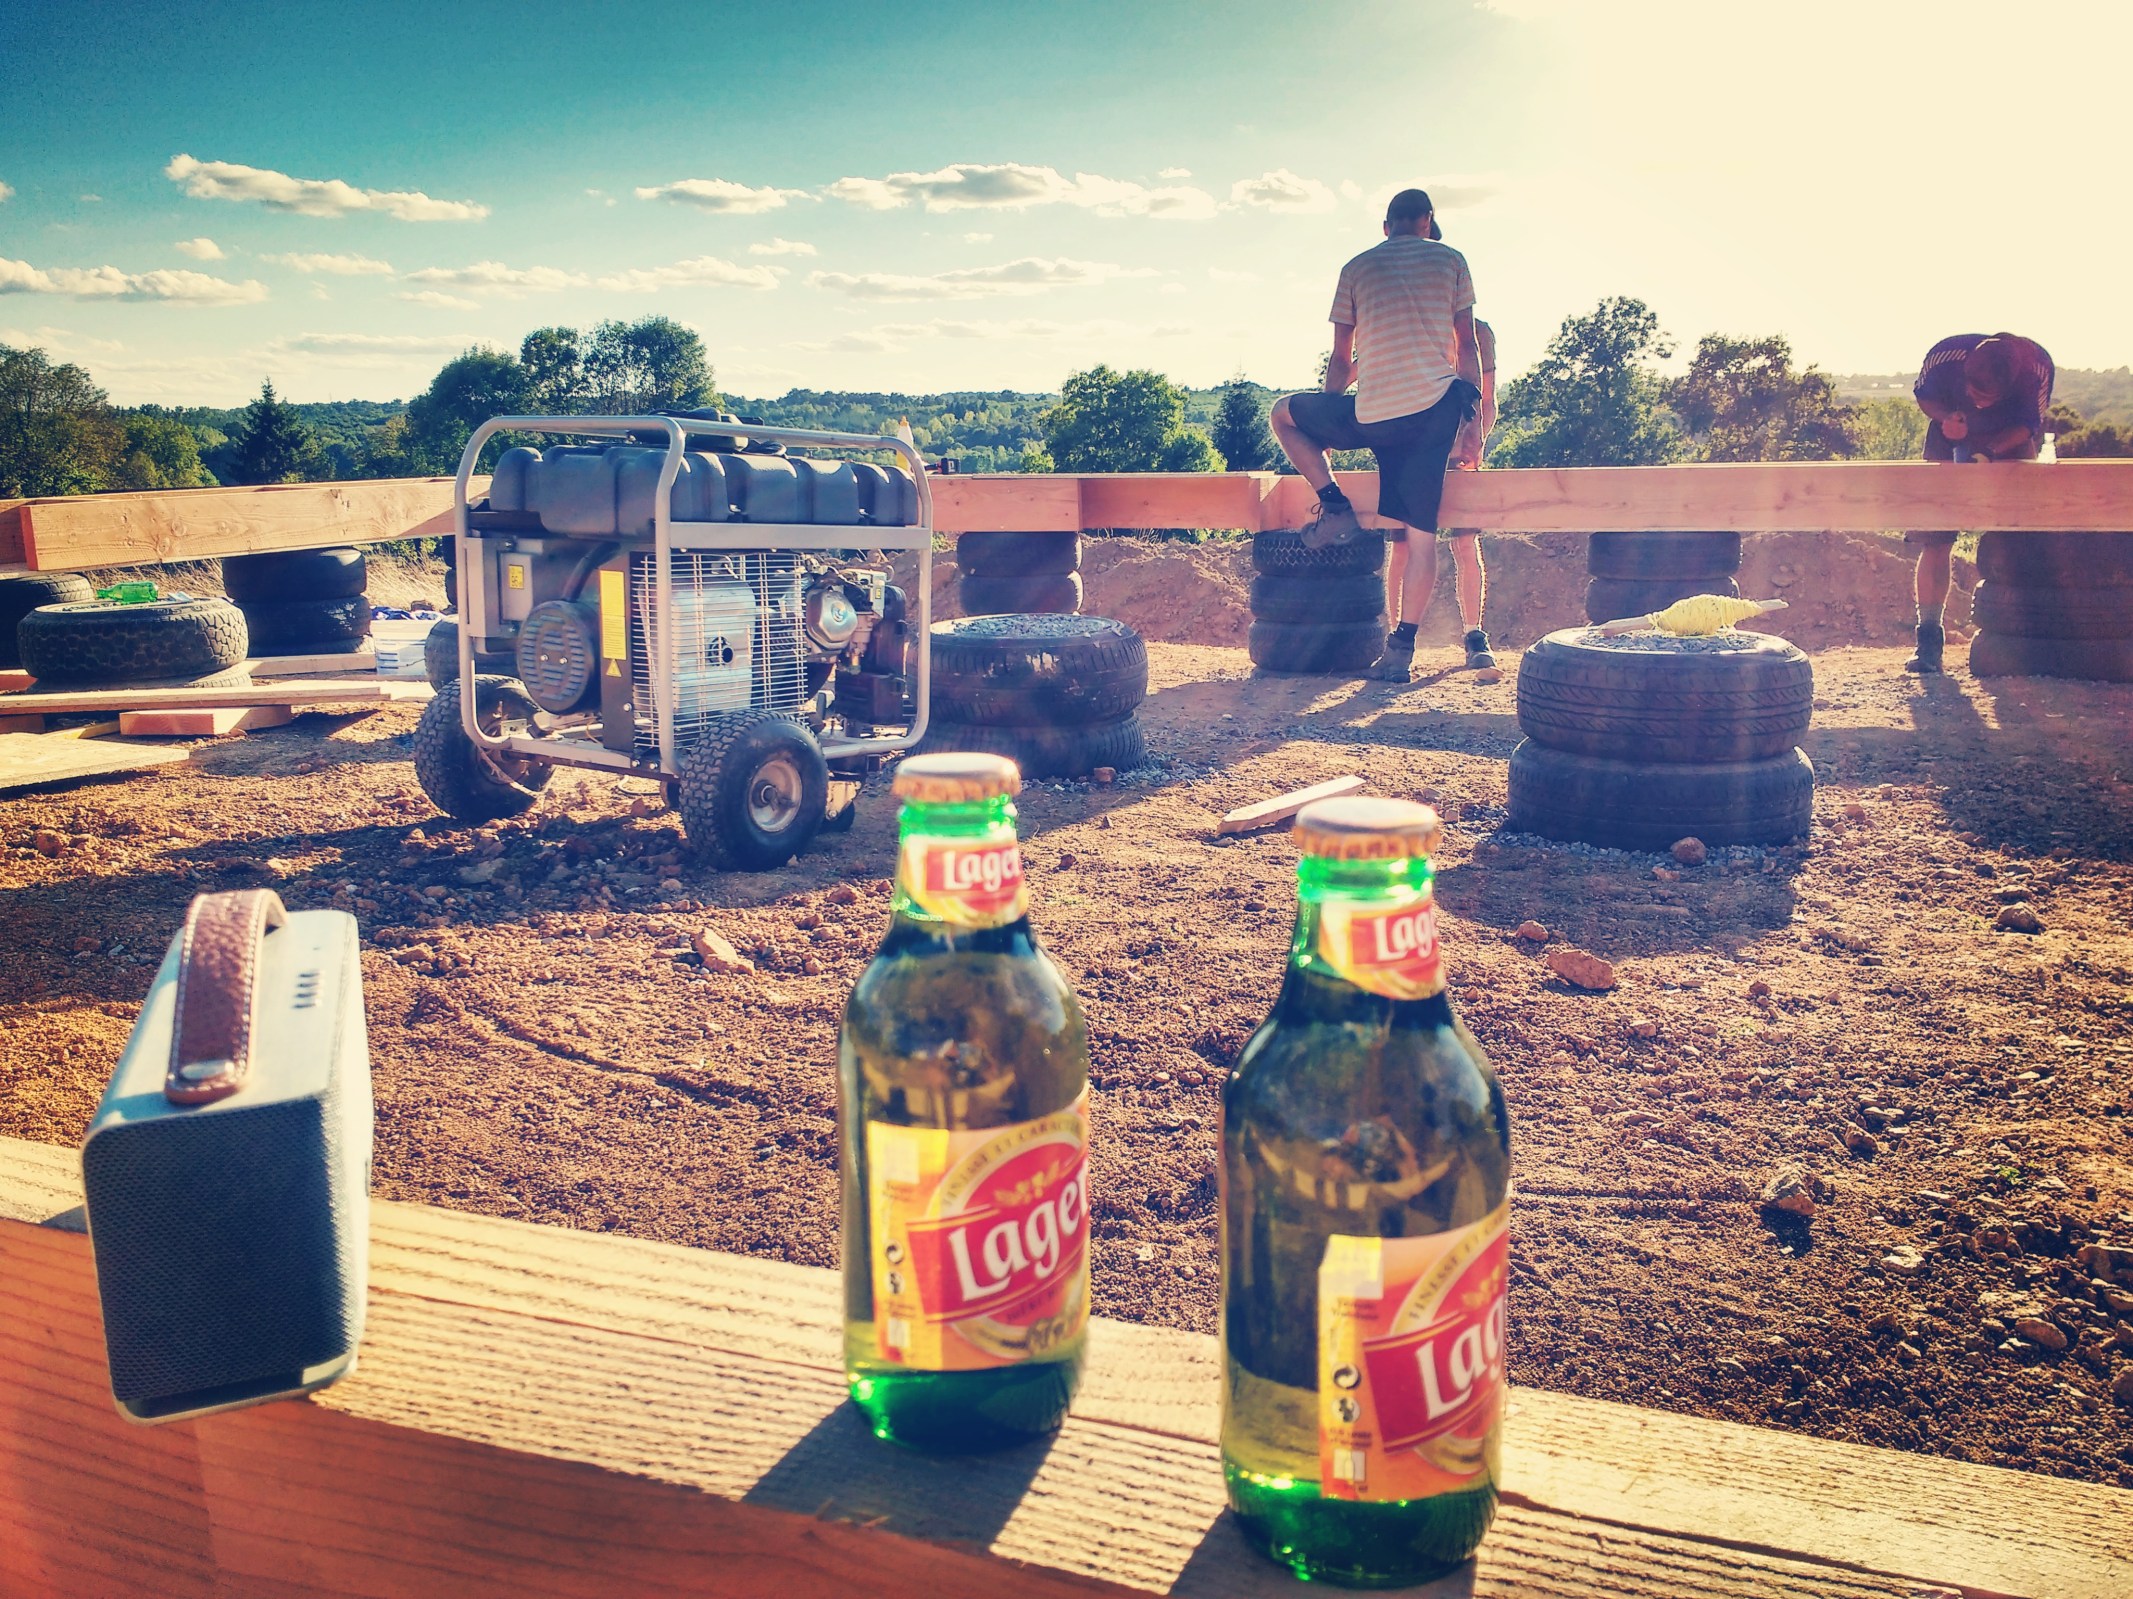
The tyre pillars took six days and two destroyed backs to complete, then it was on to the box beam. The box beam is another crucial structure for the house and distributes the load down through the tyre pillars. Firstly, using our plans, we created the ladder structure of the beam in sections. These were then flipped over to have the OSB attached to the under side using screws and wood glue. Once back in place, the beam was fixed together in the corners and joins and then filled with lovely, super-soft wool, which was so nice to work with after the hard materials. Finally, the top OSB was glued and screwed into place…et voilà!
Our most important tools were: tape measures, an aluminium edge, tyre wrench, pick axe, set square, shovels, wheel barrows, a chop saw, generator, laser sight, jigsaw and circular saw. And of course….Dan’s tool belt. Which was invariably the culprit when the question “Where is the……?” was asked for the fiftieth time on any given day.
We adored the experience of making this; seeing the plans become reality. It was so satisfying and made even better by sharing it with our friends; Nils, Jo, Oscar and Tom. We are so endlessly grateful to you all for helping us so fundamentally and for all your continued positive energy which is ploughed directly into the house. The mental support and well wishes of everyone around us and afar has been overwhelming and we cannot wait to continue with the build next year when the next phase starts.

")
")
")
")
")

I am soooo jealous. Would have loved to be part of this amazing adventure again.
You guys are a credit to the growing worldwide legions of scatterbrained self-build, wool stuffing, ladder-box nailing, beer drinking, tool belt wearing, tyre ramming, gravel shovelling smooshers!! We all love you 😍
LikeLike
Great write up with explanation and photos. One question I have, if you don’t mind, did you lay the tyres directly on the ground or did you have concrete pads to lay them on, or did you have tyres below the ground level? I’m guessing the first looking closer at your pictures.
LikeLike
Hi Eddy! Thank you 🙂 It varies from the back to the front due to the slope of the lans. At the back we put a bed of gravel under the tyres to level them, up to 5cms deep. At the front we dug down and placed one tyre below ground also with a bed of gravel underneath. Hope this helps!
LikeLike
That’s great thanks, I’m guessing you have a fairly heavy clay soil there?
LikeLike
Pingback: Making A Crust – Les Vignes Basses
Pingback: I’ll Huff And I’ll Puff… 🐖🐖🐖 – Les Vignes Basses